Pages

Pages

Wednesday, December 31, 2014

Our Top 10 Posts Of The Year

This post does not contain Affiliate Links.

     On June 9th, 2014, I began my blogging career because of encouragement by my Facebook bestie, Treats By Tanya. Never in a million years would I think someone would want to read about my daughter and I's homeschooling/homesteading journey. The more I posted our funny adventures, the more she would urge me to write for the world to see. I finally gave in. I love this journey we have taken, and I love sharing it with you. Thank you all for the support you have given us! Here is a list of our Top 10 posts of 2014. 

10. Attitude Is Everything: See what happens when little miss catches attitude about a research/writing assignment SHE CHOSE! 

9. A Foraging We Will Go: I spent my whole mommy career telling my kids, "You can't eat that!" Just to find out.. YES YOU CAN! 
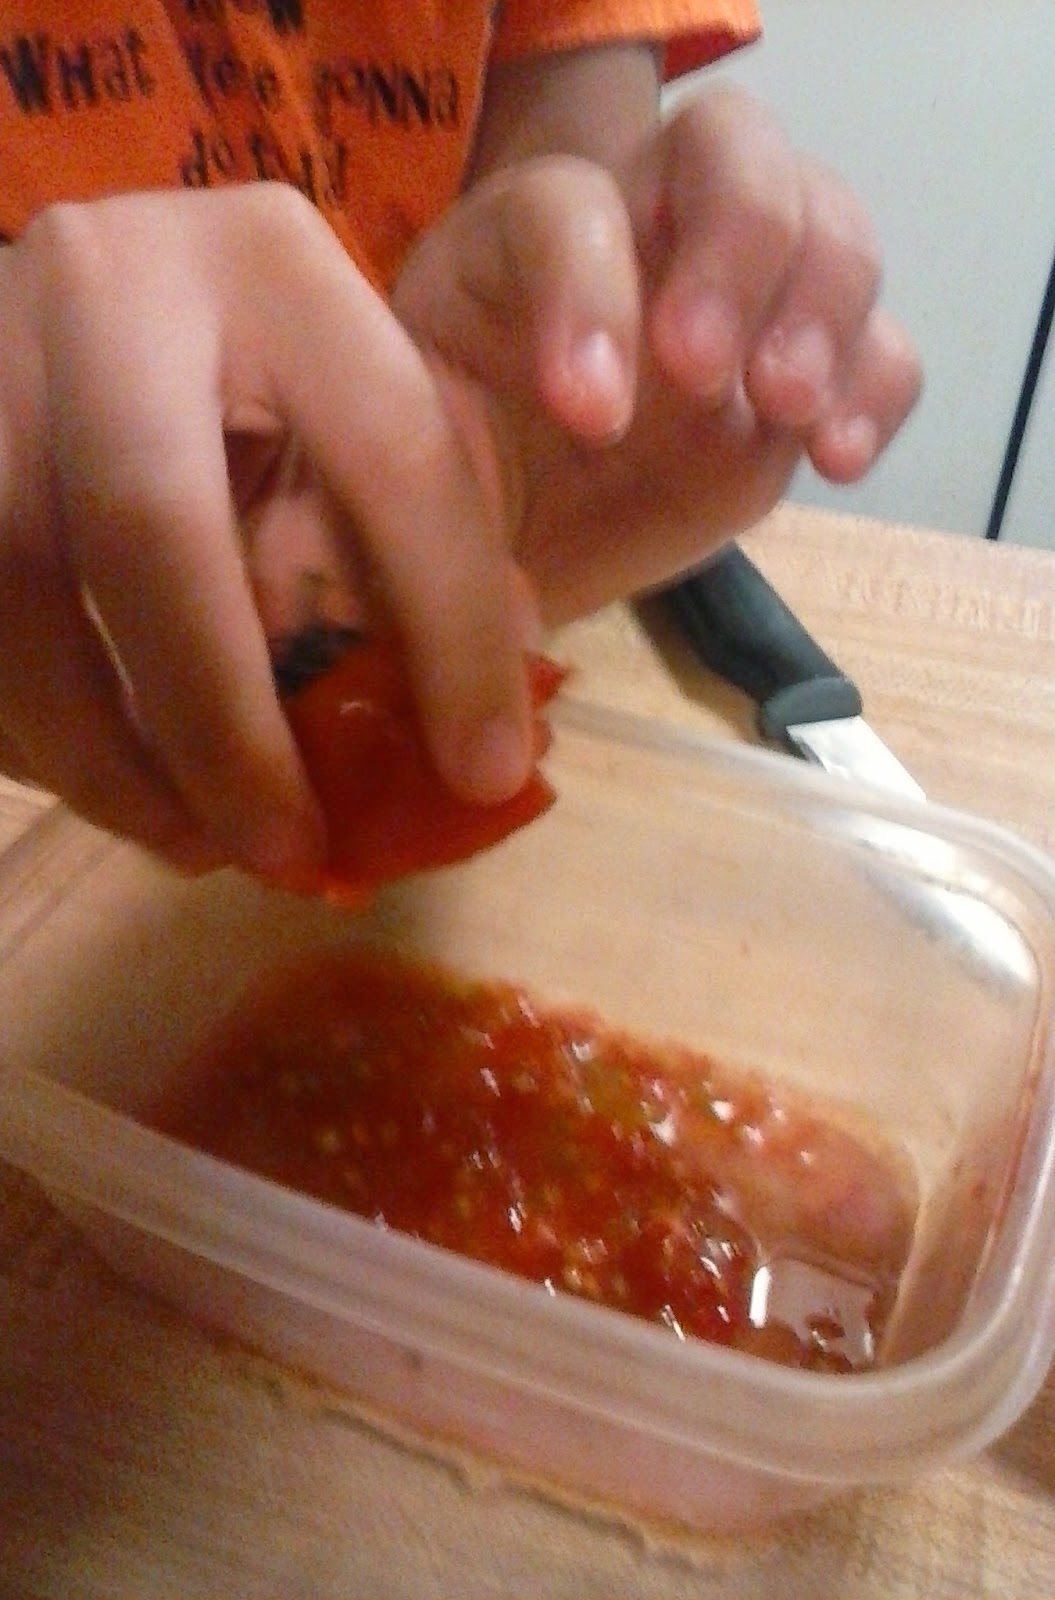
8. What do you do when you have super juicy yummy tomatoes you wish you could grow again for the next year? Save The Seeds of course! 

7. Water Filtration: How do you make puddle water drinkable? We are still not sure if you can drink it... but we managed to filter it out (and get rid of the unexpected pee smell.)

6. A deep contemplation about where I just 'naturally' acquired all of my homemaking/homesteading skills. Things I Learned From My Grandparents, (And I Didn't Even Know I Was Learning!)


5.Washing Clothes The Old Fashioned Way: How much can you save from washing your clothes by hand? And did my kid enjoy it? You be the judge. 

4. You Ate What? Yes, I did! And I will do it again. Only, now that the boy is gone.. Who is going to kill and skin it for me? 

3. Why We Prep As A Family: For the kids of course. I want our family to be prepared for any situation that comes our way. You might think you know what you are going to do, but have you done the stuff?

2. Guess What This Is For?: We got several answers, but did you guess correctly? I bet you did, you smart cookie you! 
And Our #1 post of the year? Came as quite a shock to me. Who knew a simple test to check if your eggs are fresh would be so popular? Don't Be A Rotten Egg! 

Thanks for joining us on our Homeschool/ homesteading journey towards self sufficiency.  We will see you with new adventures in 2015. Until then, go check out some of my favorite blogs and their Top 10 of 2014. 


Disclosure: I am Amazon Affiliate and may receive a small compensation for including links on my blog. Buying through my links is not necessary, just appreciated. Amazon does not charge extra for linked items recommended by their affiliates.  I only recommend products that I use and trust OR plan on using in the future. Please buy responsibly and do your own product research before buying anything online. 

Monday, December 29, 2014

Growing Tators In Buckets

This post contains Affiliate Links.

     You know that amazingly awesome neighbor I have? Well, last summer, we helped her pull up her red potatoes and harvest them. When we were finished, she sent us home with a big box of home-grown red potatoes. We ate most of them but there were a few little ones that I stored under the cabinet in the kitchen. As you can see by the photo, they are crazy covered in eyes! So we thought, why wait for spring? Why not try planting them in a 5 gallon bucket now? 
     Zoey got on the computer and googled 'How to grow potatoes in a 5 gallon bucket.' She found an awesome site called Five Gallon Ideas.com. There was a lot of great information on this site. We made notes in her Scientific Discoveries Notebook as we read and watched the videos. We are going to do more research later on and add that to her notebook as well. The hubby brought us in a bucket from the shed and I drilled holes in it while Zoey looked at me terrified. No, I am not as quick and efficient as Daddy, but I got it done by myself by golly! She insists Daddy needs to help next time. I told her we didn't need a man for anything. She just shook her head and laughed at me. 
    Above,  you can see her Scientific Discoveries Notebook and our computer. Also in the background is the radish we picked from the garden today. We washed it up and added it to our dinner salad. We even added the stems and leaves. Did you know radishes leaves are more nutritious than the radish it's self? They have a little kick to them, and need to be ate a little younger than what we picked it at. Some of the leaves were a bit of a tougher texture than we like in our salad. We like the flavor though and radishes are super easy to grow. 

     
    Finally, we went outside. There is a spot in our front yard where we put fresh tree mulch, many many years ago. It has broke down into a very good growing medium. Zoey put the composted mulch into the bucket about 3 inches deep. Then she placed 4 of the potatoes she chose into the bucket and just barely covered the pototoes with more soil. 


     When tops start to form and peek out, we will cover them up with a little more soil, repeating until the bucket is full. We talked about the 5 elements that plants need and decided with this project the sun would not be needed since we will be covering the tops as it grows. We did place the bucket closer to the stove than the window in our garage. We think the warmth of the fire will help it to grow. We will make sure it does not get too hot though. 


      We found our 5 gallon bucket on the side of the road. It was food grade so we decided it would be a good bucket to grow in. How can you tell if your bucket is food grade? Wiki How says to check the number within the arrows on the bottom of your bucket. #s 1,2,4, and 5 are all safe for food, with the best being #2 for food grade. Check out that link. Lots of good info there! You can buy food grade buckets online HERE or check out your local bakery. A lot of times they will give you their buckets for free or sell them to you for a low cost. 

Well, wish us luck! :D
We will update you soon! 

Have you ever grown potatoes in a 5 gallon bucket? How did it do? We LOVE your comments!  


Disclosure: I am Amazon Affiliate and may receive a small compensation for including links on my blog. Buying through my links is not necessary, just appreciated. Amazon does not charge extra for linked items recommended by their affiliates.  I only recommend products that I use and trust OR plan on using in the future. Please buy responsibly and do your own product research before buying anything online. 

Saturday, December 27, 2014

A Very Merry 'Prepper' Christmas

This post contains Affiliate Links.


     It has been A Very Merry 'Prepper' Christmas for us! My hubby got us both Timber Hawk camo backpacks, a Camillus Spade/pick and Camping Hatchet combo kit and we both got our own tool sets. I got a pair of jumper cables from him as well and then my mom got us a Presto 16 qt Pressure Canner. 
     It has been a debate in our house on whether or not us girls would replace the old backpacks we had been using for our G.O.O.D. bags with good sturdy camouflage backpacks. On one hand, the backpacks are well used and a bit flashy. On the other hand, who would suspect we knew what we were doing with some girly cute backpacks. In an emergency situation, hiking and military packs are going to be a 'red flag' we have got some goodies! Debate has been decided since Hubby got us these. Zoey has already transferred over her gear into the new packs. They have lots of pockets and zippers and cool spaces to store all of your big and small gear. There is also padding for back support and buckles to go around your waist and chest. I'm going to help her repack the bag because she found it is a lot heavier to carry than her old G.O.O.D. Bag. You can read more about my daughter's OLD Get Out Of Dodge bag HERE. 
     Why tools and jumper cables? Well, when I went to go fix my son's Blazer, I realized I had no tools in my truck, (luckily he had his) and the jumper cables in my truck won't jump off anything! I mean, why on Earth do I even have these jumper cables if they don't even work? Sheesh! Wasted space in my truck, as far as I am concerned! The cables came in a little bag with a pair of no slip grip gloves and a pair of safety goggles. Zoey likes to build stuff, and when she heard me talking about needing a tool kit for my truck, she chimed in she needed tools as well. No more borrowing Daddy's hammer for her! We got different kits and we are both very happy with them. Mine are a little bit geared to home rather than a vehicle, but that is easily fixed. Really, all I need is a good socket and wrench set and I will be good to go! I think they will fit into my little tool bag along with the other tools.
     The spade set has a compass on the bottom of the handle. The handle also unscrews so you can put stuff in it. It is tri folding so you can use it as a spade, a pick, or just the poker part of the pick axe. Zoey keeps calling the hatchet a 'Tomahawk.' I decided we needed to do some research on the subject, and found THIS article. Turns out, we were both right. I told her we were going to go out and chop some wood soon. She is excited. We just need to find out from the hubby, where we can chop. He is a bit particular about his land and knows every little tree and bush.  We don't want to get in trouble for chopping down the wrong ones! :D 


     Do you see our little tree behind all the gifts? Our tree is only about 3 ft. tall. Our living room area in the house is very small. The only place we have for a tree is between the front door and the bathroom door. We don't mind having a little tree. It is quite homey. 
     We are both really excited about the Presto 16 qt Pressure Canner. Since Christmas, Zoey and I have thrown around ideas on what we will can first. I think we have decided on pinto beans and ham. We have a lot of pinto beans, and we have a lot of extra ham left over from our Christmas dinner. Now we need some jars! 

We will share all of our new adventures with our new Christmas presents in the next few weeks. Stay tuned!

So how about you? Did you have a Very Merry 'Prepper' Christmas? What did you get? 


Disclosure: I am Amazon Affiliate and may receive a small compensation for including links on my blog. Buying through my links is not necessary, just appreciated. Amazon does not charge extra for linked items recommended by their affiliates.  I only recommend products that I use and trust OR plan on using in the future. Please buy responsibly and do your own product research before buying anything online. 

Wednesday, December 24, 2014

Merry Christmas!


This post contains no affiliate links, just wishing your family a Merry Christmas from ours. :D


     It's Christmas Eve, and only the girl and I are up. We are about to make some cookies for Santa and finish up our Christmas wrapping! Homeschooling The Well Prepared Child just wanted to wish you all a Merry Christmas! May it be merry and bright! <3

Monday, December 22, 2014

A Foraging We Will Go!

This post contains Affiliate Links, but most of them are not. 

'Every thing we need to survive is in nature. Knowledge and effort are the only other thing required.'
-Sean O'Hair (A friend in UNITY) 


So What Exactly Is Foraging?

'Foraging is searching for wild food resources. It affects an animal's fitness because it plays an important role in an animal's ability to survive and reproduce.[1] Foraging theory is a branch of behavioral ecology that studies the foraging behavior of animals in response to the environment where the animal lives.' -Wikipedia

     A very important and often neglected skill for survival is foraging. Being able to find edible food in the wild will be a must in a SHTF scenario. I want to be able to provide for my family in any situation, and for my children to also be able to find food for themselves! Times are already tough. Foraging is a wealth of FREE food found in your area just waiting to be picked! 
     In today's times, people think you are nuts if you forage for food. Why when there is a grocery store on every corner? It was not always this way. For thousands of years people foraged for their food. It was not until grocery stores became so popular that people stopped looking in their gardens and in their yards for their daily meals. So why has this time old tradition become lost? Well think on this, when grocery stores opened they did not carry items you could find in your yard. Why would they sell something you could gather for free? As time went on and people became so dependent on shopping at grocery stores alone, they began to forget about the items in their yards. Convenience replaced what we used to do naturally. 
     While on our quest for self sufficiency and eating more natural, we discovered Wild Crafting and Foraging. (Those are affiliate links to help you understand what I am talking about, they are also on my 'wish list') We are also learning about healing herbs and how to be healthy naturally. In February, we will start taking herbal/medicinal classes at StarDragonFly Herbal Company. They are in a town about 20 minutes from us. Zoey and I visited one day when my mom had an appointment in the same town. I wish I had gotten pictures. The little shop is absolutely amazing! I will get photos next time for sure! We are excited to start learning with them! Our family friend from Time to Thyme sells some of her wonderful soaps and products in there. I squealed when I found them beautifully displayed on a table. 

Here are a few of our favorite wild foraging plants in our area.
(Okay, there is only 1 right now but there will be more soon!) Wild Onions


Here are some pictures of some of the plants we have found on our property..


Day Lillies 
Wild Violets

Honey Suckle

Dew Berries

White Clover 
Canna Lillies
Lichen
Heal's All
Henbit

Sheppard's Purse
 We have found a few others as well. At my mom's, I found these in her yard. Working on identifying them. Do you know what they could possibly be? 

Some sort of plantain or dock?


Great sites to learn about foraging, herbs, wildcrafting and useful recipes:
(I have not been paid or compensated for endorsing these sites.)

http://learningherbs.com/

http://herbalacademyofne.com/

http://www.foragingtexas.com/

http://melissaknorris.com

http://survivalathome.com

http://gnowfglins.com

http://survivalsherpa.wordpress.com

http://learningandyearning.com

Disclosure: I am Amazon Affiliate and may receive a small compensation for including links on my blog. Buying through my links is not necessary, just appreciated. Amazon does not charge extra for linked items recommended by their affiliates.  I only recommend products that I use and trust OR plan on using in the future. Please buy responsibly and do your own product research before buying anything online. 

Wednesday, December 17, 2014

Wrapping and Recycling

This post contains affiliate links.

Say What?   

     We are very much a recycling family.  Reducing our foot print on the Earth is important to us. According RecycleWorks.org  "From Thanksgiving to New Year's Day, household waste increases by more than 25%. Added food waste, shopping bags, packaging, wrapping paper, bows and ribbons all add up to an additional 1 million tons a week to our landfills..."  Whoa! Really? 


How does my family try to make a difference on a daily basis?  

      How we try to eliminate the waste products we use in our house is through recycling and upcycling. Zoey makes most of her doll house furniture from recycled food boxes and other 'trash can' items. We shop at local resale shops and garage sales for items we need before buying new. Our animals consume our kitchen food waste when possible and the rest is composted. The trash my family creates is either burnt and the ash used to improve the soil on our land, or what is non-burnable is sent to the scrap yard. What the scrap yard will not except (ours will not take tin cans from canned goods or glass) are the only items we actually send to the landfill. However, glass jars are recycled to hold our herbs and self dried foods, and fresh fruits and vegetables are used as much as possible in place of canned. Coffee cans are being reclaimed to help organize the garage. (I drink A LOT of coffee!) Really, only a 50 pound chicken feed bagrecycled into a trash bag, is sent to the dumpster maybe once or twice a month. 

But what about Christmas?

    One of our big ways of keeping all of the Christmas waste from piling up is to use granola bar, pop tart, cereal and other food boxes in place of buying holiday gift boxes. We also use inexpensive paper because it is thinner, therefore, it produces less waste. Presents bought for all the nieces and nephews are useful items, like jackets, pillows, or stuff that gets them out of the house and/or using their imagination skills, not just a bunch of expensive toys that end up lost or broke and in the trash. My crew is getting sports balls and personalized pillows to cuddle with this year. (SHHHHH... don't ruin the surprise!) But we can't pack them into a granola box! Shirts, CD's, and other small items can be though! Here! I'll show you! 


Wrapping a T-shirt in a recycled granola bar box

Step 1

Gather your box to recycle and the t-shirt in which you are wrapping. My daughter and her PaPa Clifton share a love for wolves, so she picked out this shirt for him. Made sure your wrapping paper, tape and scissors are handy. 

Step 2

Lay your shirt out flat. Remember to remove any stickers that may have the price tag on it. That is a very important step! My mother is notorious for leaving price tags on. My siblings and I joke that she does this on purpose, but I seriously doubt it. I have been known to leave tags on myself :) and I definitely do not do this on purpose. Then, flip your shirt over to begin your folds.


Step 3

Start your first fold on the right, by deciding where the imaginary line of 1/3 of the shirt is. Then fold the left side over. Use the box to check that your folds equal to the same size of the box or just a little less. If the folded shirt width is too wide, then refold your shirt bringing the side over farther. If it is too narrow, fold the side of the shirt less. It might take you more than one try. 

Step 4

Now this step can get a bit tricky. Usually, I then fold the shirt in half from top to bottom, and then again in a 3 fold. Sometimes, it does not work out perfectly. If this happens to you, don't worry, just adjust your folds. It just so happens that my half fold and then 3 fold technique worked perfectly. Play with your folds until you get it right. The object is to have your shirt flat enough to easily slide into your box. Don't worry if it takes you several tries.  


Step 5

Slide that shirt right on in! 
View from the top. 
 Then secure the top of the box with a piece of tape. 
 Tad-ah! 

 Step 6

Now let's wrap it up! You will have to excuse my wrapping queen's wet head, it is another way we help to reduce our footprint on the Earth! 
 
Secure it with a piece of yarn. So Pretty! 

Now don't you feel good about giving a perfectly wrapped gift that also helps the environment? Got a pair of jeans that needs a box? Try a cereal box! 

Want to see other ways we have used recycled items? 
Check out our posts: 


Recycle, Re-use, Re-purpose! Talk the Talk and Walk the Walk! 


Disclaimer: I am an Amazon Affiliate and I may receive a small compensation if you chose to buy from my link. Buying through my links is not necessary, just appreciated. Amazon does not charge extra for linked items recommended by their affiliates.  I only recommend products that I use and trust OR plan on using in the future. Please buy responsibly and do your own product research before buying anything online.