
On June 9th, 2014, I began my blogging career because of encouragement by my Facebook bestie, Treats By Tanya. Never in a million years would I think someone would want to read about my daughter and I's homeschooling/homesteading journey. The more I posted our funny adventures, the more she would urge me to write for the world to see. I finally gave in. I love this journey we have taken, and I love sharing it with you. Thank you all for the support you have given us! Here is a list of our Top 10 posts of 2014.
.jpg) 10. Attitude Is Everything: See what happens when little miss catches attitude about a research/writing assignment SHE CHOSE!
10. Attitude Is Everything: See what happens when little miss catches attitude about a research/writing assignment SHE CHOSE!  9. A Foraging We Will Go: I spent my whole mommy career telling my kids, "You can't eat that!" Just to find out.. YES YOU CAN!
 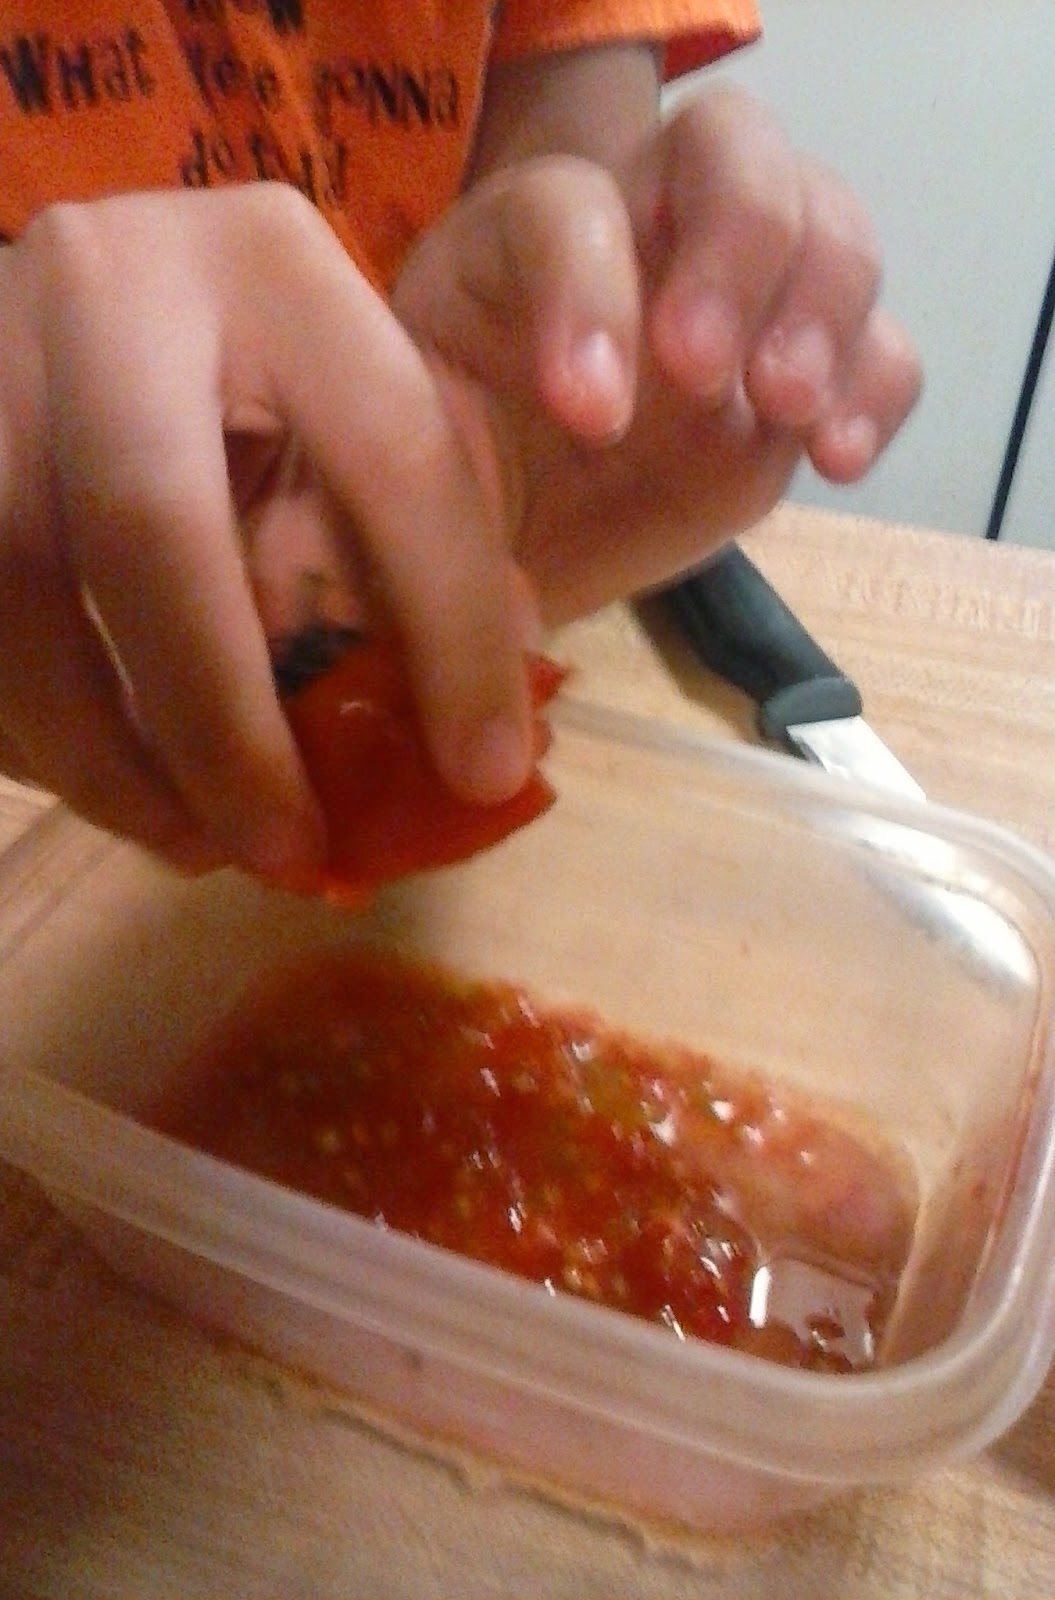 8. What do you do when you have super juicy yummy tomatoes you wish you could grow again for the next year? Save The Seeds of course!
  7. Water Filtration: How do you make puddle water drinkable? We are still not sure if you can drink it... but we managed to filter it out (and get rid of the unexpected pee smell.)
 6. A deep contemplation about where I just 'naturally' acquired all of my homemaking/homesteading skills. Things I Learned From My Grandparents, (And I Didn't Even Know I Was Learning!)
.jpg) 5.Washing Clothes The Old Fashioned Way: How much can you save from washing your clothes by hand? And did my kid enjoy it? You be the judge.
5.Washing Clothes The Old Fashioned Way: How much can you save from washing your clothes by hand? And did my kid enjoy it? You be the judge. .jpg) 4. You Ate What? Yes, I did! And I will do it again. Only, now that the boy is gone.. Who is going to kill and skin it for me?
4. You Ate What? Yes, I did! And I will do it again. Only, now that the boy is gone.. Who is going to kill and skin it for me? .jpg) 3. Why We Prep As A Family: For the kids of course. I want our family to be prepared for any situation that comes our way. You might think you know what you are going to do, but have you done the stuff?
3. Why We Prep As A Family: For the kids of course. I want our family to be prepared for any situation that comes our way. You might think you know what you are going to do, but have you done the stuff? 2. Guess What This Is For?: We got several answers, but did you guess correctly? I bet you did, you smart cookie you!
  And Our #1 post of the year? Came as quite a shock to me. Who knew a simple test to check if your eggs are fresh would be so popular? Don't Be A Rotten Egg!
Thanks for joining us on our Homeschool/ homesteading journey towards self sufficiency. We will see you with new adventures in 2015. Until then, go check out some of my favorite blogs and their Top 10 of 2014.


Disclosure: I am Amazon Affiliate and may receive a small compensation for including links on my blog. Buying through my links is not necessary, just appreciated. Amazon does not charge extra for linked items recommended by their affiliates. I only recommend products that I use and trust OR plan on using in the future. Please buy responsibly and do your own product research before buying anything online.


