Enter your email address:

Delivered by FeedBurner

Homeschooling The Well Prepared Child: hands on learning
Showing posts with label hands on learning. Show all posts

Saturday, February 21, 2015

We made Charcoal

This post contains Affiliate Links.

     Many years ago, an older gentleman told my husband you could make your own charcoal by taking the larger embers from a fire and dousing them in water. This has always stuck in my head and I have wanted to try it for many years. Alternative cooking means is a topic that is always on the back of my mind. 
     A couple of months ago, I was getting out the ash from around some large embers. I started thinking about the story of the older gentleman making his own charcoal from large embers doused in water and air dried. I called Zoey into the garage and told her the story. "We can make BBQ charcoal?" she asked. 
"Maybe," I said. 
"Let's do it!" And, so we did. 

     I got a large coffee can, filled it with water, scooped out some embers and dropped them into the can. We stood back and watched the water boil and steam. When it finished, we dropped more into it. When the can was filled, Zoey held the front door open while I carried the can outside. It was surprisingly cool. I expected the can that just had boiling water in it to be a lot hotter to the touch. 


     I drained the water out as best I could. Some of the tinier pieces fell out, but I did not worry about it. My coffee can has a lip on it and I think that helped to drain the wet charcoal with out all of the pieces trying to come out. We brought the can back into the garage and Zoey laid out newspaper to lay the wet charcoal out on. 
     
     It took about 4 days for it to dry. We did not use it immediately though. One coffee can of charcoal is not a lot. We did several batches over the next few weeks. Anytime our fire had produced a fair amount of large embers we would get the coffee can back out and start the process over. 
     When I felt we had enough, I bought a steak to cook on it. What better way to test the flavor charcoal gives to meat than to cook a steak on it. However, as my luck would have it, we were not home when the day arrived to cook our steak on our home made charcoal. I was supposed to be off after 12 but ended up having to stay until 4. Since my hubby has to be in bed by 5:30 and eats at 2 p.m., he had to go ahead and cook it without Zoey and I. We might have come home to cold steak and no blogging pictures, but it still tasted fantastic! There was none of the 'campfire' taste you get from using old burning wood like you get when you are camping. (I do not like that taste!) 
     It was another month and a few more batches of charcoal making that we got to be here to grill up some pork chops. My husband started the charcoal with a bit of lighter fluid. It burned evenly and easily. Oh, what a beautiful sight to see! Now we will be making charcoal instead of buying it! 

     If you plan on making your own charcoal, please use extreme caution. Embers of a fire are extremely hot and can cause unexpected fires. Just because I found the can to be cooler than expected, does not mean you should just grab it up. Make sure the coal is completely extinguished before placing on any surface to prevent fires. Please exercise extreme caution and common sense before trying anything you see on my blog or any thing else on the web. 

     Do your own research! I hear there are different ways to make larger batches of coal.  


Disclosure: I am Amazon Affiliate and may receive a small compensation for including links on my blog. Buying through my links is not necessary, just appreciated. Amazon does not charge extra for linked items recommended by their affiliates.  I only recommend products that I use and trust OR plan on using in the future. Please buy responsibly and do your own product research before buying anything online. 

Saturday, January 24, 2015

Operation: Candling Week 1

This post DOES NOT contain Affiliate Links.


OPERATION: Chicken Hatch is well under way! 

     We candled at day 4. We saw some spider web looking things in a few of them. It was still hard to determine if our eggs were developing. A couple of the egg's shells are so dark, we can only see the yolk part expanding. Since we do not know exactly what we are looking for, we have been checking back with The Chicken Chicks page to see what a developing embryo looks like at each stage. It has been so hard NOT to check them on a daily basis. I think this is one of the most exciting adventures we have embarked upon thus far in our journey. 

     We had our Amazingly Awesome Neighbor, Bree, come by to help us candle on day 7. We made our garage as dark as we could and I held the flash light tightly on the top, with the egg cupped in my hand. Bree took pictures of our eggs and then a video of one that moved around quite a bit. I can't wait for you to see it! At this stage, the chicks wings, comb, beak, and legs have began to form. We swear this little chick looked like it was swimming. Want to see? I was going to wait till the end, but I can't help but to show you now! 
     It is not as good as watching it live and in person, but still an amazing video! Thank you to my Amazingly Awesome Neighbor, Bree, for all your help and support, (and great camera!) Bree has 5 eggs in the incubator so far. Zoey and I have 2. Our experiment to see if the eggs could be incubated was a success! We are gathering more eggs to be incubated. We will put the newly gathered eggs into the incubator on the 30th. Those will all hatch together. I am not sure how many we will actually have of our own vs Bree's. Our chicks are not laying as well as hers right now. 
     Here are all of our candled eggs. You can see most of the dark embryo areas within the eggs. Some of the shells were too dark to see into them. Others, were as clear as day. 


Stay tuned for next weeks post on Water Candling Eggs!
(It is safer for the light sensitive chicks!)


Disclosure: I am Amazon Affiliate and may receive a small compensation for including links on my blog. Buying through my links is not necessary, just appreciated. Amazon does not charge extra for linked items recommended by their affiliates.  I only recommend products that I use and trust OR plan on using in the future. Please buy responsibly and do your own product research before buying anything online. 

Monday, January 19, 2015

Operation: Chicken Hatch

This post contains Affiliate Links.


     We have hatched chicks at the childcare center I work at for years, but we have never actually hatched chicks ourselves. Definitely not from our own eggs! Are we a bit ambitious? Perhaps, but learning is what we do best around here. Even fails are not looked upon as regrets, just opportunities to learn. 

     The other night, Zoey and I were talking about chickens. We had gone by a local feed store to pick up feed for our chickens and the pig. We were really excited for spring and new spring chicks. No one in town has chicks yet. So I thought, why wait? I have a rooster, my Amazingly Awesome Neighbor, Bree, has a rooster... So why not? I also have some awesome connections at our local Ag Extension office. I gave my friend a call and asked if we could borrow an incubator. 

The very next day... Tadaa! 
Operation: Chick Hatch is underway! 


Funny side story, she told me to fill the bottom reservoir, and we did. BUT, I thought the whole bottom was the reservoir, and filled the whole bottom. Yup, I pretty much flooded the garage floor. 

     One of my nephews, Collin, came to stay the night and he helped us set up the incubator. I explained we were going to hatch our own chicks. I'm not sure he knows what to think of us. I have heard the words 'strange' and 'cool' come out of his mouth on several occasions. He is 10 and pretty much a city type kid. 

     Now to figure out if our eggs were actually fertile. We headed on over to The Chicken Chick to see how to tell if our eggs were going to produce some babies. Lots of great info there. We learned about blastoderms and the difference between an incubated fertile egg and an un-incubated fertile egg. This morning I cracked open one of our eggs laid by Little Red, and guess what we found? A BULLS EYE! 


     We have long suspected our Jersey Giants were laying eggs, but our rotten little stinker pup, Bo, was finding them and eating the eggs as they laid them. Today, we found an egg from one of our Jersey Giants. We marked it with a JG, for Jersey Giant, and the date we put it in the incubator. 


     Bree came over later and put in 4 more eggs, marked with her initials and the date. These are just our tester eggs. According to these instructions sent to me by a friend that swears by the Farmer's Almanac, we need to wait a few days to start incubation. Like I said, we are just testing to see if our eggs are truly fertilized, and what they look like when they have been incubated for a while. We watched a cool video from a Wiki How tutorial about candling eggs. We plan on trying it in about 4 days. If we see signs of fertilization and growth, we will place the eggs we gather between Jan. 22nd and the 29th into the incubator with the others as well. 


Yes, we fixed the upside down eggs very carefully...

Wish us luck and stay tuned for updates! :D 

Have you hatched your own chicks? 


Disclosure: I am Amazon Affiliate and may receive a small compensation for including links on my blog. Buying through my links is not necessary, just appreciated. Amazon does not charge extra for linked items recommended by their affiliates.  I only recommend products that I use and trust OR plan on using in the future. Please buy responsibly and do your own product research before buying anything online. 

Tuesday, January 13, 2015

Learning To Chop Wood

This post contains Affiliate Links.


     It is 38 degrees, and guess what my kid is doing? Learning to chop wood. One of the many 'prepper' goodies she got for Christmas was a camping hatchet. (She calls it her Tomahawk.) It is kind of like THIS ONE, just not as fancy. You can see the rest of what she got HERE. 
     She got a short lesson from daddy on how to chop wood, and I supervised. She wanted me to come out to watch her, but I could not stay outside for long. Not only am I not that crazy, (It's cold out there!) I also had to keep watch on the wood burner. We decided to use some of our preps to make pinto beans. Cooking them on the wood burning stove required me to keep the wood burning hot. So I was running in back and forth, but mostly, watching from the window. 
 I'm ready! 

     I know, she is so scary! She ended up moving out of the front yard and into the driveway for more stability. Zoey actually did a really good job. Once she learned how to chop is a smaller area, and turn the limb so she could chop on the other side, it took her no time to get the limb off of the branch piece. When she was finished, she handed me the wood and told me to go put it in the wood burner for the beans! 
      You can tell she is pretty excited to have chopped her first piece of wood. Once spring hits, we are going to see about chopping enough wood to build an emergency shelter. Hmmm... we will definitely have to research that! :D


Disclosure: I am Amazon Affiliate and may receive a small compensation for including links on my blog. Buying through my links is not necessary, just appreciated. Amazon does not charge extra for linked items recommended by their affiliates.  I only recommend products that I use and trust OR plan on using in the future. Please buy responsibly and do your own product research before buying anything online. 

Wednesday, December 31, 2014

Our Top 10 Posts Of The Year

This post does not contain Affiliate Links.

     On June 9th, 2014, I began my blogging career because of encouragement by my Facebook bestie, Treats By Tanya. Never in a million years would I think someone would want to read about my daughter and I's homeschooling/homesteading journey. The more I posted our funny adventures, the more she would urge me to write for the world to see. I finally gave in. I love this journey we have taken, and I love sharing it with you. Thank you all for the support you have given us! Here is a list of our Top 10 posts of 2014. 

10. Attitude Is Everything: See what happens when little miss catches attitude about a research/writing assignment SHE CHOSE! 

9. A Foraging We Will Go: I spent my whole mommy career telling my kids, "You can't eat that!" Just to find out.. YES YOU CAN! 

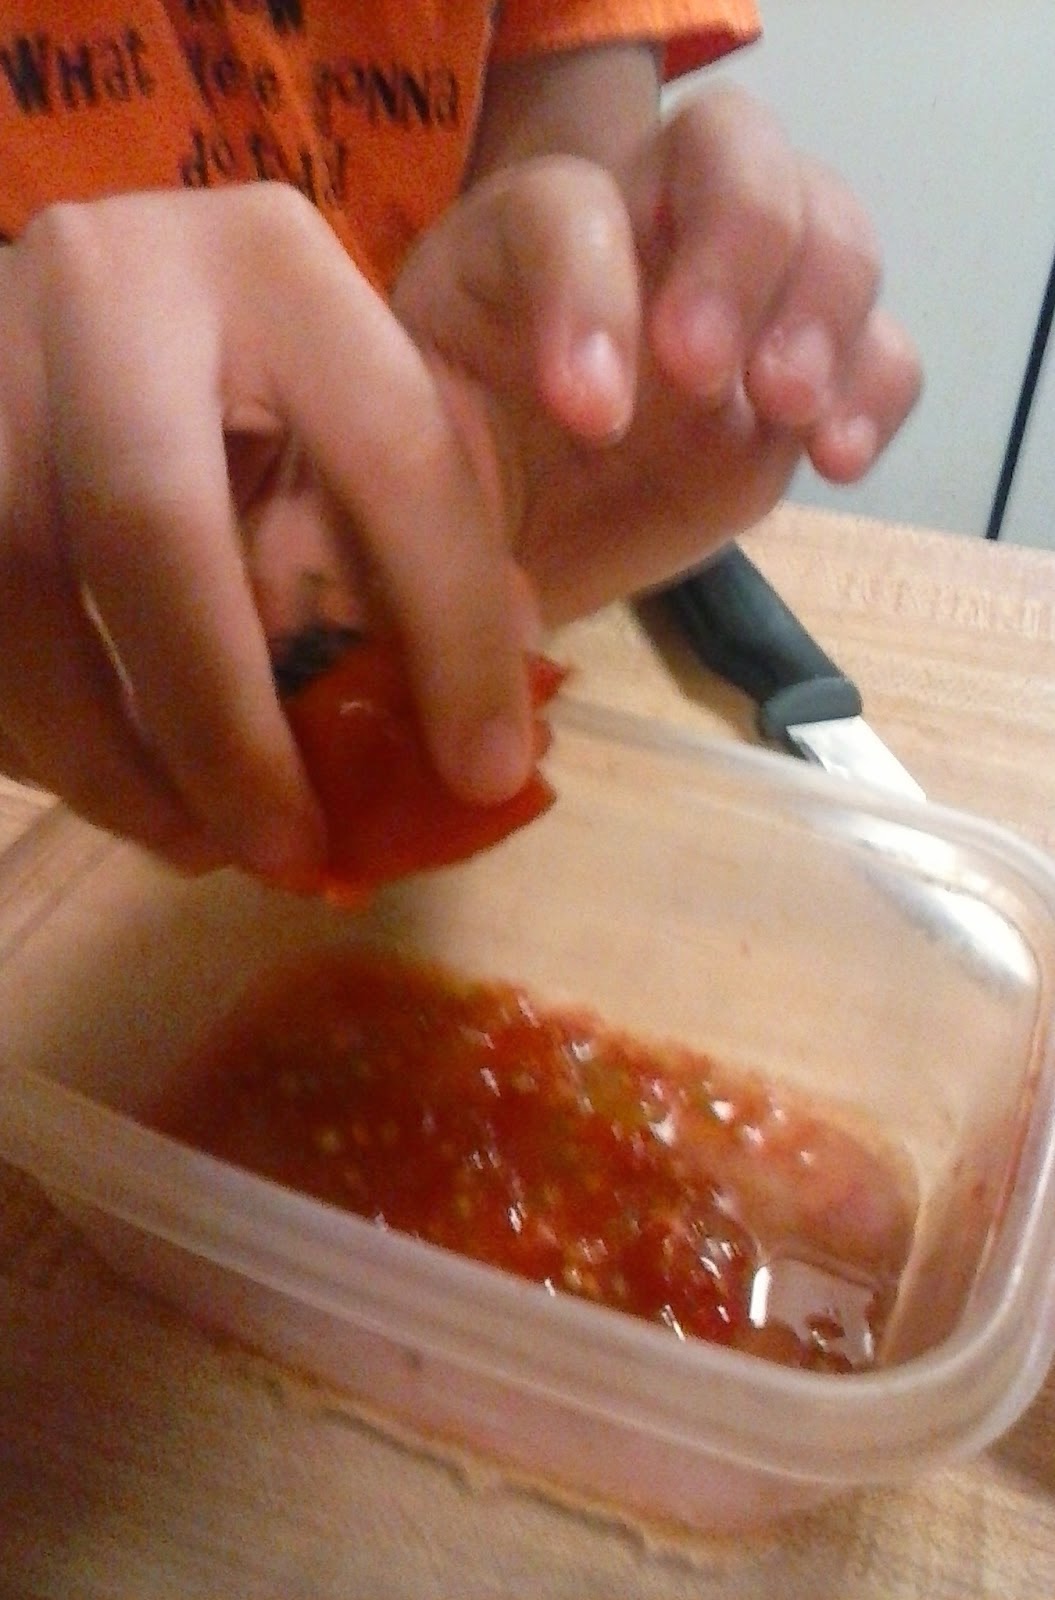
8. What do you do when you have super juicy yummy tomatoes you wish you could grow again for the next year? Save The Seeds of course! 

7. Water Filtration: How do you make puddle water drinkable? We are still not sure if you can drink it... but we managed to filter it out (and get rid of the unexpected pee smell.)

6. A deep contemplation about where I just 'naturally' acquired all of my homemaking/homesteading skills. Things I Learned From My Grandparents, (And I Didn't Even Know I Was Learning!)


5.Washing Clothes The Old Fashioned Way: How much can you save from washing your clothes by hand? And did my kid enjoy it? You be the judge. 

4. You Ate What? Yes, I did! And I will do it again. Only, now that the boy is gone.. Who is going to kill and skin it for me? 

3. Why We Prep As A Family: For the kids of course. I want our family to be prepared for any situation that comes our way. You might think you know what you are going to do, but have you done the stuff?

2. Guess What This Is For?: We got several answers, but did you guess correctly? I bet you did, you smart cookie you! 
And Our #1 post of the year? Came as quite a shock to me. Who knew a simple test to check if your eggs are fresh would be so popular? Don't Be A Rotten Egg! 

Thanks for joining us on our Homeschool/ homesteading journey towards self sufficiency.  We will see you with new adventures in 2015. Until then, go check out some of my favorite blogs and their Top 10 of 2014. 


Disclosure: I am Amazon Affiliate and may receive a small compensation for including links on my blog. Buying through my links is not necessary, just appreciated. Amazon does not charge extra for linked items recommended by their affiliates.  I only recommend products that I use and trust OR plan on using in the future. Please buy responsibly and do your own product research before buying anything online. 

Monday, December 22, 2014

A Foraging We Will Go!

This post contains Affiliate Links, but most of them are not. 

'Every thing we need to survive is in nature. Knowledge and effort are the only other thing required.'
-Sean O'Hair (A friend in UNITY) 


So What Exactly Is Foraging?

'Foraging is searching for wild food resources. It affects an animal's fitness because it plays an important role in an animal's ability to survive and reproduce.[1] Foraging theory is a branch of behavioral ecology that studies the foraging behavior of animals in response to the environment where the animal lives.' -Wikipedia

     A very important and often neglected skill for survival is foraging. Being able to find edible food in the wild will be a must in a SHTF scenario. I want to be able to provide for my family in any situation, and for my children to also be able to find food for themselves! Times are already tough. Foraging is a wealth of FREE food found in your area just waiting to be picked! 
     In today's times, people think you are nuts if you forage for food. Why when there is a grocery store on every corner? It was not always this way. For thousands of years people foraged for their food. It was not until grocery stores became so popular that people stopped looking in their gardens and in their yards for their daily meals. So why has this time old tradition become lost? Well think on this, when grocery stores opened they did not carry items you could find in your yard. Why would they sell something you could gather for free? As time went on and people became so dependent on shopping at grocery stores alone, they began to forget about the items in their yards. Convenience replaced what we used to do naturally. 
     While on our quest for self sufficiency and eating more natural, we discovered Wild Crafting and Foraging. (Those are affiliate links to help you understand what I am talking about, they are also on my 'wish list') We are also learning about healing herbs and how to be healthy naturally. In February, we will start taking herbal/medicinal classes at StarDragonFly Herbal Company. They are in a town about 20 minutes from us. Zoey and I visited one day when my mom had an appointment in the same town. I wish I had gotten pictures. The little shop is absolutely amazing! I will get photos next time for sure! We are excited to start learning with them! Our family friend from Time to Thyme sells some of her wonderful soaps and products in there. I squealed when I found them beautifully displayed on a table. 

Here are a few of our favorite wild foraging plants in our area.
(Okay, there is only 1 right now but there will be more soon!) Wild Onions


Here are some pictures of some of the plants we have found on our property..


Day Lillies 
Wild Violets

Honey Suckle

Dew Berries

White Clover 
Canna Lillies
Lichen
Heal's All
Henbit

Sheppard's Purse
 We have found a few others as well. At my mom's, I found these in her yard. Working on identifying them. Do you know what they could possibly be? 

Some sort of plantain or dock?


Great sites to learn about foraging, herbs, wildcrafting and useful recipes:
(I have not been paid or compensated for endorsing these sites.)

http://learningherbs.com/

http://herbalacademyofne.com/

http://www.foragingtexas.com/

http://melissaknorris.com

http://survivalathome.com

http://gnowfglins.com

http://survivalsherpa.wordpress.com

http://learningandyearning.com

Disclosure: I am Amazon Affiliate and may receive a small compensation for including links on my blog. Buying through my links is not necessary, just appreciated. Amazon does not charge extra for linked items recommended by their affiliates.  I only recommend products that I use and trust OR plan on using in the future. Please buy responsibly and do your own product research before buying anything online.