Enter your email address:

Delivered by FeedBurner

Homeschooling The Well Prepared Child: garden
Showing posts with label garden. Show all posts

Monday, August 17, 2015

Blossom End Rot

This Post Contains Affiliate Links.

     Homesteading, for us, has always been a 'Trial and Error' adventure. We have raised mini watermelons and squash, had mystery plants take over the front yard, potato bucket fails, strange eggs, and have two incubators full of eggs that never hatched. This, however, is one of the oddest things we have ever seen... 
What on Earth? 
It looks like something on an alien movie!

???
     So I posted the photo in a gardening forum. Someone mentioned blossom end rot. I did a little searching and found a photo that looked just like our crazy alien zucchini squash on THIS website. Blossom end rot it is! 


But what is blossom end rot? 

Blossom end rot is when the plants have a calcium deficiency. Like calcium helps to build our bones, calcium also helps a growing plant keep it's structure. If there is not enough calcium, the structure of the plant starts to break down at the end of the plant. The end where the blossom is, starts to get mushy and decay. We do have some that have developed the traditional blossom end rot. 

However, our end did not rot, it just mutated.

So How Do You Fix It? 

The Missouri Botanical Gardens suggestion is to test the soil PH, stay away from high ammonia fertilizers and get some Calcium Nitrate to help prevent the ends from rotting. 
     Another site recommended using Gypsum or Lime in your garden to help balance the soil for optimal calcium intake. Also, do not over water. If you notice blossom end rot on your plants, remove the affected fruit and spray with a calcium rich fertilizer. 

What Are You Going To Do?

Nothing. It is the end of the season and the garden is winding down. I think I will work on building up the nutrients in the garden for next year after the garden has died out for this year. 

So What Did You Do With The Alien Looking Thing? 


I let Zoey dissect it of course! :D We just had to see what was under all the craziness. And guess what we found... 


     Nothing much. Just looked like a regular zucchini. Zoey tried a nibble of it and said it tasted normal as well. (She likes to eat raw zucchini.) We did not eat the rest of it because, I already have 4 more waiting to be eaten. Zoey thought the pig might like it, so into the slop bucket it went. 

We love your comments! Do you have any crazy produce photos to share? 


Disclosure: I am Amazon Affiliate and may receive a small compensation for including links on my blog. Buying through my links is not necessary, just appreciated. Amazon does not charge extra for linked items recommended by their affiliates. I only recommend products that I use and trust OR plan on using in the future. Please buy responsibly and do your own product research before buying anything online. 

Wednesday, August 5, 2015

Well, That's NOT Cabbage!

This Post Contains Affiliate Links.


     Right before hubby's accident, our amazingly awesome neighbor, Bree, gave us an assortment of plants she got from the store. There was lettuce, spinach, and cabbage. We kept them in the garage with the plan to plant them as soon as it was time. True to our luck, our plans failed, and most of the plants died while we were in the hospital. My garden plans were thwarted even more with all of the crazy storms. The garden was not put in as early as I had hoped. 
     By the time we got our garden in the ground, the only plants left were the cabbage... or so I thought. Only, these cabbage plants were not like any I had ever seen before. The leaves were coming out from the top, and a little from the sides. They were not hugging the cabbage head like I was used to seeing. I was really starting to wonder, "What kind of cabbage is this?" So I called the person who gave them to me. She once again said, "Cabbage." She didn't know any more than that. Her aunt had bought them for her. Great...

     When the awesome neighbor came over, we walked my garden. I finally got to show her why I was so confused. "It's kohlrabi." What? Could you repeat that please? "It's kohlrabi."
Well, That's NOT Cabbage!
     Turns out, kohlrabi IS a type of cabbage. I had just never heard of it. I didn't even know how to fix it, eat it, or what to do with it. What the heck is this stuff? I asked around. Most of my friends just said to peal it, slice it up and eat it with Ranch Dressing. Everything tastes better with Ranch, right? 

Okay, let's do this!
     I was really hoping it tasted like Jicama, but it didn't. It was kind of peppery, but not. It was kinda sweet, but not. And it was not good to anyone in my family... Now what? I have all of these kohlrabi plants. I can't just waste it! 

     So I did another shout out on Facebook to see how others prepared it. However, I have not been brave enough to try them yet. My next 'Try' will be to dice one up and fry it like a potato. Wish me luck! 


Some interesting facts about Kohlrabi:


  • The whole plant can be eaten raw or cooked
  • It's name means 'cabbage turnup'
  • Kohlrabi is actually pretty nutritious
  • My animals love getting the leaves as a treat


Here is how some of my blogger friends prepare theirs:


How do you prepare your kohlrabi?

I'm open to suggestions!


Disclosure: I am Amazon Affiliate and may receive a small compensation for including links on my blog. Buying through my links is not necessary, just appreciated. Amazon does not charge extra for linked items recommended by their affiliates. I only recommend products that I use and trust OR plan on using in the future. Please buy responsibly and do your own product research before buying anything online. 

Wednesday, June 10, 2015

(Not So) Wordless Wednesday #1

This post contains Affiliate Links.

     I was going to try to do one of those "Wordless Wednesdays" you see on other blogs. You know, when they post one picture and it pretty much explains it all. No words needed. Sometimes there are pictures and other stuff I would like to share with you, but they really do not equal a whole blog post. But.. Apparently, I am not a wordless type of gal! :D 

     I do want to share my salad for lunch today with you. Although, I used a bagged salad mix, (lettuce just refuses to grow for me, and when it does, it is bitter) the sugar snap peas and cherry tomatoes are fresh from our garden! We are not getting a whole lot of peas, (I think it is the crazy Texas heat) but we have gotten several snacks from our plant. 


     The cherry tomatoes have produced like crazy and we have enough to munch on while walking about the property, AND we have a small bowl of them sitting on the counter. Zoey gathers them for us every other day. Do you remember my cherry tomato plant that was in the 5 gallon bucket? It got so big we had to transplant it into the ground. It is not so big and beautiful anymore, but it still produces yummy tomatoes! 
     So that is about it! While I go eat my salad, I am going to head on over to the Homestead Blog Hop and see what's happening! Come join me! 


Disclosure: I am Amazon Affiliate and may receive a small compensation for including links on my blog. Buying through my links is not necessary, just appreciated. Amazon does not charge extra for linked items recommended by their affiliates. I only recommend products that I use and trust OR plan on using in the future. Please buy responsibly and do your own product research before buying anything online.

Tuesday, May 19, 2015

Time Well Spent

This post does not contain Affiliate Links.

     I don't think my garden has ever been more important to our family. With Mike out of work, we are going to need all the help we can get. My husband's work would not clear him for 'light duty' like the doctor ordered. He does not go back to the doctor until the end of June. Even if he starts work the following Monday, it will still be mid July before we see a paycheck form his job.
    My paycheck usually goes to groceries, gas in my vehicle and any odds and ends I feel necessary. The less food I have to buy, the more of my paycheck that can go to paying the bills. So far we are doing okay. Thank goodness I prep! We have been using the food I have tucked away for a rainy day. Well, baby, right now it is pouring! ;) Only problem is, my family is more of a 'Fresh' fruit and veggie type of family. We don't eat a lot of process foods. When you prep, you buy a lot of foods that have a longer shelf life. Unfortunately, most of those are processed.
     Until the garden comes in, I am buying a lot of my 'fresh' items from the grocery store and some from a local produce stand. I can't wait till the garden is in full force! 
     Biggest problem we have had is the rain. Good grief I wish some of it would save its self for this summer! By August, I'm sure we will be begging for this weather. For now, we are gardening in between thunderstorms and wading to the garden to get covered in mud. What we have managed to get in the ground is growing well. WE CAN"T WAIT!! Thought I would share a few pictures with you of the garden thus far. 
     
I saw mound gardening somewhere.. Thought it was a really cool idea. Just in case we can not weed fast enough, we can weed only the mounds and then use the weed eater to cut the grass around them. Crossing my fingers on this! 

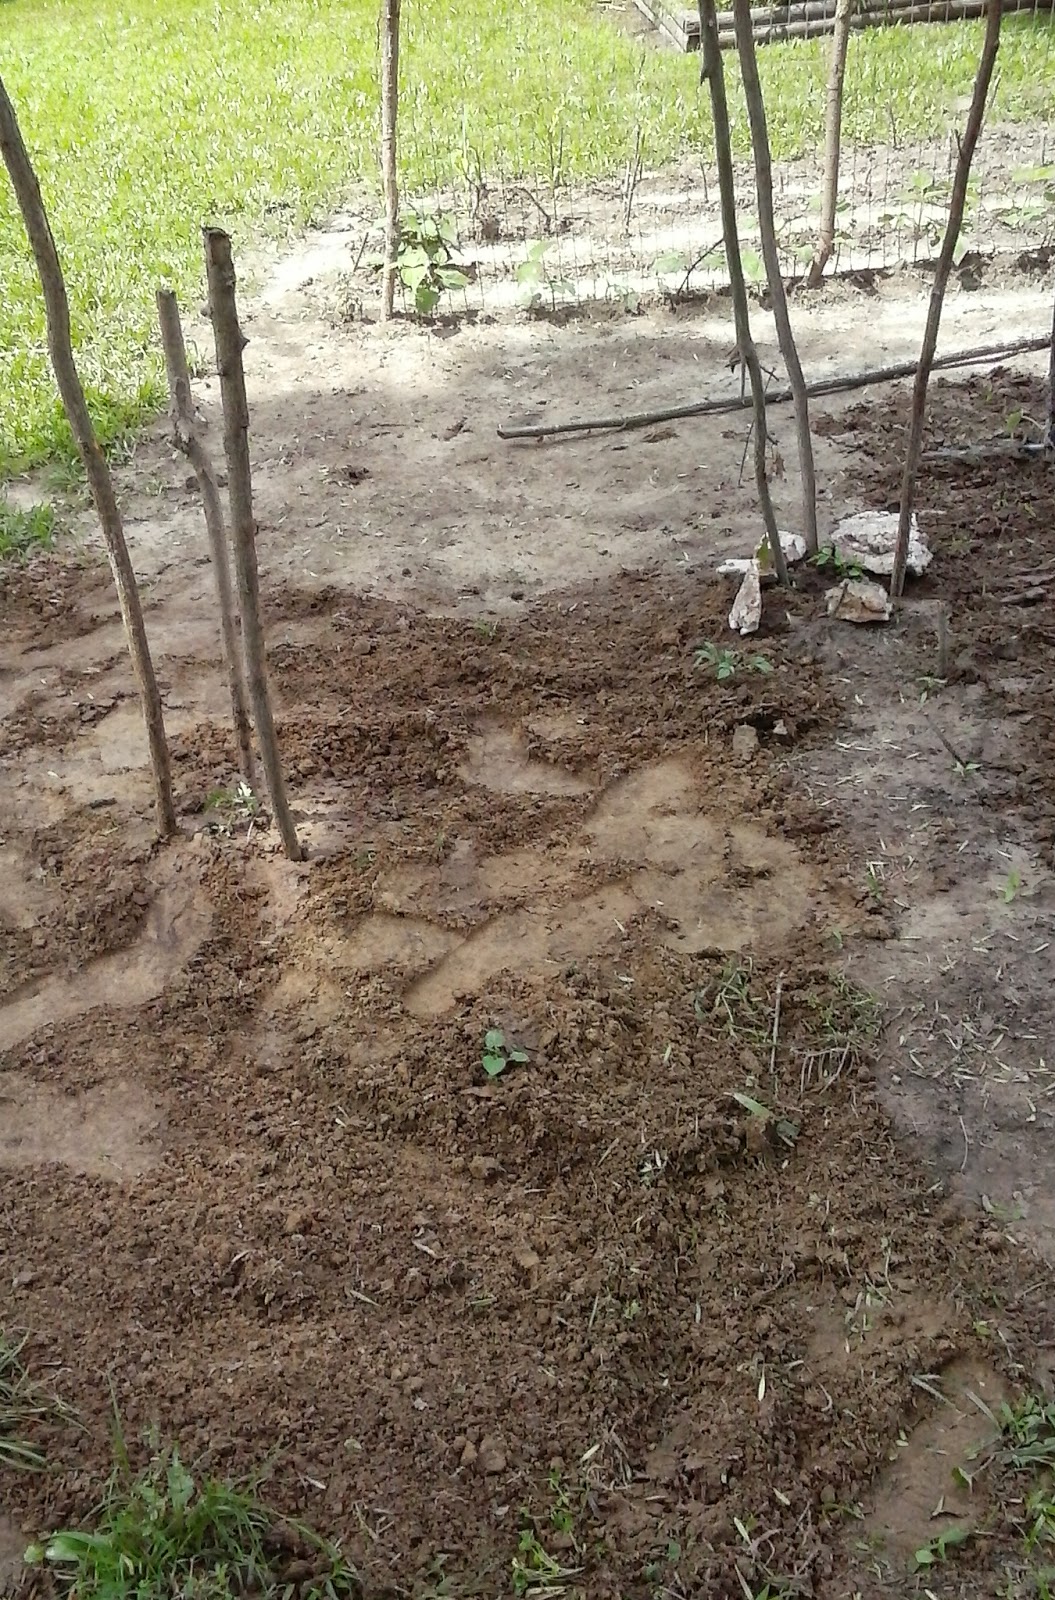
This was supposed to be full of potatoes, but a sink hole created by the way the yard is leveled and all of the rain took most of the dirt and the potatoes seed plant under ground and washed them away. I planted some tomato plants instead. Regular sized heirlooms and cherry tomatoes. We have no money for tomato cages, so I am hoping these cut saplings help to keep them under control and out of the dirt.

Most of the garden is shown here. It is only about 20x20 feet. On our land, it is mostly clay dirt and this is the best place to put it other than in the very front yard. 

Our green beans and peas. In the background, what looks like tall grass is actually our corn growing. We never have much luck but we love corn on the cob and keep on trying. 


So we planted some cherry tomatoes in here.. but they didn't grow. So Zoey planted some more. Then they ALL came up. Believe it or not.. this is AFTER I have already thinned them out into other parts of the garden and containers. 

Last year we had lettuce, spinach and onions in here. This year I have cabbage and onions. We have almost eaten ALL of the onions already, I think will go get some more onion bulbs to plant. I like home grown onions a lot better than store bought. 

Not sure about tire planting, but we had one and needed another container to plant in. I have heard good and bad things about using old tires.. We will see. More Cherry Tomatoes. 


I have not grown cabbage in YEARS. My amazingly awesome neighbor gave me some plants a while back, so I thought, "Why not?" We do not eat a whole lot of cabbage but it looks like I will be selling the extras and looking for a whole lot of new cabbage recipes. For some reason, they remind me of Harry Potter...

Hard to tell here, but there are four tomato plants and a pumpkin plant here. If you look to the upper right, those are dandelions and other 'weeds' that my rabbits like to munch on. We let the weeds grow up on that side. 

We had to put the bucket Cherry Tomato plant into the ground. It just did not look healthy. We have been getting lots of rain, but the soil always looked dry. Maybe too many drainage holes? I hope we did not kill it, beacause, it is LOADED with cherry tomatoes. 

The new potato bucket is growing strong! At least I hope.. Sure looks pretty though. 

Remember last year? This spot was covered with the 'Mystery Pumpkin' plant. This year we have two tomato plants. We still have 4 more that need to get in the ground. Not sure where I am putting them though. 
     So there you go. A little tour of our garden. I am really loving all the time spent as a family to help grow us food. Even my 'I hate gardening' teenager and my injured husband are pitching in! 

Does your family garden together? We <3 your comments!


Disclosure: I am Amazon Affiliate and may receive a small compensation for including links on my blog. Buying through my links is not necessary, just appreciated. Amazon does not charge extra for linked items recommended by their affiliates.  I only recommend products that I use and trust OR plan on using in the future. Please buy responsibly and do your own product research before buying anything online.

Tuesday, March 24, 2015

Pledging To Help The Monarch Butterflies

This post does not contain Affiliate Links.


     A fellow blogger friend over at the 104 Homestead recently posted about her family taking the pledge to help Monarch Butterflies. I knew immediately, it was something Zoey and I would be interested in doing as well. As it was, Zoey spent most of winter on my Pinterest, pinning ideas for a Fairy/Butterfly Garden. Zoey is super excited to be getting the Monarch Butterfly Starter Kit provided by The National Wildlife Federation

     So how do you help Monarch Butterflies? By growing a butterfly habitat! We are going to use the area in our yard that is my wild flower garden. (Okay, so I had TRIED to get a wild flower garden going.  Every year I would sow seeds, and every year, the grass would choke out the plants.) And another spot over on the side of our property that I know will remain undisturbed. Butterflies love milkweed and it is their main source of food in the larva stage. We will also be planting some of the flowers from this list I found. Some of the plants will serve dual purposes as they are medicinal and butterflies and bees love them as well. Win, Win for all! 


We can't wait to get started on our Butterfly Garden! 


You too can take the pledge and build your own Monarch Butterfly Habitat at http://www.nwf.org/Butterfly-Heroes/Pledge.aspx


Disclosure: I am Amazon Affiliate and may receive a small compensation for including links on my blog. Buying through my links is not necessary, just appreciated. Amazon does not charge extra for linked items recommended by their affiliates.  I only recommend products that I use and trust OR plan on using in the future. Please buy responsibly and do your own product research before buying anything online. 

Monday, February 16, 2015

Catching Rain

This post contains Affiliate Links.

     Once upon a time, I spent a fortune for a Shade Canopy so I could set up at fairs and arts & crafts events for my sewing and embroidery business. It was a good shade canopy and served me well. Then one weekend, I went out to an event in early March. It was cold and windy. The children and I sat in our truck, no customers had come for the hour that we were there. We were FROZEN and miserable but we stayed because the director of the event promised a big turn out as soon as the sun came out. (It was 8 a.m.) Final straw happened when a huge gust of wind flipped up my Shade Canopy, spun it around in the air, and slammed it on the truck next to me. It bent one of it's legs to the point that it could not be used anymore. Luckily, the vendors in the truck it landed on were very understanding and helped me wrangle it back together enough to pack and and transport home. We were defeated... 
     Since that day, I have tried to come up with ideas to use my 'slightly bent legged' canopy. It cost a small fortune and was in really good shape otherwise. Over the summer, we popped it up to shade our sugar snap peas from the harsh afternoon sun. It was a little off looking; it does not open fully because the bent portion is above the side post that pops it into place. It worked though. 
     This winter, the tarp that goes over the open end of the chicken coop kept lifting up and allowing wind into the chicken coop. They have a large nesting area that is completely enclosed, but, I still wanted to keep the cold wind out. One day, Zoey helped me lift the canopy up and over the coop. The legs of the canopy fit perfectly around the screened in coop, holding the tarp nice and snug. People that have come over have laughed at me, but I do not care cause that sucker WORKS! :D 
     A few weeks back, it rained. Suddenly the canopy's tarp was weighted down with all of the rain it had collected. It also became more comical looking. BUT, it also gave Zoey an idea! 
     She came running in one cold morning and said, "Mom, I need some empty gallons!" 
"Why?"
"I'm going to collect the rain!"
     I followed her outside with a few empty water jugs to see what her excitement was about. The top of the shade canopy had collected the rain from the night before and formed a large pouch. She had already pulled out a big chunk of ice that had formed on top of it. Then she explained she wanted to fill up our empty water jugs with the rain water so we could water our house plants with it. Zoey said, "It will save us money!" Smart kid. 
     Although the water was near freezing temps, she filled all 5 gallons up by hand. (You have to love her working attire of pajama bottoms and Croc shoes! It's a homeschool thing :D )


      She has suggested we put in a water catchment system. I would love to water our summer garden with the rain from winter and spring, but right now it is just not possible. Our house does not have gutters, and our only source of catching rain is my shade canopy. I am very happy to have finally found a good use for it!  Tonight it is raining. We have saved up TONS of empty gallon jugs to use. 

     So you have an easy and inexpensive water catchment system? We would love to see what others are doing! 


Disclosure: I am Amazon Affiliate and may receive a small compensation for including links on my blog. Buying through my links is not necessary, just appreciated. Amazon does not charge extra for linked items recommended by their affiliates.  I only recommend products that I use and trust OR plan on using in the future. Please buy responsibly and do your own product research before buying anything online. 

Tuesday, September 30, 2014

Save The Seeds- Tomatoes


     Tomatoes are the most versatile plants to grow for my family. We eat them on salads, in soups and stews, in salsa (we eat a lot of salsa) or just sliced up in a bowl. I long to be able to can them. Stewed tomatoes, tomato sauce, diced tomatoes, tomatoes and green chilies, salsa, spaghetti sauce... Not only do homegrown tomatoes taste amazing, adding tomatoes to anything adds a higher nutritional content. Tomatoes even have medicinal benefits as well. 
       Although it was not OUR garden that blessed us with tomatoes, my awesome neighbor did! She had more than she could handle; while we had zip, zero, nada out of 3 tomato plants. What happened? I'm not sure. I suspect the soil we planted them in was not so great. I tried bunny poo, Epsom Salts, and other stuff. The cherry tomatoes did great, but they were in another section of the garden. Next year, tomato plants will be planted in our front yard, where the soil is best. We are hoping the new ones we planted late summer will produce something... But odds are, we are out of luck! Needless to say, we are making sure our next years crops will be high yield! 
     Previous attempts at saving tomato seeds consisted of saving stray seeds left on the cutting board. We placed them on napkins and let them air dry. They stuck to each other and the napkin. It was a huge nasty mess and I was not even sure how to store them. We wanted to try again, but were not sure what to do.  
     While the kids and I were making salsa one night, our tomatoes were extremely juicy and they made the salsa too runny. We squeezed the tomatoes out into a bowl before chopping them. So there was this bowl with all of these seeds. Seeds from the biggest, juiciest, yummiest tomatoes ever! They were begging to be saved! How, when they were covered in tomato goo? My first thought was tulle from my sewing shop. It is durable, has plenty of tiny holes, and would allow water to drain easily! My daughter ran to the sewing shop and cut us a big piece to use. She spent nearly 15 minutes trying to get the goo off from around the seeds. It worked but it was not as easy as we had hoped. We left them to dry inside of the tulle resting on a wash cloth. Within a couple of days, they were dry, and beautiful. The looked exactly like the seeds that come from the store. Success!
     It was the very next night that I saw a post on how to save tomato seeds using fermentation. It said the seeds separate from the goo after being allowed to sit in a little water for a day or 2. Of course we had to try it out! You can never have too many tomato seeds, right?
     My daughter worked on the tomatoes, while I worked the camera. She started by cutting the tomatoes in half and squeezing the pulp into an old plastic container. 

  Naturally, she had to sample some of the leftovers!

     We added water to the bowl and diced up the tomato remains for our salad at dinner. Waste not, want not! The tomato goo sat on the counter for 2 days. It was a little stinky already, and a little "GROSS!" to my girl, but she managed to get over it. She got out the strainer, laid the tulle inside and got to work rinsing the seeds. Took less than a minute! Amazing! 


Yes, that is a very old strainer. It was my mother's when I was a child. It's close to 40 years old!
We actually call it a colander, but people look at me funny when I call it that.  


     Next we laid the tulle pouch on a plate covered by a wash cloth. As it slowly dried, I played with the pouch, separating the seeds from each other. Finally, they were dry enough to take out of the tulle and be placed on a plate to finish drying. 
     The turned out quite pretty, don't you think? 
     The last step was to see if they would germinate. We placed one seed from our first attempt and one from our second attempt in a cup of soil in the bathroom window. Within a week, we had tiny little sprouts growing. They BOTH germinated. We will be using these plants as part of our 'Winter Garden' this year.
     I do have to say, fermenting the seeds made it a lot easier to get the goo off from around the seed. Both processes worked, however, I would highly recommend fermenting them if you are trying to save your own seed. I know it takes longer because it needs to sit in the water for a day or two, but it sure was less frustration trying to get them clean! 

Do you have any tips for seed preservation? Let us know. 
We love your comments!