Enter your email address:

Delivered by FeedBurner

Homeschooling The Well Prepared Child: home made
Showing posts with label home made. Show all posts

Wednesday, December 3, 2014

Getting More From Your Chicken: Freezing Chicken Bone Broth


     Small steps to being self sufficient! Raising, butchering, cooking, and preserving our own meat! We sent a rooster to freezer camp yesterday. Today, I roasted it and we ate it for dinner. It was the best rooster we have had so far! Three of us ate from it tonight, and I froze up 2 meal size packages of chicken for future meals. Right now, I have bone broth simmering on the stove. I plan on freezing it in different size containers and then repackaging them into a gallon size baggie when the are frozen. I did this last time, and used muffin and quart size frozen broth for things like gravy, soups and mashed potatoes, or some good ol' broth for a cold!. Mmmmm... my house smells so good!


What I put in my chicken bone broth:
  1. 1 full chicken carcass broke up as best as possible. Breaking the bones helps to insure you get all of the healthy bone goodness. My carcass came from roasting a whole chicken.
  2. About 1 cup of diced raw carrots that were from our Thanksgiving dinner a couple of days ago.
  3. About 1 cup of diced raw celery, also from the veggie tray.
  4. 1 clove of garlic, chopped and smashed
  5. 1 small onion diced (it was about the size of an egg.)
  6. Salt and Pepper to taste.
Next, I simmered it for about 3 hours. The remaining chicken meat had fallen off of the bones. The garlic and onions had dissolved into the broth and the carrots and celery were super tender. I strained the broth into another pot. Zoey and I munched on the celery and carrots for a bit before adding the strained portion into the pigs slop bowl. The bones went into the garden to compost. 


I dipped out 2 cup portions into recycled lunch meat packaging. These are very convenient when using for recipes. You can also dip out larger portions as well.


When they were frozen, I just popped them out of the plastic bowls and put them in labeled gallon freezer bags.


I also measured out 1 cup servings into muffin tins. I DO NOT recommend using disposable tins unless you just do not care about reusing them. When you pop the little frozen broth circles out it crushes them. Warming the bottom of them for a second might help with preserving them. I do not have any other kind of muffin pans. I picked these up at a local grocery store for .88 cents each. I would prefer to keep them but it will take a bit of work to get them back into shape.. We will see if my patience holds out.


Once Frozen, I placed them in a gallon freezer bag as well. Now when I need a quick pick me up when I start to feel sickly, I can just pop one in a coffee cup and microwave it. Although, the nutrients would be better preserved if I put it in a sauce pan to reheat. These work great for making mashed potatoes and gravies as well. 


     I would really like to learn how to can my chicken broth, but honestly, I'm a bit 'chicken' to try the pressure canner my friend loaned to me. Like I said, baby steps... At least I'm walking the walk towards self sufficiency... baby steps or not! 
What are you doing to become more self sufficient?


Sunday, November 30, 2014

Our First Jelly- Red Jalapeno


We are not very big jelly eaters. Maybe every once in a while we will eat it, but not enough to get all crazy about canning jelly. We ended up with a whole lot of jalapeno peppers from our garden and our amazingly awesome neighbor, Bree, brought over more. I didn't know what to do with all of these peppers, we are not big pepper eaters either! Good grief, so many peppers, so little eating going on! My sister and brother in law are huge spicy food lovers. In the past, I have bought Jalapeno Jelly for them from a friend of mine. So, why not make something jalapeno for them? 
     My first idea was actually more like a jalapeno syrup you pour over a cream cheese bar and eat on crackers. For the life of me, I couldn't find a recipe for it, and no one I talked to in my canning groups really even knew what I was talking about... But I know I have eaten it somewhere before. After about a week of asking and researching, I finally gave up. Jalapeno Jelly it is! 
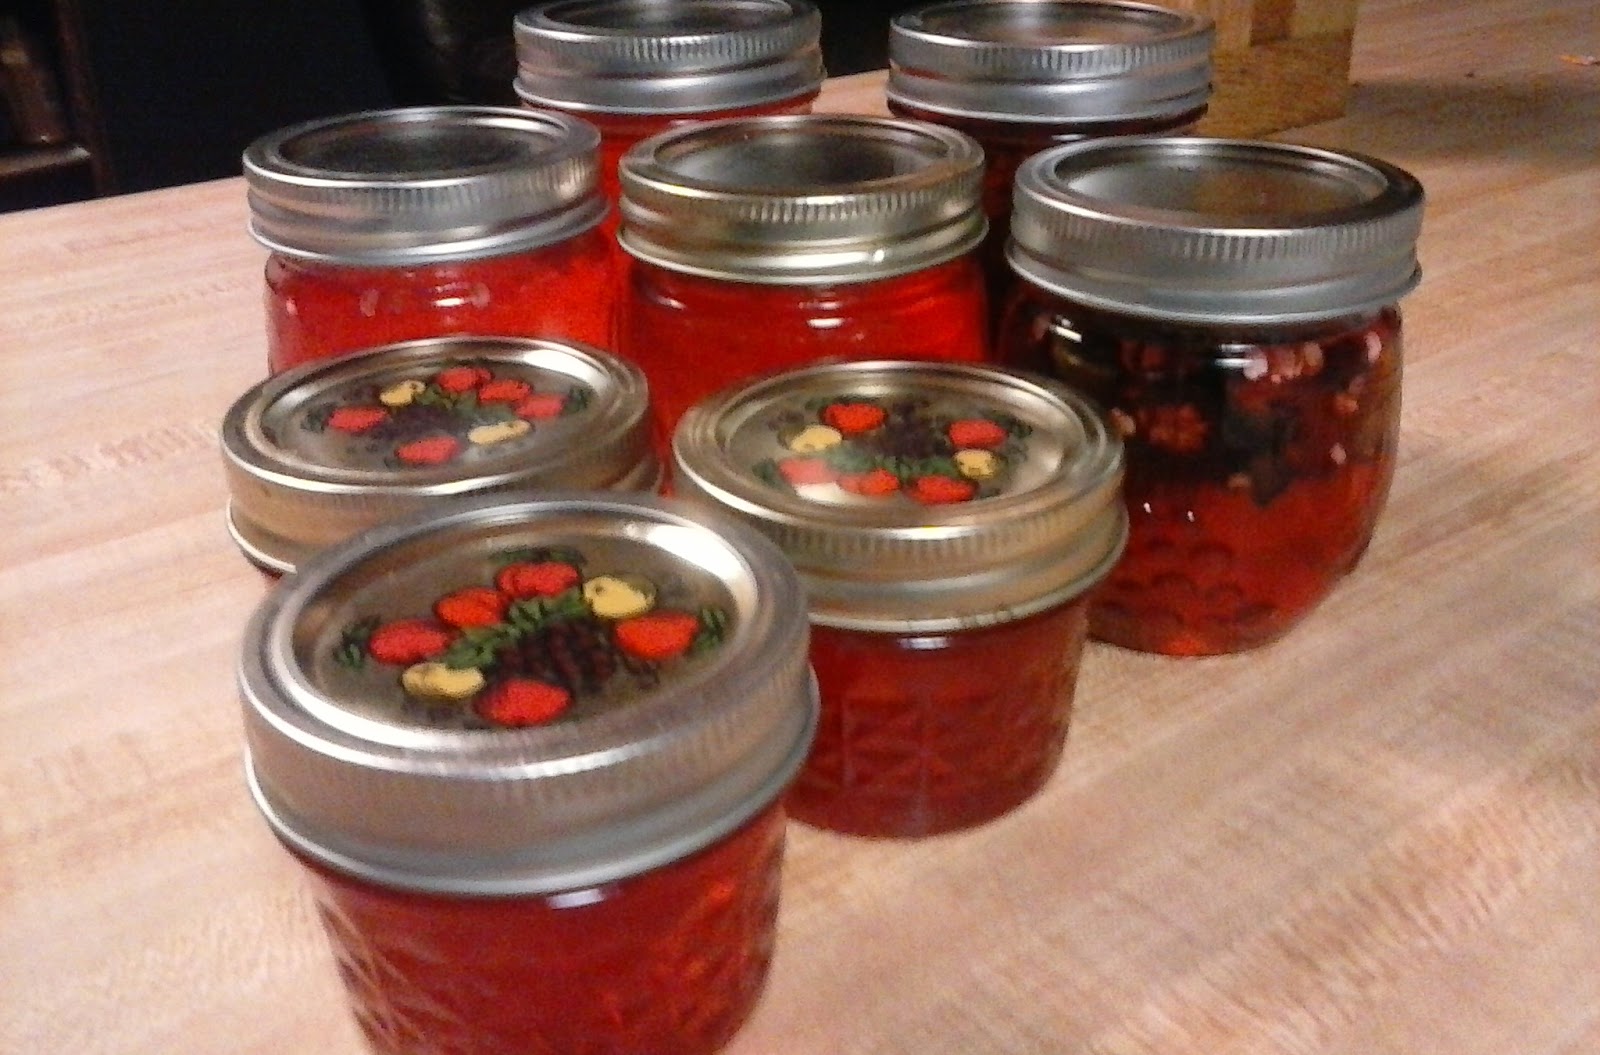
     I found a recipe on Taste Of Home that I thought looked pretty easy. Zoey and I got to work! I sliced up all the jalapenos (with gloves on) but we could not get our hand crank chopped to dice them up in small pieces. We went ahead and boiled them sliced. Zoey added all the ingredients, including some red food coloring. She did not think it looked very yummy in it's normal light yellowish color. I poured the extremely hot liquid into the jars. We did not strain the jalapenos from the liquid, like the recipe calls for. We strained the jalapeno slices into 2 of our jelly jars and then added the jelly liquid over them. After all of our jars were filled, we water bathed them for 5 minutes.
     The jelly set perfectly, except for the 2 we left the jalapeno slices in. They were more syrupy. Yea! Maybe we figured out how to make the yummy syrup to pour over cream cheese? We ended up with 8 jelly jars. (I don't even know what size they are. They were given to us from a friend on Facebook.) There was a tiny bit left over that would not fit into the jars. We poured it into a small bowl and placed in the refrigerator. After it had set, we tried a little on toast with butter. I was really surprised; it was good! Not too spicy, but sweet with a kick to it on the end! 


     I gave my sister her jar, they have yet to open it. They are saving it for a special occasion to eat over cream cheese. I'm a bit disappointed. I really wanted them to try it and tell me how it was. I thought at least with Thanksgiving in full swing, they would have eaten it sometime or another... Nope. 
    On Thanksgiving with my in-laws, Zoey decided to pull out all of our food stuffs we have been preserving and show EVERYONE! She wanted to open a jar of the jalapeno jelly for everyone but I didn't really want a jar open that would sit in our fridge and spoil. When she showed my father in law the jelly, he asked to try it. HE LOVED IT! He snuck the remainder of the jar into his jacket pocket to take home. Zoey was so proud and beamed her radiant smile. Feels pretty good to finally have someone like our jelly. He might be getting some more for Christmas (his suggestion!) 


Hot Pepper Jelly from Taste Of Home

1/2 cups white vinegar
1 medium sweet red pepper cut into wedges (we used neighbors mixed peppers)
2/3 cup of chopped habanero peppers (we used regular)
6 cups of sugar, divided
2 pouches (3 ounces each) of liquid fruit pectin
1 teaspoon of red food coloring (optional, try green too)

Directions
1. Place vinegar and peppers in a blender; cover and puree. Add 2 cups of sugar; blend well. Pour into saucepan. Stir in remaining sugar; bring to a boil. 
2. Strain Mixture and return to pan. Stir in pectin and food coloring if desired. Return to a rolling boil over high heat. Boil for 2 minutes, stirring constantly. 
3. Remove from heat; skim off foam. Carefully ladle hot mixture into hot sterilized half pint jars, leaving 1/4 in headspace. Remove air bubbles, wipe rims and adjust lids. Process in a boiling-water canner. 
4. Serve with cream cheese on crackers

Yield: 5 half Pints

Editor's Note: When cutting hot peppers, disposable gloves are recommended. Avoid touching your face. The processing time listed is for altitudes of 1,000 feet or less. Add 1 minute to the processing time for each additional 1,000 feet of additional altitude. 

Now this recipe is taken verbatim from Taste Of Home. I have tried this recipe and had great results. If you have a problem with this recipe or any recipe from them, please contact them directly. They are serious about wearing gloves and not touching any part of your body when handling any hot peppers. Peppers contain oils that are hard to get off of skin and will burn you like wild fire! Use extreme caution! If you happen to get some on yourself, soak the affected body part in milk. Raw milk is best, but my milk in the fridge helped as well.   

Also, I am in no way affiliated with Taste Of Home. I am just passing on a recipe we happen to enjoy. :)


Wednesday, November 26, 2014

Make Some Cookies With That Girl!


     When my son was an infant, many, many moons ago, a good friend of mine came over while I was baking cookies. She was amazed that I was making cookies with out a mix. I was amazed she had never made cookies unless they came out of a tube or a 'just add water' bag. I have thought of this many times over the years. How sad it was to me that she had never made homemade cookies before. Fast forward to many many moons later and I realized, I have never made homemade cookies with my own daughter! 
     How could that happen? Mrs. 'I'm all about the homemade, from scratch' has never made cookies from scratch with her own daughter? Seriously? We make cookies a lot, but they always come from a tube. Crazy, right? Well, in our last house, sometimes the cookies didn't always turn out the best. Then, the oven went out. In this house... okay, I have no excuses. I honestly didn't even realize we had never made cookies from scratch before. Not until Zoey and I were at the store buying ingredients for the cookies we wanted to make. She kept saying, "But Mom, we need to get dough!" I was not really understanding what she was saying until she said, "For the cookies, duh..." Oh. Ummm.... Whoops! Time to have a homemade cookie talk and make some cookies with that girl!
     So what kind of cookies did we want to make? Chocolate chip, pecan, coconut cookies! Our very favorite neighbor, Bree, gave us some pecans from her yard and Zoey shelled them last week. Then I saw a recipe for 'Cowboy Cookies' and we thought they sounded great. We forgot to get oatmeal at the store, so me made the old tried and true chocolate chip cookies and added pecans and coconut to them. 
     I didn't take any photos while we were making cookies. I wanted this to be a Mommy and Me moment. No camera, no staging, just me and her making cookies. Like it is supposed to be. Cookie pictures came after. 

Here is the recipe:


Chocolate-Coconut-Pecan Cookies
(We could not come up with anything better!)

1 cup of butter (room temperature)
3/4 cup of granulated sugar
3/4 cup of packed light brown sugar
1 teaspoon of vanilla extract
2 eggs
2-1/4 cups of all purpose flour
1 teaspoon of baking soda
1/2 teaspoon of salt
1 bag of semi-sweet chocolate chips
1 cup of coconut
1 cup of chopped pecans

     Preheat oven to 350. Mix together butter, sugars, vanilla and eggs together. Add flour, baking soda and salt. Mix together until dough forms. Add in chocolate chips, coconut and pecans until mixed well. Drop small spoonfuls onto an ungreased cookie sheet. Bake for 10-15 minutes. (We like slightly gooey cookies so we only do the 10 minutes.)  Allow to cool completely. Makes about 5 dozen. Enjoy!

     If you have never baked with your family, why not try some today. Cooking with your kids is a great way to spend family time. They learn fractions, a bit of chemistry, and it is a great bonding experience. Not to mention, you will have lots of yummy cookies!

Remember, if you have a nut allergy, leave the pecans out! Please use common sense when trying anything you find on here or the web! Also, if you eat the dough raw, you will put yourself in the position to possibly get salmonella from raw eggs. So don't eat the dough!


Tuesday, November 25, 2014

The Little Business Woman


     Every year, I set up a booth at our local Fall Festival Arts and Crafts show to sell my homemade children's clothing. For the first 2 years, My children nickled and dimed me so much, that in the end, there was not much of a profit for momma. So I devised a pan. My son would be my road crew and help with packing up the trailer, unloading and set up. In exchange, he would get a percentage of sales. Zoey would help with that as well, but she would also make her own stuff to sell. Both children learned to budget their money, knowing that was all they were going to get. They also decided getting all the small trinkets and useless carnival stuff was not a very good investment of the money they were making. But they still wanted to enjoy the carnival! 
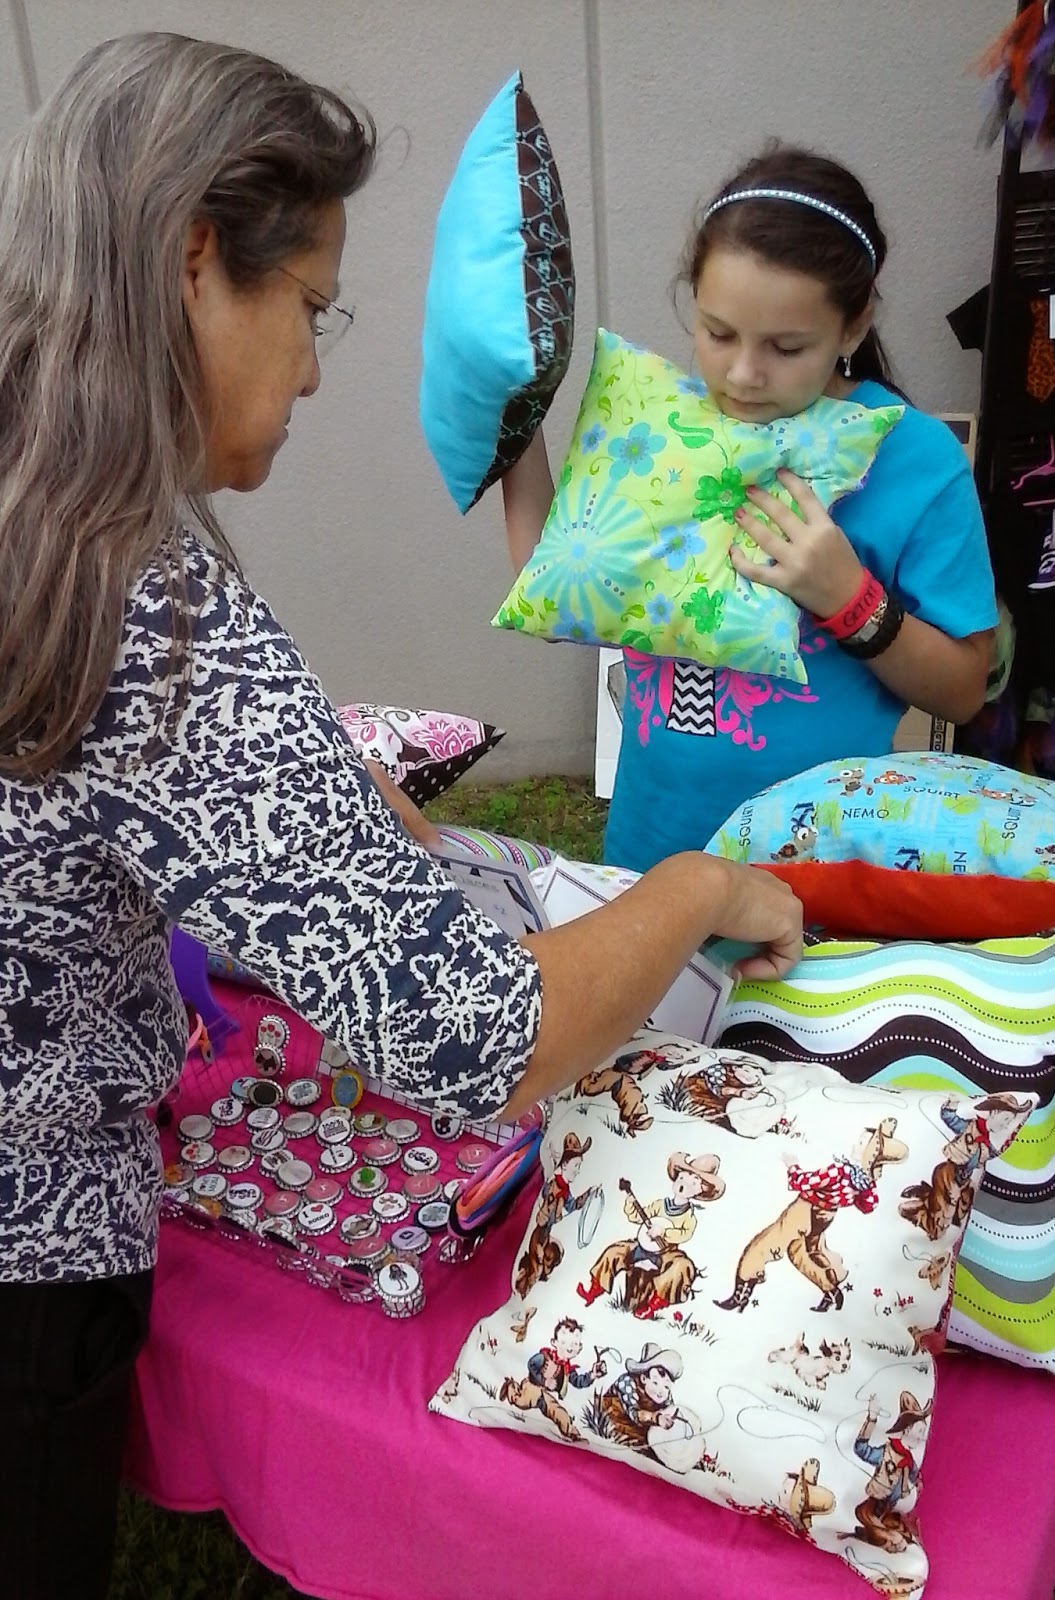
     Usually, my daughter sells doll bedding and bottle cap jewelry she makes, but she wanted something a little different this year. For months, she brainstormed ideas on what she could make and what would make her the most money. One day she was in my fabric closet and asked, "Mom, can I make pillows for children?" I told her that was fine by me as long as she choose fabrics that were scraps or what I did not use regularly. 
     She measured out and cut her own pattern to use. After the first test pillow, she decided it was too small. Back to the cutting mat she went to make a larger pattern. When she was satisfied with the size she had, she choose fabrics she thought children would enjoy. She did not want to make the pillows the same on both sides, so she mixed and matched the fabrics. She spent a lot of time making sure she cut out her pillow pieces evenly and perfectly. She ironed and pinned the fabrics with out any guidance or help from me at all. I am very proud of the way she just got in there and did her own thing. 


     My mother had my aunt's sewing machine. (She has recently passed.) Zoey asked her grandmother if she could borrow it to use. (She has her own, but mine needs servicing and I have been using hers. She did not want to share a machine.) My mom was happy to loan it to her. My daughter gathered all of the materials she needed and set up in our living room. After her first pillow, she exclaimed, "Aunt Sissy would be so proud of me!" 
     This is actually the first time she has used a machine that did not have a speed control on it. It did not take her long to figure out how to control her foot pressure to get to the speed she was comfortable with. She worked long and hard to get them all sewn together. Finally, she was ready to stuff her pillows. I didn't any pictures of the stuffing process. At first, she was stuffing them too tight and it was making the pillows lumpy. Zoey pulled all the stuffing out and started over. Soon she was ready for me to help her close the openings. I pinned them shut and started out the first few stitches, then she carefully and slowly sewed them shut. In the end, she had completed 12 pillows to sell at the arts and crafts festival. 
      She planned on selling them for $5 each. She sat with her pen and paper and figured out if she sold them all, she would have $60. It was finally Fall Festival Day! She set up her own table near my booth. Stood behind it and waited... 
     She sold 2 pillows within just 30 minutes of setting up her little selling table. She helped her first customer choose the perfect pillows for her grandchildren. She was so excited to make her first sale! 
      However, she did not sell anymore that day. She had stopped standing by her table, she ran around with her friends that stopped at our booth, or she sat over in the corner and complained she was tired. 
     That night, she was sad. "But Momma, I only sold 2 pillows..." So we had a little talk. I explained to her about selling things. You can not just let your product sit there and expect people to want to buy it. They will just pass by your booth and look and say, "Oh, how nice." but they will not buy anything. You need to say hello to them, engage them, ask if they would like to buy a pillow. Tell them you made the pillows all by yourself. For my shy daughter, this is a little easier said than done. She was not sure if she could just talk to strangers. 
     The next day started slow. She would say hello but she would also look away embarrassed. When people turned to see how said hello to them, they wold not see anyone and just walk on by. I encouraged her to look at the people and catch their eye. TALK TO THEM! Not to the ground! It was not until I reminded her, if you do not sell any more pillows, you will not be able to go to the carnival tonight. A whole new child emerged. She said hello, asked if they wanted to buy a pillow, and then explained how she had made them all by herself. Some times people said no, but they would still stop to look at her pillows. But sometimes, people would stop and buy a pillow or 2. They more they stopped, and the more they bought, the more confident Zoey became. Within a few hours, she had sold all of her pillows but one!      

      She was becoming a bit discouraged she would sell her last pillow. Even having her cute little cousins around was not helping. Suddenly, my daughter had an idea. She took the pillow and called to me, "I'll be back in a minute!" I was in the middle of a sale with my own customer, and before I could ask her where she was going, she had disappeared into the building where there were more arts and crafts booths set up. She was gone for 30 minutes. I started to worry before she came skipping back, $5 in her hand. 
"What did you do?" I asked.
"I sold my last pillow!"
"How? To Who?"
   She began telling me about walking around inside of the building, looking for someone with a little girl. She saw a lady with a little girl and walked up to her, asking if she wanted to buy a pillow. The lady looked at it while Zoey explained she had made it herself. In the end, the lady bought it from her, telling her what a great job she did. Zoey beamed with pride as she told me the story. Then she said, "And momma, you should have seen the pillows she made! She made an elephant pillow and it was sooooo cute!" 
Wait, what?
"You sold a pillow to someone that was selling pillows?" I asked.
"Yes!" and she continued to tell me the story. 
"Wait, what?" I asked again. She sighed and slowly began again. 
"I was walking around inside, looking for a mommy with a little girl, when I saw a lady with a booth kinda like yours. She was selling kids clothes and the cutest little animal shaped pillows. So I walked up to her and asked if she would like to buy a pillow. She looked at me kind of funny until I told her I made it myself. She took the pillow from me, looked at it, and told me I did a good job. Then, she gave me $5 for it."
     I was stunned. My shy daughter just actually sold a pillow to another vendor selling pillows. When we told her dad the story he laughed. "She could sell ice to an Eskimo! Way to go, baby!" 
    My daughter became quite the little business woman this Fall Festival. Unfortunately, all her profits went to the carnival. Next year, I am going to have her use a bit of her savings to buy her materials, keep records of what she is spending and profits made. With the proceeds, she will budget out money to replace what she spent from her savings, add more to savings, and then use the rest to spend at the carnival. After all, that is why she works hard. It's all about that carnival money! (And it is not coming out of my pocket!)


Friday, August 8, 2014

The Power of White Vinegar


     I have never been a fan of vinegar. It stinks, tastes horrible to me (except in pickles), and I have always avoided the egg dye kits that ask for it. People say to run white vinegar and water through your coffee pot. EWWWW! I don't want to even think about vinegar even coming close to my precious coffee! I did not see the point of even having vinegar in my house at all. 
     A few years back, a friend of mine was looking for ways to cut costs around the house, because with 4 kids, she became a stay at home mom. She started posting on her Facebook about how she started making her own household cleaner using vinegar, water and a a small amount of essential oils. I thought she was nuts! And then I decided to start canning pickles from out of our garden... 
     I picked up a gallon of vinegar from a small local grocery store near me. It was about $2.19. Making about  20 quarts of pickles still left a whole lot in the jug. Nice price to last so long. I can do a lot of pickles with one little gallon! However, I kept seeing posts about the cleaning potential of vinegar, and yet,I still refused to try it. 
     Then one day I ran out of a my favorite spray cleaner. My nose pricked up at the thought of putting vinegar into my spray bottle to disinfect my kitchen counters... I had to do something, I had just butchered a chicken... But does vinegar disinfect? Yes it does, although not as well as bleach, but it does disinfect! So I thought, why not? If my house gets all vinegar smelly, I can just rewash with hot soapy water right? Guess what, it smelled, but not for long. My counters also seemed so much cleaner. I'm a believer now! 
     On the back of my gallon jug of white vinegar is a list of household uses. I will share these with you. 

Always Save Brand Distilled White Vinegar 

Household Uses For Vinegar

  1. Glassware: 1/2 cup of distilled vinegar added to a gallon of rinse water will remove soap film from glassware and make it shine.
  2. Toilet Bowl: Clean and deodorize your toilet bowl by pouring undiluted white vinegar into it. Let stand for about 5 minutes then flush. Stubborn stains may require scrubbing. 
  3. Bathtub: Wipe down bathtub with vinegar and soda to remove film buildup. Rinse with clean water.
  4. Ants: Ant invasions can e deterred by washing counter tops, cabinets, and floors with distilled vinegar.
  5. Grease: Filmy dirt and greasy residue can be removed from stove and refrigerator by wiping with vinegar.
  6. Grass or Weeds: Kill unwanted grass on sidewalks and driveways by pouring on vinegar.
  7. Chrome: To polish chrome and stainless steel, moisten a cloth with white vinegar and wipe clean.
  8. Shower Curtain: Rub a cloth dampened with vinegar to remove soapy, steamed-in film an mildew from your plastic shower curtain. Then rinse clean.
  9. Coffee maker: To remove stale coffee residue, fill the reservoir with vinegar and run it though a brewing cycle. When the cycle is finished, run two cycles of water to rinse.
  10. Irons: Remove burn stains from your electric iron by mixing one part salt with one part vinegar in a heated small aluminum pan. Use this mix to polish the iron as you would silver.
Other Great Things About Vinegar
     Last night we were washing dishes and my metal meatloaf pan refused to come clean, again, second night in a row. (Okay, I burned it just a little. Meatloaf was perfect, but what was stuck to the sides of the pan was rock hard.) I gave up scrubbing it for the second time, but instead of leaving it in soapy water, I added a splash of vinegar. This morning I woke up and the crusty stuff in the pan wiped off with a touch of my finger! Who knew! (Okay, probably everyone but my stubborn self!)

     According to EAT BY THE DATE .COM, vinegar lasts indefinitely. Making this a great prepper item to buy and store. Depending on how it is stored, it may get some settlement at the bottom, or it may become cloudy in appearance. Eat by the date.com also explains this as well. Do your own research and see what you think! 

     TREATS BY TANYA has recipes to make window cleaner and fabric softener. I am now in the market for some great essential oil smells so I can make cleaners that smell great!

For more ideas on how to use vinegar around the house, see these pages: