Enter your email address:

Delivered by FeedBurner

Homeschooling The Well Prepared Child: homesteading
Showing posts with label homesteading. Show all posts

Monday, July 6, 2015

Moody, Broody Hens

This Post contains Affiliate Links.

     A while back, my cousin gave us a beautiful pair of Jersey Giant hens. They were 18 months old and were laying eggs. He said that Jersey Giants were slower to mature but made great layers. Zoey and I Ooohed and Aaaahed over them for days. They are solid black with bright red combs and piercing black eyes. They would not let us get near them though. My cousin said they were very friendly with his family and I hoped they just needed a little time to get used to us. 
     In the mean time, I thought this would be a good time to have Zoey do a little research project. Zoey got on our Chromebook and looked up 'Jersey Giant Chickens.' We talked about what 'Pros and Cons' were. She wrote her information in her new spiral notebook. This is what she found. 

Pros

Docile, beautiful, very large, stunning beauty, very hardy, size tends to deter predators

Cons

Slower growth, slightly poorer egg production, they eat a lot

12 Facts About Jersey Giants

  1. They were created in the late 1800s by John and Thomas Black by cross breeding 3 differrent kinds of chickens.
  2. Their name came from the state they were created in, New Jersey, and their size, Giant.
  3. They are slow growers.
  4. Jersey Giants eat A LOT.
  5. They are a good breed for the cold.
  6. They like to sit on their eggs and hatch them.
  7. Jersey Giants are good mommies.
  8. They are a dual purpose bird. They lay eggs and they are big enough to make a good meal.
  9. They are very soft. 
  10. Their eggs are a light to medium brown color.
  11. They lay extra large eggs.
  12. Jersey Giants tend to get along well with your other pets.
    
     How are our Jersey Giant Hens? Well... They are moody. The hens HATE our kitten and attack him every time he follows us to the coop. They still do not even like us after months of trying to be their friends. We can barely get near them. It has to be dusk or night time for us to be able to pet them, but, they are oh so soft! 


     Their eggs are a darker color than what our other hens lay. Can you tell which eggs are from our Jersey Giants? Hint: they are the larger and darker ones. ;)

     A couple of months ago, one of our hens went broody. What does that mean? Well like a woman hearing her biological clock ticking, a broody hen is determined to sit on her eggs and hatch her some babies. You can learn more about broody hens HERE. Honestly, since we just brought home 3 chicks from our schools hatching experiment, I was really hoping they would get over it. We had enough chickens already. 
Let's see...
3 Chicks from daycare. Unsure of breed or sex yet.
2 Jersey Giant Hens
1 Bantam Hen
9 Plymouth Rock Cross hens and roosters waiting to go to freezer camp. 

     So basically, we had 17 chickens at this time and were not wanting anymore chicks! Besides, we no longer had a mature rooster to fertilize the eggs. After three months, this hen was just not getting over her 'baby fever' and we felt so bad for her, we had to do something. 
     While at work one day, I was telling some of the girls about my broody chicken and not wanting more chicks. My friend has raised chickens in the past and said she would take any babies if I decided to get some fertile eggs. Okay then, why not? Let's do this! First thing I did, was call a local Ag Extension agent to see where I could get some fertile eggs. Their lady was not local, and wanted $8 a dozen. What? By the time I paid for gas, I would have spent $20 for 12 fertile eggs that may or may not hatch. (You remember our luck with hatching chicks right? If not, read the article HERE.) I got on Facebook and asked around some local farm animal groups, but all eggs were to expensive. Kinda wish I knew this when we had a rooster! Finally, a friend of mine messaged me and said she had A TON of fertile Bantam eggs. She met me half way between her house and mine. Instead of a dozen, she gave me 36 eggs and would not let me pay her for them. Now that is an amazing friend! 
    Now at this point, a blogger would have thought to take pictures of 36 small eggs that fit into a quart size baggy. Nope, I forgot! And you would have thought that I would have remembered to get a photo of the eggs in the nest, but no. However, there is a good reason for that. The hen decided she would not sit in the hen box that is on a top shelf like she had been sitting in for 3 months. She suddenly wanted to lay them in the bottom stall. Great.. I transferred the eggs from the top box to the bottom one, and slowly, carefully, placed them next to the scary broody hen. (Yes, scary. She tried to bite my hand off till she figured out I was giving her eggs!) 
Easy Momma! I'm trying to help you out here!
    We marked the calendar for 3 weeks. Time to wait to see what happens... Strangely enough, the other Jersey Giant hen decided she wanted to sit on the eggs as well. We checked on the girls daily. Rarely did we see them come off of their nest. When they did, it was only one at a time, and only for food and drink. When we got near them, the made warning noises to tell us not to come too close. Trust me, we didn't! These ladies are moody and broody! 
    About 4 days till the due date, we recounted the days to make sure our chicks would be hatching the coming weekend. Saturday came, I was in the garden, Alex was helping me with making more bamboo stakes for the tomatoes, Zoey had just gone inside to journal about our Potato Bucket Reveal, and Mike was checking the coop for eggs. I just happened to look over and see him emerge from the coop, cutest smirk on his face, and his hands cupped together, holding something very tiny. A chick! The three of us pet the tiny baby chick for a moment and then decided to surprise Zoey inside the house, rather than call her out. 
This silly girl is extremely excited! 
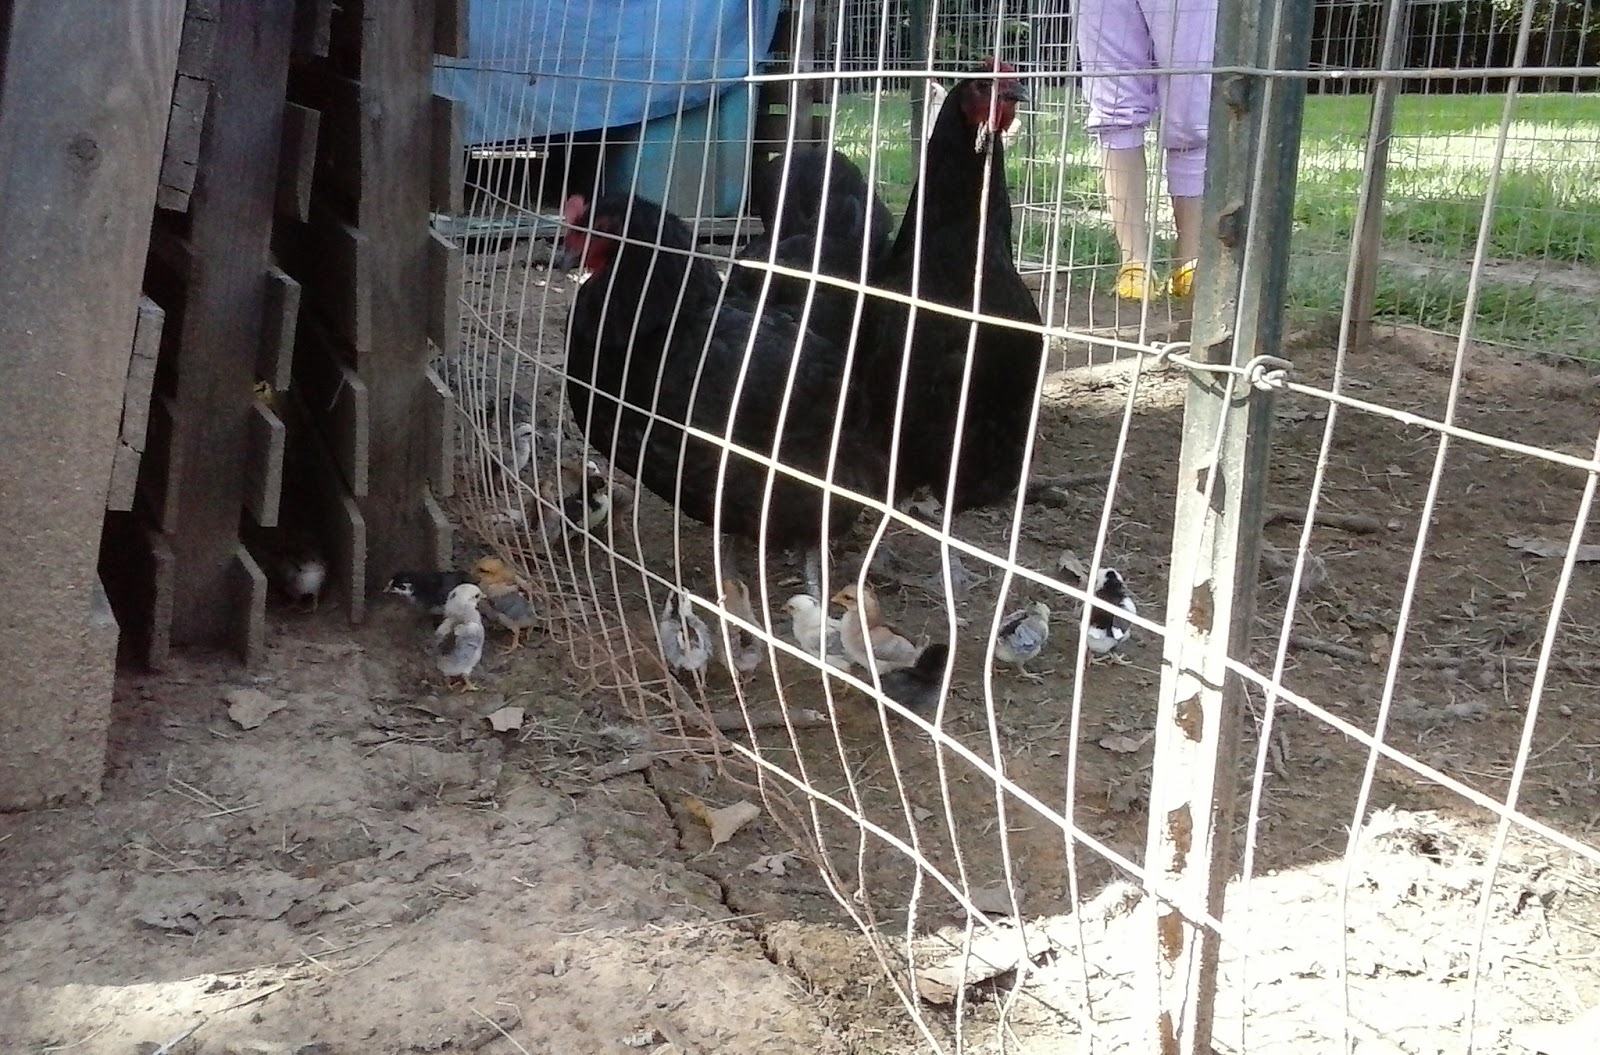
  Our broody, moody hens hatched out 17 eggs in total. We will be keeping a few. Yes, I know I said we didn't want anymore, but it's called 'Chicken Math' and you really can't deny Chicken Math. (Seriously, it is a real thing!) The rest will be going to my friend at work. 
    Today, Zoey and I went out to try to get some pictures of the chicks. It is hard to do, because, the mommies won't let us get near them. Not even one! They start freaking out and then the babies freak out. Suddenly, there are chicks running crazy like all over the place and it is just a crazy silly mess. We try to just watch them at a distance as not to upset them. Lately, hawks have decided to make our little farm their hunting site. We lost Little Red and Mike's Silver Spangled Hamburg rooter. (The one that refused to leave his side in the garage when we got out of the hospital. Insert sad face here for both.) AND, I swear there were 19 chicks at one point.... 

We did brave getting close enough to get a few pictures for you! Look! :D


So there you go! SUCCESS with a chicken hatch! Will we be doing it again? Yes, I think so. My friend said she would be happy to donate eggs at any time. We will just have to wait and see when our Jersey Giants get moody and broody again! 


Disclosure: I am Amazon Affiliate and may receive a small compensation for including links on my blog. Buying through my links is not necessary, just appreciated. Amazon does not charge extra for linked items recommended by their affiliates. I only recommend products that I use and trust OR plan on using in the future. Please buy responsibly and do your own product research before buying anything online. Please note, I am not affiliated with, nor do I receive compensation from Wikipedia, McMurray Hatchery, or The Chicken Chick. I just like their pages and refer to them often in my own daily use. I doubt they even know I link to them on my blog from time to time. :)

Saturday, January 24, 2015

Operation: Candling Week 1

This post DOES NOT contain Affiliate Links.


OPERATION: Chicken Hatch is well under way! 

     We candled at day 4. We saw some spider web looking things in a few of them. It was still hard to determine if our eggs were developing. A couple of the egg's shells are so dark, we can only see the yolk part expanding. Since we do not know exactly what we are looking for, we have been checking back with The Chicken Chicks page to see what a developing embryo looks like at each stage. It has been so hard NOT to check them on a daily basis. I think this is one of the most exciting adventures we have embarked upon thus far in our journey. 

     We had our Amazingly Awesome Neighbor, Bree, come by to help us candle on day 7. We made our garage as dark as we could and I held the flash light tightly on the top, with the egg cupped in my hand. Bree took pictures of our eggs and then a video of one that moved around quite a bit. I can't wait for you to see it! At this stage, the chicks wings, comb, beak, and legs have began to form. We swear this little chick looked like it was swimming. Want to see? I was going to wait till the end, but I can't help but to show you now! 
     It is not as good as watching it live and in person, but still an amazing video! Thank you to my Amazingly Awesome Neighbor, Bree, for all your help and support, (and great camera!) Bree has 5 eggs in the incubator so far. Zoey and I have 2. Our experiment to see if the eggs could be incubated was a success! We are gathering more eggs to be incubated. We will put the newly gathered eggs into the incubator on the 30th. Those will all hatch together. I am not sure how many we will actually have of our own vs Bree's. Our chicks are not laying as well as hers right now. 
     Here are all of our candled eggs. You can see most of the dark embryo areas within the eggs. Some of the shells were too dark to see into them. Others, were as clear as day. 


Stay tuned for next weeks post on Water Candling Eggs!
(It is safer for the light sensitive chicks!)


Disclosure: I am Amazon Affiliate and may receive a small compensation for including links on my blog. Buying through my links is not necessary, just appreciated. Amazon does not charge extra for linked items recommended by their affiliates.  I only recommend products that I use and trust OR plan on using in the future. Please buy responsibly and do your own product research before buying anything online. 

Wednesday, December 31, 2014

Our Top 10 Posts Of The Year

This post does not contain Affiliate Links.

     On June 9th, 2014, I began my blogging career because of encouragement by my Facebook bestie, Treats By Tanya. Never in a million years would I think someone would want to read about my daughter and I's homeschooling/homesteading journey. The more I posted our funny adventures, the more she would urge me to write for the world to see. I finally gave in. I love this journey we have taken, and I love sharing it with you. Thank you all for the support you have given us! Here is a list of our Top 10 posts of 2014. 

10. Attitude Is Everything: See what happens when little miss catches attitude about a research/writing assignment SHE CHOSE! 

9. A Foraging We Will Go: I spent my whole mommy career telling my kids, "You can't eat that!" Just to find out.. YES YOU CAN! 

8. What do you do when you have super juicy yummy tomatoes you wish you could grow again for the next year? Save The Seeds of course! 

7. Water Filtration: How do you make puddle water drinkable? We are still not sure if you can drink it... but we managed to filter it out (and get rid of the unexpected pee smell.)

6. A deep contemplation about where I just 'naturally' acquired all of my homemaking/homesteading skills. Things I Learned From My Grandparents, (And I Didn't Even Know I Was Learning!)


5.Washing Clothes The Old Fashioned Way: How much can you save from washing your clothes by hand? And did my kid enjoy it? You be the judge. 

4. You Ate What? Yes, I did! And I will do it again. Only, now that the boy is gone.. Who is going to kill and skin it for me? 

3. Why We Prep As A Family: For the kids of course. I want our family to be prepared for any situation that comes our way. You might think you know what you are going to do, but have you done the stuff?

2. Guess What This Is For?: We got several answers, but did you guess correctly? I bet you did, you smart cookie you! 
And Our #1 post of the year? Came as quite a shock to me. Who knew a simple test to check if your eggs are fresh would be so popular? Don't Be A Rotten Egg! 

Thanks for joining us on our Homeschool/ homesteading journey towards self sufficiency.  We will see you with new adventures in 2015. Until then, go check out some of my favorite blogs and their Top 10 of 2014. 


Disclosure: I am Amazon Affiliate and may receive a small compensation for including links on my blog. Buying through my links is not necessary, just appreciated. Amazon does not charge extra for linked items recommended by their affiliates.  I only recommend products that I use and trust OR plan on using in the future. Please buy responsibly and do your own product research before buying anything online. 

Sunday, November 30, 2014

Our First Jelly- Red Jalapeno


We are not very big jelly eaters. Maybe every once in a while we will eat it, but not enough to get all crazy about canning jelly. We ended up with a whole lot of jalapeno peppers from our garden and our amazingly awesome neighbor, Bree, brought over more. I didn't know what to do with all of these peppers, we are not big pepper eaters either! Good grief, so many peppers, so little eating going on! My sister and brother in law are huge spicy food lovers. In the past, I have bought Jalapeno Jelly for them from a friend of mine. So, why not make something jalapeno for them? 
     My first idea was actually more like a jalapeno syrup you pour over a cream cheese bar and eat on crackers. For the life of me, I couldn't find a recipe for it, and no one I talked to in my canning groups really even knew what I was talking about... But I know I have eaten it somewhere before. After about a week of asking and researching, I finally gave up. Jalapeno Jelly it is! 
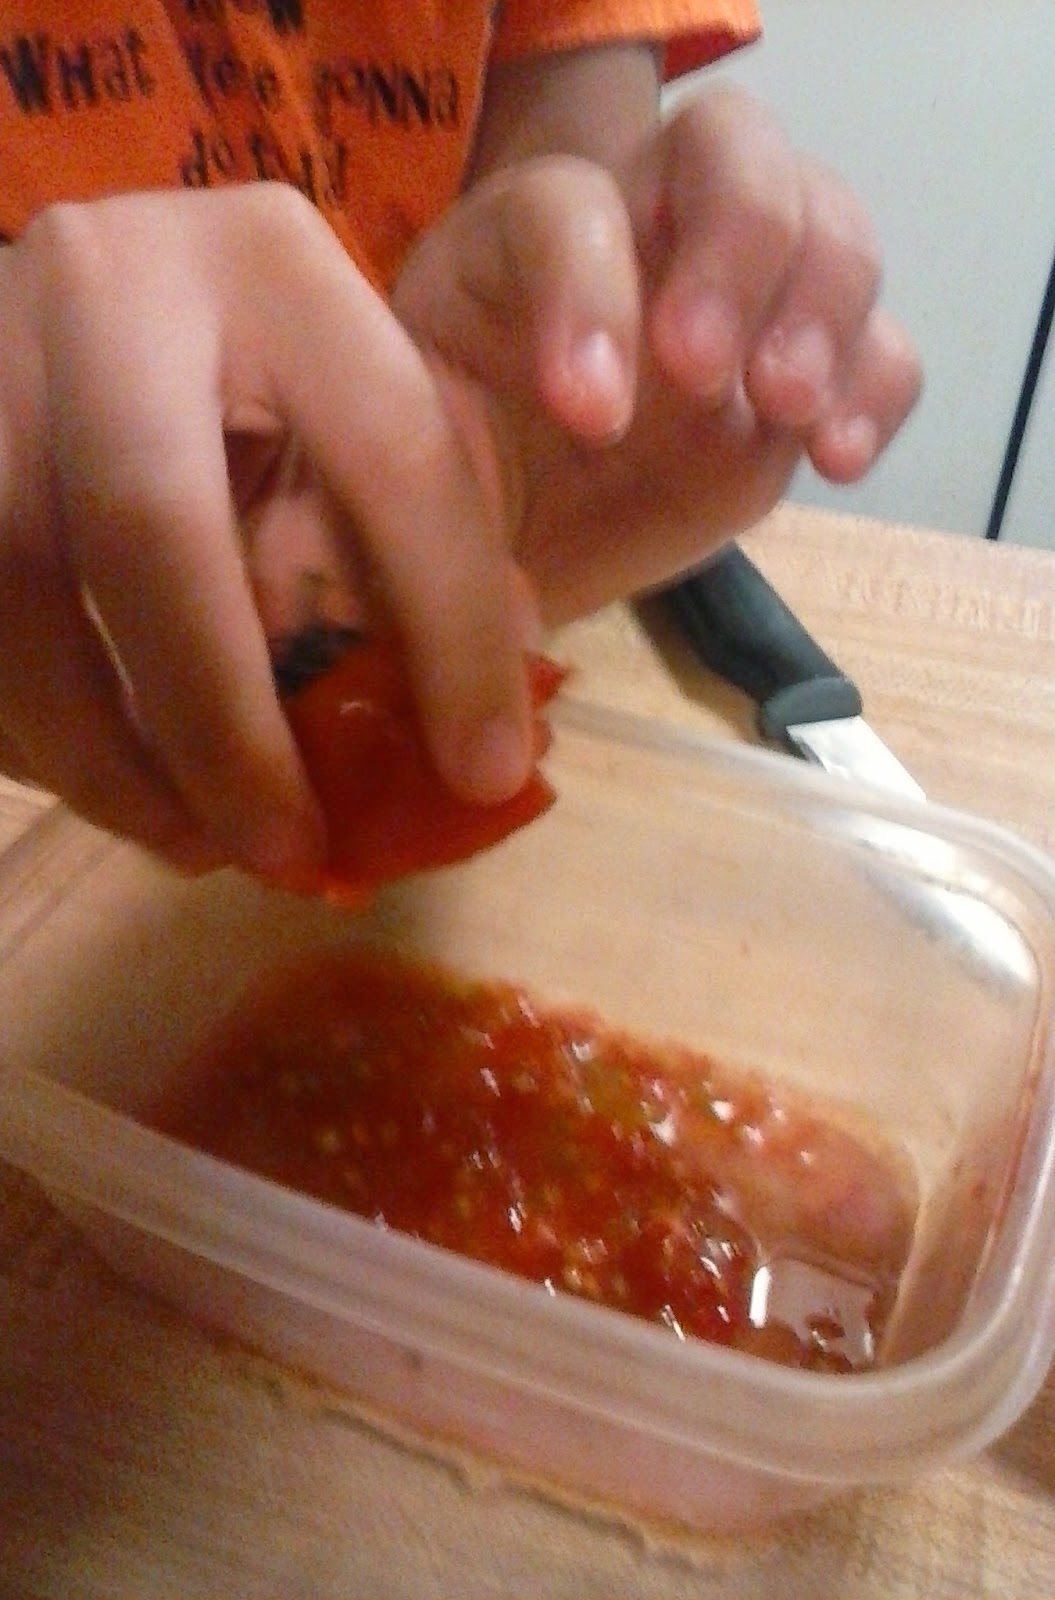
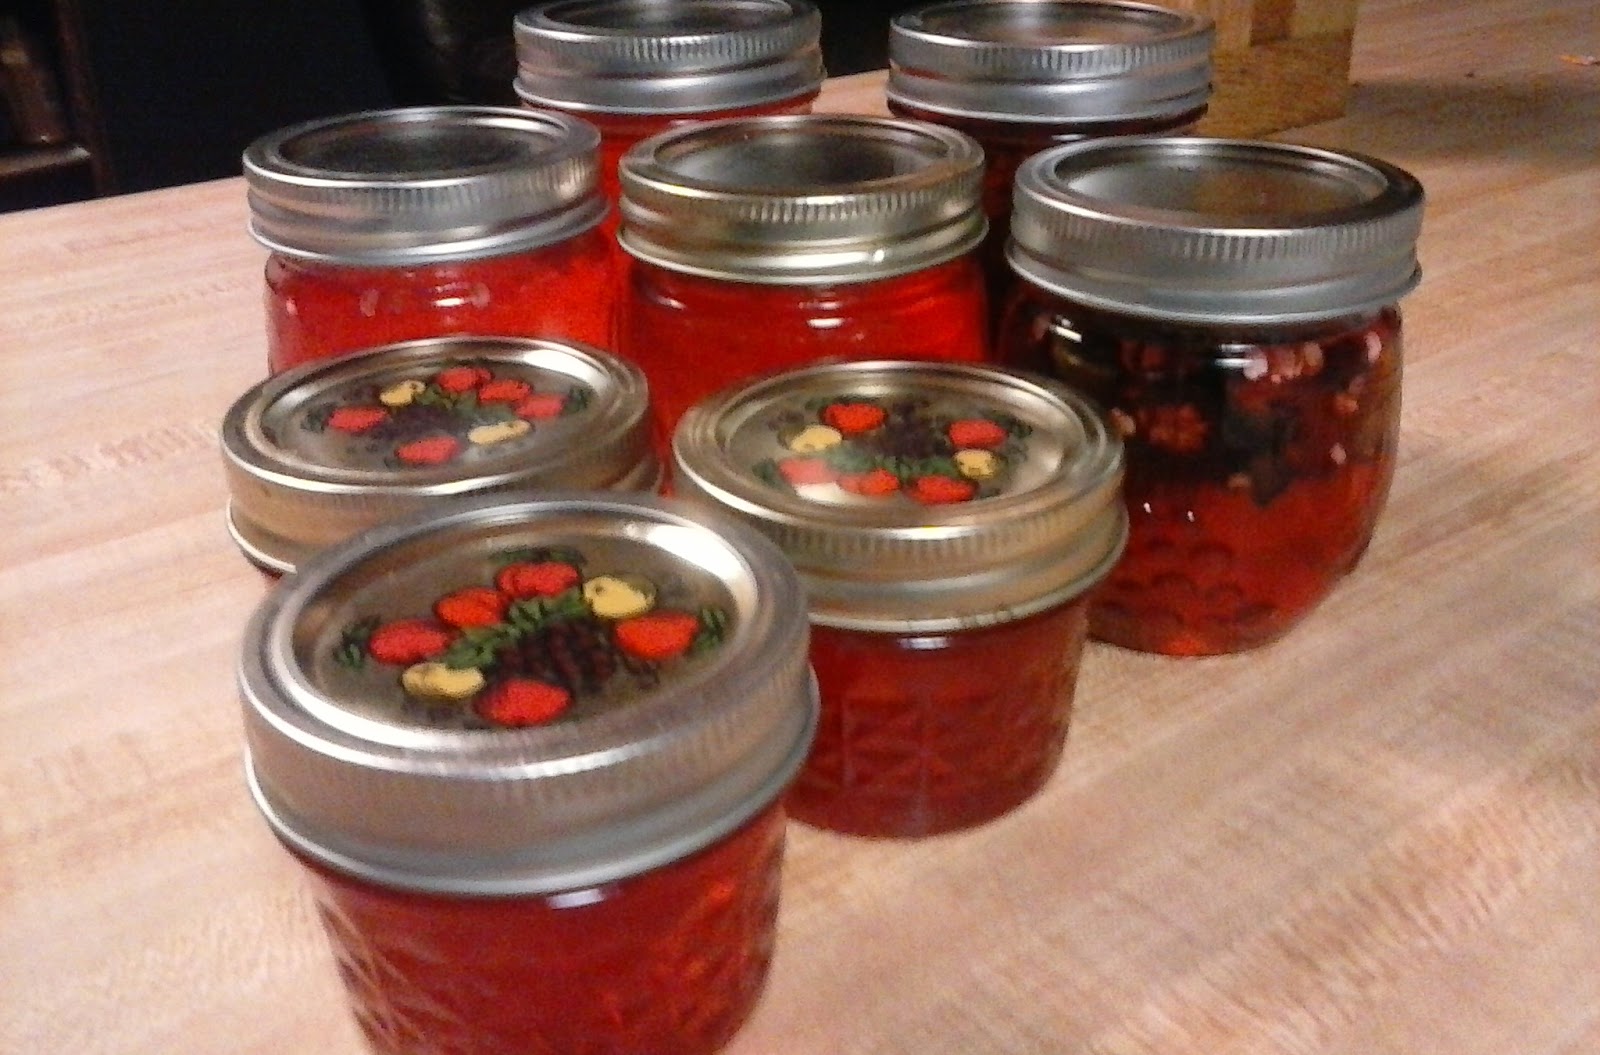
     I found a recipe on Taste Of Home that I thought looked pretty easy. Zoey and I got to work! I sliced up all the jalapenos (with gloves on) but we could not get our hand crank chopped to dice them up in small pieces. We went ahead and boiled them sliced. Zoey added all the ingredients, including some red food coloring. She did not think it looked very yummy in it's normal light yellowish color. I poured the extremely hot liquid into the jars. We did not strain the jalapenos from the liquid, like the recipe calls for. We strained the jalapeno slices into 2 of our jelly jars and then added the jelly liquid over them. After all of our jars were filled, we water bathed them for 5 minutes.
     The jelly set perfectly, except for the 2 we left the jalapeno slices in. They were more syrupy. Yea! Maybe we figured out how to make the yummy syrup to pour over cream cheese? We ended up with 8 jelly jars. (I don't even know what size they are. They were given to us from a friend on Facebook.) There was a tiny bit left over that would not fit into the jars. We poured it into a small bowl and placed in the refrigerator. After it had set, we tried a little on toast with butter. I was really surprised; it was good! Not too spicy, but sweet with a kick to it on the end! 


     I gave my sister her jar, they have yet to open it. They are saving it for a special occasion to eat over cream cheese. I'm a bit disappointed. I really wanted them to try it and tell me how it was. I thought at least with Thanksgiving in full swing, they would have eaten it sometime or another... Nope. 
    On Thanksgiving with my in-laws, Zoey decided to pull out all of our food stuffs we have been preserving and show EVERYONE! She wanted to open a jar of the jalapeno jelly for everyone but I didn't really want a jar open that would sit in our fridge and spoil. When she showed my father in law the jelly, he asked to try it. HE LOVED IT! He snuck the remainder of the jar into his jacket pocket to take home. Zoey was so proud and beamed her radiant smile. Feels pretty good to finally have someone like our jelly. He might be getting some more for Christmas (his suggestion!) 


Hot Pepper Jelly from Taste Of Home

1/2 cups white vinegar
1 medium sweet red pepper cut into wedges (we used neighbors mixed peppers)
2/3 cup of chopped habanero peppers (we used regular)
6 cups of sugar, divided
2 pouches (3 ounces each) of liquid fruit pectin
1 teaspoon of red food coloring (optional, try green too)

Directions
1. Place vinegar and peppers in a blender; cover and puree. Add 2 cups of sugar; blend well. Pour into saucepan. Stir in remaining sugar; bring to a boil. 
2. Strain Mixture and return to pan. Stir in pectin and food coloring if desired. Return to a rolling boil over high heat. Boil for 2 minutes, stirring constantly. 
3. Remove from heat; skim off foam. Carefully ladle hot mixture into hot sterilized half pint jars, leaving 1/4 in headspace. Remove air bubbles, wipe rims and adjust lids. Process in a boiling-water canner. 
4. Serve with cream cheese on crackers

Yield: 5 half Pints

Editor's Note: When cutting hot peppers, disposable gloves are recommended. Avoid touching your face. The processing time listed is for altitudes of 1,000 feet or less. Add 1 minute to the processing time for each additional 1,000 feet of additional altitude. 

Now this recipe is taken verbatim from Taste Of Home. I have tried this recipe and had great results. If you have a problem with this recipe or any recipe from them, please contact them directly. They are serious about wearing gloves and not touching any part of your body when handling any hot peppers. Peppers contain oils that are hard to get off of skin and will burn you like wild fire! Use extreme caution! If you happen to get some on yourself, soak the affected body part in milk. Raw milk is best, but my milk in the fridge helped as well.   

Also, I am in no way affiliated with Taste Of Home. I am just passing on a recipe we happen to enjoy. :)


Wednesday, November 26, 2014

Make Some Cookies With That Girl!


     When my son was an infant, many, many moons ago, a good friend of mine came over while I was baking cookies. She was amazed that I was making cookies with out a mix. I was amazed she had never made cookies unless they came out of a tube or a 'just add water' bag. I have thought of this many times over the years. How sad it was to me that she had never made homemade cookies before. Fast forward to many many moons later and I realized, I have never made homemade cookies with my own daughter! 
     How could that happen? Mrs. 'I'm all about the homemade, from scratch' has never made cookies from scratch with her own daughter? Seriously? We make cookies a lot, but they always come from a tube. Crazy, right? Well, in our last house, sometimes the cookies didn't always turn out the best. Then, the oven went out. In this house... okay, I have no excuses. I honestly didn't even realize we had never made cookies from scratch before. Not until Zoey and I were at the store buying ingredients for the cookies we wanted to make. She kept saying, "But Mom, we need to get dough!" I was not really understanding what she was saying until she said, "For the cookies, duh..." Oh. Ummm.... Whoops! Time to have a homemade cookie talk and make some cookies with that girl!
     So what kind of cookies did we want to make? Chocolate chip, pecan, coconut cookies! Our very favorite neighbor, Bree, gave us some pecans from her yard and Zoey shelled them last week. Then I saw a recipe for 'Cowboy Cookies' and we thought they sounded great. We forgot to get oatmeal at the store, so me made the old tried and true chocolate chip cookies and added pecans and coconut to them. 
     I didn't take any photos while we were making cookies. I wanted this to be a Mommy and Me moment. No camera, no staging, just me and her making cookies. Like it is supposed to be. Cookie pictures came after. 

Here is the recipe:


Chocolate-Coconut-Pecan Cookies
(We could not come up with anything better!)

1 cup of butter (room temperature)
3/4 cup of granulated sugar
3/4 cup of packed light brown sugar
1 teaspoon of vanilla extract
2 eggs
2-1/4 cups of all purpose flour
1 teaspoon of baking soda
1/2 teaspoon of salt
1 bag of semi-sweet chocolate chips
1 cup of coconut
1 cup of chopped pecans

     Preheat oven to 350. Mix together butter, sugars, vanilla and eggs together. Add flour, baking soda and salt. Mix together until dough forms. Add in chocolate chips, coconut and pecans until mixed well. Drop small spoonfuls onto an ungreased cookie sheet. Bake for 10-15 minutes. (We like slightly gooey cookies so we only do the 10 minutes.)  Allow to cool completely. Makes about 5 dozen. Enjoy!

     If you have never baked with your family, why not try some today. Cooking with your kids is a great way to spend family time. They learn fractions, a bit of chemistry, and it is a great bonding experience. Not to mention, you will have lots of yummy cookies!

Remember, if you have a nut allergy, leave the pecans out! Please use common sense when trying anything you find on here or the web! Also, if you eat the dough raw, you will put yourself in the position to possibly get salmonella from raw eggs. So don't eat the dough!