Enter your email address:

Delivered by FeedBurner

Homeschooling The Well Prepared Child: kids cooking
Showing posts with label kids cooking. Show all posts

Sunday, March 20, 2016

Meal In A Jar: Split Pea Soup

This post contains Affiliate Links.

     Recently, I had a Thrive Life Freeze Dried Food party. My friend and consultant, Deb, sent me some samples to pass out AND a Meal in a Jar! I've never done a meal in a jar and I had never tried Split Pea Soup either. EXCITING! Zoey could not wait to get started! 
  

Hearty Pea Soup
by Deb Hallman - Independent Thrive Life consultant
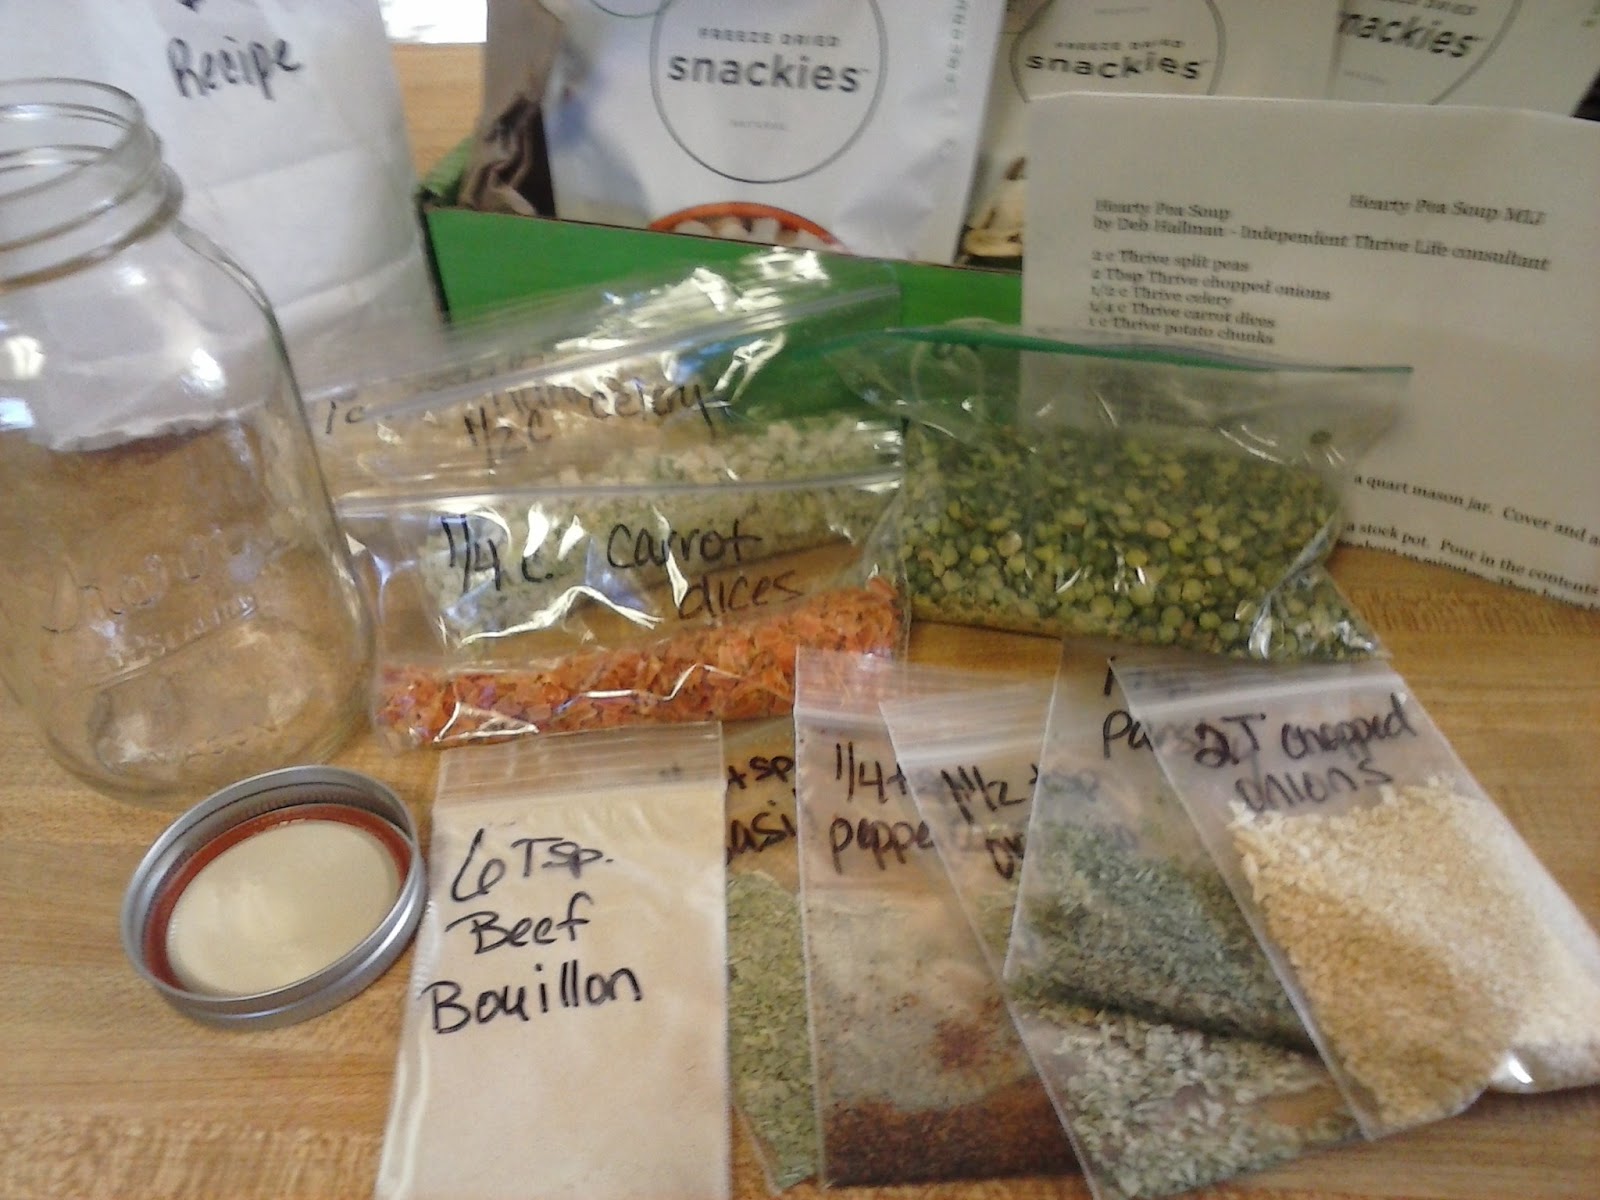
2 c Thrive split peas
2 Tbsp Thrive chopped onions
1 c Thrive potato chunks
1/2 c Thrive celery
1/4 c Thrive carrot dices
1 tsp Thrive parsley
6 tsp Thrive beef bouillon
1/4 tsp Thrive peppercorn
1 1/2 tsp Thrive oregano 1 1/2 tsp Thrive basil

Layer all ingredients (in any order) in a quart mason jar. Cover and add O2 absorber for long term storage.

To make soup, add 12 cups of water to a stock pot. Pour in the contents of the mason jar. Let soup mix sit in water for about 10 minutes. Then bring to a boil, and simmer for about 2 hours, stirring to keep the bottom from over cooking and sticking to the pot. The soup is done when the peas have melted away from their form and make a thick soup.
Serves 5


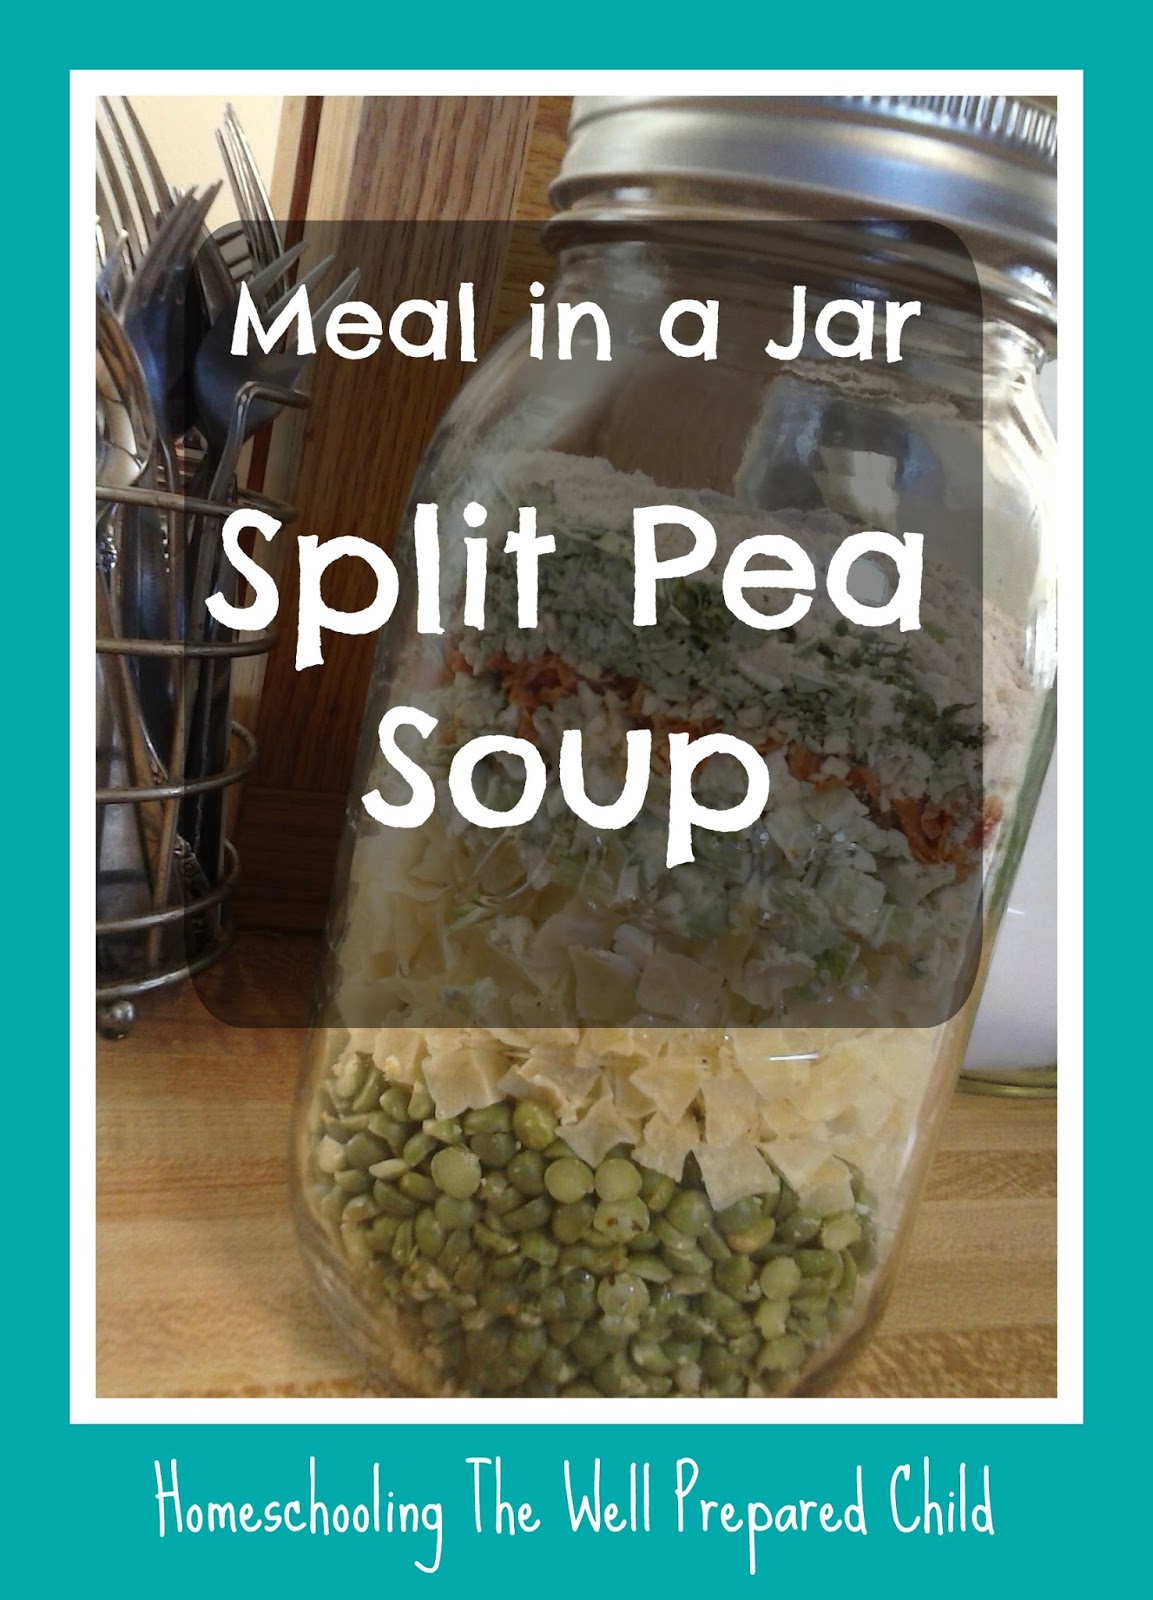
     Doesn't it look fantastic? Seems a shame to go ahead and use it! However, I am really curious as to how it tastes! It SMELLS amazing just in the jar! 
     
     Soooo.. We did not cook it long enough. It came out chunkier than regular Split Pea Soup. Deb told me I needed to let it cook longer because it is supposed to be thicker and creamier. Everything was soft and tender, smelled wonderful.. and we just couldn't wait! So, how was it? It tasted as good as it smelled! Zoey had two helpings! I am really glad Deb sent this to us. We might have a new favorite in our house! 

If you would like to make some meals in a jar, or find out more about Thrive Life, you can follow Deb over on Facebook, HERE, or email her HERE, or on her Thrive page HERE. 

Please excuse me while I go finish off some left overs! ;) 


Disclosure: I am Amazon Affiliate and may receive a small compensation for including links on my blog. Buying through my links is not necessary, just appreciated. Amazon does not charge extra for linked items recommended by their affiliates. I only recommend products that I use and trust OR plan on using in the future. Please buy responsibly and do your own product research before buying anything online.


Monday, February 22, 2016

Wild Foraging: Beauty Berry Jelly

This post contains Affiliate Links.


     For years, I told my son, "Don't eat the purple berries! They will kill you!" For years, I believed, "If you could eat it, it would be in the store." Right? 
     Fast foward a few years later, I was over on Foraging Texas when I stumbled upon his page American Beauty Berry. Well, as it turns out, you CAN eat the purple berries! We have several bushes on our property. However, by themselves, they are not so great and they really don't have very much nutritional value. Not poisonous, but not really a great find for foraging. Boo. Then I heard about Beauty Berry Jelly. Most that have tried it say it has an intriguing, yet delicious taste to it. Zoey and I decided we were going to make some. 
     
     
     Finding the brightly colored berries was easy. Picking them was pretty easy as well. You just slide your hand down a branch and pop them off right into your bowl. When they are on the branches, their looks like a whole lot of berries. However, even after we stripped nearly all of the bushes in our yard, we were not sure if there was going to be enough to make the jelly with. We were going to try anyways. 

"Hey Zoey, let me get a picture of you and the berries before we go inside."


      Yes, she looks like her daddy, but this kid is sooo me! :D 

     First the berries had to be picked through and washed thoroughly. We ended up getting leaves, twigs and bugs in with them. I did not get a picture, but I figure you don't want to really see all that anyways. Then we looked for recipes to make our jelly. The best one we found was at Hogtown Home Grown. I did not have Low Sugar Pectin or Raw Sugar so we followed the directions on the back of the package of Sure-Jell that we did have and used regular sugar.  We followed her instructions except for that. 

This is what the berries look like after being boiled. 


Zoey mashed them.

By this point we have boiled down the mixture, added the sugar, lemon, Sure-Jell and we are now ready to start loading our jars. 

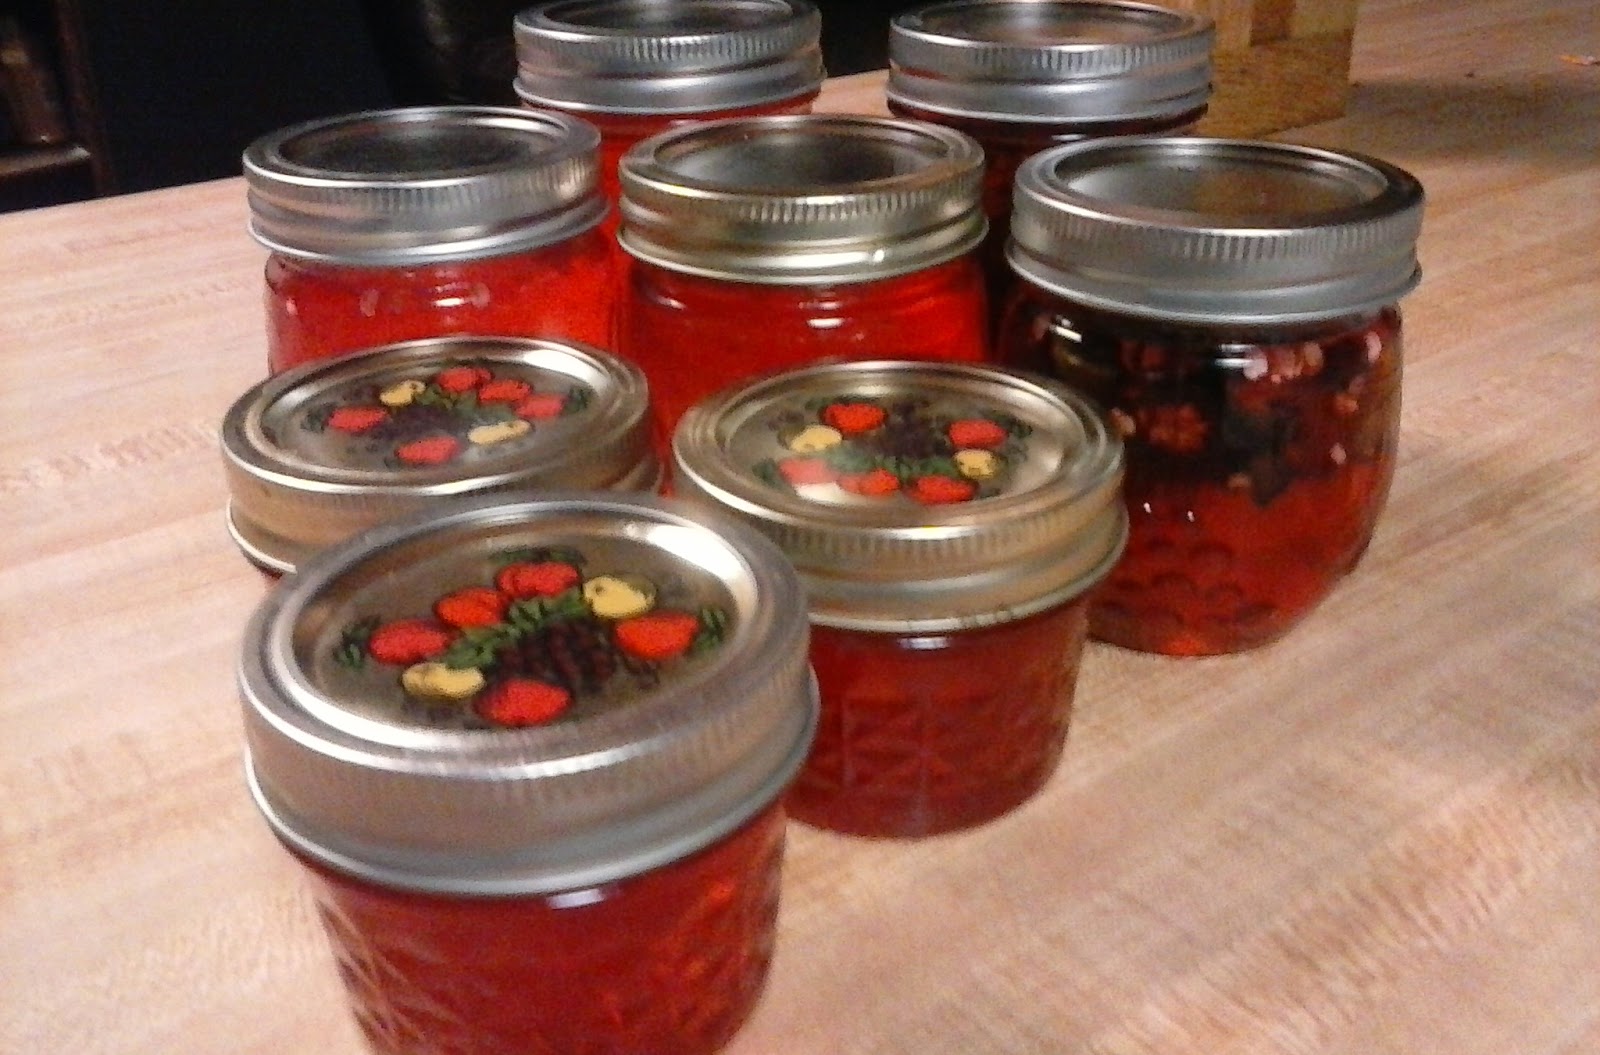
      We filled 6 of the 8 oz. Jelly Jars and 3 of the little 4 oz. Jelly Jars. There was also a little left over that we nibbled on.  So how does it taste? It is really hard to describe. Definitely not your ordinary grape jelly! It has a more... sophisticated.. taste to it? AND IT IS AMAZING! It has replaced our favorite jellies on everything from PB&J to buttered biscuits. 


We can't wait to make it again this August!   


Get the recipe Here:


Learn More About American Beauty Berry Here:


Please use extreme caution when foraging for wild edibles. Do your own research. We are not responsible for any misidentifying of plants you make while on your own. Never eat anything you are not sure of.

Disclosure: I am Amazon Affiliate and may receive a small compensation for including links on my blog. Buying through my links is not necessary, just appreciated. Amazon does not charge extra for linked items recommended by their affiliates.  I only recommend products that I use and trust OR plan on using in the future. Please buy responsibly and do your own product research before buying anything online. 

Sunday, November 30, 2014

Our First Jelly- Red Jalapeno


We are not very big jelly eaters. Maybe every once in a while we will eat it, but not enough to get all crazy about canning jelly. We ended up with a whole lot of jalapeno peppers from our garden and our amazingly awesome neighbor, Bree, brought over more. I didn't know what to do with all of these peppers, we are not big pepper eaters either! Good grief, so many peppers, so little eating going on! My sister and brother in law are huge spicy food lovers. In the past, I have bought Jalapeno Jelly for them from a friend of mine. So, why not make something jalapeno for them? 
     My first idea was actually more like a jalapeno syrup you pour over a cream cheese bar and eat on crackers. For the life of me, I couldn't find a recipe for it, and no one I talked to in my canning groups really even knew what I was talking about... But I know I have eaten it somewhere before. After about a week of asking and researching, I finally gave up. Jalapeno Jelly it is! 
     I found a recipe on Taste Of Home that I thought looked pretty easy. Zoey and I got to work! I sliced up all the jalapenos (with gloves on) but we could not get our hand crank chopped to dice them up in small pieces. We went ahead and boiled them sliced. Zoey added all the ingredients, including some red food coloring. She did not think it looked very yummy in it's normal light yellowish color. I poured the extremely hot liquid into the jars. We did not strain the jalapenos from the liquid, like the recipe calls for. We strained the jalapeno slices into 2 of our jelly jars and then added the jelly liquid over them. After all of our jars were filled, we water bathed them for 5 minutes.
     The jelly set perfectly, except for the 2 we left the jalapeno slices in. They were more syrupy. Yea! Maybe we figured out how to make the yummy syrup to pour over cream cheese? We ended up with 8 jelly jars. (I don't even know what size they are. They were given to us from a friend on Facebook.) There was a tiny bit left over that would not fit into the jars. We poured it into a small bowl and placed in the refrigerator. After it had set, we tried a little on toast with butter. I was really surprised; it was good! Not too spicy, but sweet with a kick to it on the end! 


     I gave my sister her jar, they have yet to open it. They are saving it for a special occasion to eat over cream cheese. I'm a bit disappointed. I really wanted them to try it and tell me how it was. I thought at least with Thanksgiving in full swing, they would have eaten it sometime or another... Nope. 
    On Thanksgiving with my in-laws, Zoey decided to pull out all of our food stuffs we have been preserving and show EVERYONE! She wanted to open a jar of the jalapeno jelly for everyone but I didn't really want a jar open that would sit in our fridge and spoil. When she showed my father in law the jelly, he asked to try it. HE LOVED IT! He snuck the remainder of the jar into his jacket pocket to take home. Zoey was so proud and beamed her radiant smile. Feels pretty good to finally have someone like our jelly. He might be getting some more for Christmas (his suggestion!) 


Hot Pepper Jelly from Taste Of Home

1/2 cups white vinegar
1 medium sweet red pepper cut into wedges (we used neighbors mixed peppers)
2/3 cup of chopped habanero peppers (we used regular)
6 cups of sugar, divided
2 pouches (3 ounces each) of liquid fruit pectin
1 teaspoon of red food coloring (optional, try green too)

Directions
1. Place vinegar and peppers in a blender; cover and puree. Add 2 cups of sugar; blend well. Pour into saucepan. Stir in remaining sugar; bring to a boil. 
2. Strain Mixture and return to pan. Stir in pectin and food coloring if desired. Return to a rolling boil over high heat. Boil for 2 minutes, stirring constantly. 
3. Remove from heat; skim off foam. Carefully ladle hot mixture into hot sterilized half pint jars, leaving 1/4 in headspace. Remove air bubbles, wipe rims and adjust lids. Process in a boiling-water canner. 
4. Serve with cream cheese on crackers

Yield: 5 half Pints

Editor's Note: When cutting hot peppers, disposable gloves are recommended. Avoid touching your face. The processing time listed is for altitudes of 1,000 feet or less. Add 1 minute to the processing time for each additional 1,000 feet of additional altitude. 

Now this recipe is taken verbatim from Taste Of Home. I have tried this recipe and had great results. If you have a problem with this recipe or any recipe from them, please contact them directly. They are serious about wearing gloves and not touching any part of your body when handling any hot peppers. Peppers contain oils that are hard to get off of skin and will burn you like wild fire! Use extreme caution! If you happen to get some on yourself, soak the affected body part in milk. Raw milk is best, but my milk in the fridge helped as well.   

Also, I am in no way affiliated with Taste Of Home. I am just passing on a recipe we happen to enjoy. :)


Wednesday, November 26, 2014

Make Some Cookies With That Girl!


     When my son was an infant, many, many moons ago, a good friend of mine came over while I was baking cookies. She was amazed that I was making cookies with out a mix. I was amazed she had never made cookies unless they came out of a tube or a 'just add water' bag. I have thought of this many times over the years. How sad it was to me that she had never made homemade cookies before. Fast forward to many many moons later and I realized, I have never made homemade cookies with my own daughter! 
     How could that happen? Mrs. 'I'm all about the homemade, from scratch' has never made cookies from scratch with her own daughter? Seriously? We make cookies a lot, but they always come from a tube. Crazy, right? Well, in our last house, sometimes the cookies didn't always turn out the best. Then, the oven went out. In this house... okay, I have no excuses. I honestly didn't even realize we had never made cookies from scratch before. Not until Zoey and I were at the store buying ingredients for the cookies we wanted to make. She kept saying, "But Mom, we need to get dough!" I was not really understanding what she was saying until she said, "For the cookies, duh..." Oh. Ummm.... Whoops! Time to have a homemade cookie talk and make some cookies with that girl!
     So what kind of cookies did we want to make? Chocolate chip, pecan, coconut cookies! Our very favorite neighbor, Bree, gave us some pecans from her yard and Zoey shelled them last week. Then I saw a recipe for 'Cowboy Cookies' and we thought they sounded great. We forgot to get oatmeal at the store, so me made the old tried and true chocolate chip cookies and added pecans and coconut to them. 
     I didn't take any photos while we were making cookies. I wanted this to be a Mommy and Me moment. No camera, no staging, just me and her making cookies. Like it is supposed to be. Cookie pictures came after. 

Here is the recipe:


Chocolate-Coconut-Pecan Cookies
(We could not come up with anything better!)

1 cup of butter (room temperature)
3/4 cup of granulated sugar
3/4 cup of packed light brown sugar
1 teaspoon of vanilla extract
2 eggs
2-1/4 cups of all purpose flour
1 teaspoon of baking soda
1/2 teaspoon of salt
1 bag of semi-sweet chocolate chips
1 cup of coconut
1 cup of chopped pecans

     Preheat oven to 350. Mix together butter, sugars, vanilla and eggs together. Add flour, baking soda and salt. Mix together until dough forms. Add in chocolate chips, coconut and pecans until mixed well. Drop small spoonfuls onto an ungreased cookie sheet. Bake for 10-15 minutes. (We like slightly gooey cookies so we only do the 10 minutes.)  Allow to cool completely. Makes about 5 dozen. Enjoy!

     If you have never baked with your family, why not try some today. Cooking with your kids is a great way to spend family time. They learn fractions, a bit of chemistry, and it is a great bonding experience. Not to mention, you will have lots of yummy cookies!

Remember, if you have a nut allergy, leave the pecans out! Please use common sense when trying anything you find on here or the web! Also, if you eat the dough raw, you will put yourself in the position to possibly get salmonella from raw eggs. So don't eat the dough!


Monday, November 17, 2014

Days Like These


     My day started out at 7:30 a.m.. Might not seem early to you, but considering I am a night owl, it is the perfect early time to get up for me. I drank 2 cups of coffee, checked my emails, and surfed the web before getting my daughter up at 8. She was not ready for breakfast yet, so we headed outside to feed the animals. She fed the chickens and rabbit; I fed the dogs and pig. It is supposed to get very cold this week. Since we were already outside, we decided to clean out the chicken coop and give them fresh hay. We also gave the rabbit some fresh bedding.
     Moving to the garden, we picked all we could pick off of our tomato plants. They were not as big as we would have liked, but they are still something! Since we had a horrible luck growing tomatoes in our garden this year, we planted a couple of plants my awesome neighbor, Bree, gave us late last summer. Her grandmother found several volunteer plants grow on the side of her house. Hoping for a mild fall season, we decided to go ahead and plant them. We planted them in the front yard where I really really wanted to grow the garden this last spring. The ground was raised with mulch and allowed to break down for several years. Our fall season was nearly over before it started. Good thing I also planted some of the tomato plants in pots. We pulled in the 2 potted tomato plants, along with the avocado tree, apple mint, green onions and the spinach pot. 
     About the time we were finishing bringing in the plants, Hubby drove up from work. His job is from 3:30 a.m. to 9:30 a.m. and a today we would get to spend the rest of the day with him. We all had sandwiches together for brunch, then we watched a YouTube video on mountain properties for sale. After, we all went back out into the yard to do our various tasks. We helped Hubby a bit with making the new pen for our pig, Porky.     
     When we asked what would better help him get ready for the cold snap, he said we could bring in the wood. My daughter and I drove the little tahoe around our property. She got her first behind the wheel driving lesson. She is a natural. We decided we had not gathered enough wood off of our property, so we drove around the county road. Yes, I was behind the wheel this time. We found lots of good wood. Some of it was already cut wood that the tree trimmers that work for the electric company had trimmed and cut a little while back. Some of it was just old tree limbs that had fallen onto the side of the road. We filled the whole back of the truck! When we returned home, we unloaded our finds into the garage, but left the stuff that needed to be cut outside of the garage so Hubby could cut it with the chainsaw. 
     My daughter and I decided it we were too cold to work outside anymore. We came in, cleaned up and got our jammies on! We were also starting to get a bit hungry again and decided the potato soup we tried at the homeschool co-op we attend sounded fabulous! We messaged the lady that made it and asked for her recipe. Even though we did not have all of the ingredients, it did not stop us from making it. Potatoes were peeled and put on to boil. Onions sauteed on the stove as we headed upstairs. We had orders to sew!
     One of my big sellers on my Etsy shop are Barbie/Monster high doll bedding. My daughter created them one night when she decided she wanted to make doll bedding for her best friend for Christmas. We had two orders to get out. She got out the fabrics while I got everything set up for sewing. It took us a couple of hours to cut all of the pillows, iron, pin, sew, unpin, turn, stuff, re-pin, sew, and then iron and de-fuzz all of the tiny pillows and blankets. Especially when we were constantly running up and down the stairs checking on our soup! When we finished the doll bedding, we got our coats on and walked down to the mailbox to mail our packages out. 


     Finally, we sat down to try our first attempt at making homemade potato soup! There is nothing better than a homemade soup, let me tell you! We substituted milk and sour cream for the canned evaporated milk, and let it simmer down a little longer to let it thicken up. It was fantastic and we nearly ate the whole pot between our lunch and again at dinner! 
     Our awesome neighbor, Bree, came over again to bless us. She brought the kiddo a small bag of black walnuts to learn about and harvest. Bree visited a bit and then left to return to her house. My daughter and I snuggled into my bed for some homeschool. While she worked in her math book, I read to her from a book called Windows To Our World. It is a journal story from Sarah Brown of Dyslexia Games. I am not sure how much my daughter completed in her math work book. We were captivated by this book. Sarah as a child reminds me of the little girl laying next to me, all cozy and warm and giggling. As some of you know, my daughter is dyslexic and has other learning related disabilities. We do not let her use this as an excuse or a way out of learning. Like little Sarah in the book, we allow her a lot of time for her own self driven learning. I hope this book furthers her new found love of learning through self driven research and exploration. May she also live a life full of love and blessings from our Lord. 
     Hubby is in from the cold and nearly ready to eat dinner. Since hubby is not a fan of potato soup, I made him taco salad from the taco meat I store in the freezer. Having some pre-made meat for meals comes in handy. Especially on days like today where all the kiddo and I want to eat is the yummy potato soup we made for lunch. (This is when we nearly finished off the big pot of soup we made.) It also helps to keep our food bill down by making a bigger batch of meat from a family size package of hamburger caught on sale here and there. On Thursdays, when I work too late to cook the hubby dinner on time, he can pull out a meal starter to make a quick meal. It is important to me to home cook meals for my family, so having pre-made meals in the freezer helps to make me feel like I have still cooked for him. 
     After dinner, we watched a little t.v. and some DIY videos on how to make an indoor growing station for the plants we brought in. We discussed what improvements and additions we wanted to try on our mini farm. My daughter and I played some board games while Hubby and I talked. At 6:30 p.m., it was time for him to head upstairs for bed. This is the worst thing about his job, but I can't complain when we get him from 9:30 a.m. till 6:30 p.m. all to ourselves. The kiddo and I cleaned up our board game mess after Hubby kissed us both goodnight. It was time to check out the black walnuts we were gifted!
     My daughter broke open the first walnut with a hammer and found it to be soft and a bit fleshy feeling. It did not take us long to realize, research was definitely needed. We found videos on YouTube, and watched a great one. Too late, we discovered she should have worn gloves. She looked down at her hands and discovered they were slightly stained. We had no gloves, so she decided to go ahead and finish getting the fleshy parts of the one walnut, and search for gloves in the morning to finish the rest with. (Unfortunately, we found no gloves and both of us stained our hands. Fun stuff though!) 
     After cleaning up from the walnut mess, she hopped in the shower, and then snuggled up on the couch and finished her writing assignment from her homeschool co-op class. I have never seen her this excited to write before this class. Occasionally, she asks me how to spell a word. I sit at the computer and work on my own writing assignments, sprinkled in with a bit of Facebook. I post the picture of our homemade potato soup on my blog's Facebook fan page and message my sister back on Thanksgiving arrangements. My daughter comes in to read me her story out loud. We watch a few funny cat videos until it is time for her to clean her room before bed. She reads her library book for 20 minutes and then turns on the music she listens to while she sleeps. This is my cue to come to her room for prayers, good night giggles and sleepy kisses. We also make plans for the next days lessons, activities and 'to do' lists. 
     Later, while listening to the soft music coming from her room, I check my emails for the night. The co-op's blogging group emailed an assignment of writing about what we are thankful for. I reflect for a moment on the usual 'go to' thoughts on blessings and being thankful, but my mind keeps drifting to the days events. We worked hard, we learned lots, we laughed often and we loved much. I decided this is what I am most thankful for..... days like these. 


DISCLAIMER- This post is not a paid affiliate post by Sarah Brown, Dyslexia Games, or the book Windows to Our World, however, my Amazon link to the book IS a paid affiliate link. I was not asked to do a review of this book, but in this day of my life, we enjoyed reading it. Loving this book is my own honest opinion and I am just passing on a 'window to MY OWN world.' The Etsy link is to my own store, and if you choose to buy from us, that would be a blessing but in no way effects how I feel about my readers. Thank you for sharing this day with us! 

Saturday, October 11, 2014

We Butcher A Chicken...

WARNING- This post contains photos of a family sending their own chicken to freezer camp! If you are not the chicken killing type, or if you are disturbed by information or images of animals being butchered, please, DO NOT READ THIS POST. We are on the path to self sufficiency, and raising our own food is part of this journey.


"We butchered a chicken today. Great life lesson and anatomy lesson. There is something... satisfying... to be able to provide a meal for your family that you know what it was fed, you know how it was treated, you know how it was butchered, and you know how it was prepared. I don't know if we will ever do another, but, we are happy with today." -Personal Facebook Post February, 2014

     We have become a society disconnected with our food. Rarely does anyone know where or how their food is processed. We buy our meat in nice, little wrapped packages, and not once do we question where it came from. How were they raised and in what conditions? What were they fed? How was it processed? The chicken from the stores is kept in giant barns crammed full of thousands of chickens, all pecking at each other, or standing there waiting to die. Don't believe me? Type in your computer, 'what are chickens fed to make them grow so fast?' and see what comes up. Quick link to Wikipedia says, well it says a lot.. Just read for yourself.
     I am in no way condemning anyone for eating supermarket chicken. I buy it all of the time still. My family loves chicken and I am not a lover of butchering my own meals. Honestly, I hope to grow out of this.  I have already come quite a ways from the girl I used to be. In the past, if it did not come from the supermarket, wrapped up nice and neat in Styrofoam and plastic wrap, I wouldn't eat it. We were given some hamburger from my uncle one time and while my family raved about how wonderful my meatloaf was, I was in the bathroom gagging and hearing Uncle Mark call out 'Calfy' to his cow. Fresh eggs? FORGET ABOUT IT! That was just disgusting! (My sister is still this way!)  In my quest for self sufficiency, however, I have grown to realize the importance of knowing where my food comes from. This is not important to everyone, but it is important to me.
      My husband's, mother's, boyfriend's. granddaughter (phew, did you catch all that?) raised chickens for FFA. When the project was finished, we were asked if we wanted them. They are Cornish Rock Cross and are breed to grow quickly. This also makes them unlikely to ever mate, lay eggs, or live past a certain age. And while I was not yet 'there' in my homesteading journey, I felt if I was going to 'Talk the talk...' I had better start down this road when I was offered the chance at no cost to me.
     My daughter helped me along on our first journey. We researched, read articles and watched youtube videos on butchering chickens. We decided to go with the 'cone method' of butchering. We took a milk jug, just like on the video we watched, and cut out the bottom of it. Then you put the chickens head through the hole and slit its throat. As it drains of blood it goes peacefully to sleep. Or rather, that's what is supposed to happen. Nothing could prepare us for our first time. Like I always seem to say, you think you know, but it never turns out how you expected. The chicken fought going into the milk jug hole, the incision clotted up instantly, then, the chicken cluck/cussed us, saying we were doing it wrong. Hubby came to the rescue with an ax. Note to self: Never, ever try that method again.
     Plucking took nearly and hour, even with dunking in the hot water several times. We have since learned that the skin is not that important to us, even when frying. It is a lot quicker to skin. We do not eat anything on the inside, so it is all boiled and fed to my dogs. We did find a lot of little orange balls we discovered were the beginning yolks of eggs. That is how we ended up keeping 'Prissy,' our first hen to lay an egg.
     It was very educational for my daughter. She learned a lot about chicken anatomy. She is like me (not crazy about killing the chicken) but she loves to identify the organs. She loves to cook our homegrown meat as well. She has very little attachment to the chickens because we have told her from the beginning these were 'food, not friends.' My hope for her is to become a veterinarian or be in another medical field. I believe she will be great healer one day.
     Just in case you continued to read, but were uncertain if you wanted to see the photos, I have saved them for last. The are not really terribly awful in my opinion, but this is your last chance to go check out one of my other articles. You can see my daughter make store bought Cornish Hens in my post HERE. Again, you are reading a blog about our homeschooling/homesteading family's quest to become more self sufficient. Thank you for your support.


Our FAIL...
 Getting the insides out.


 Don't you just love her protective gear!
An hour to pluck it and it still looked like this?
 The end result. 
     We decided to stuff and slow roast our chicken. We learned from our Cornish Hen dinner that we like seasonings, and this time we did it right. It was delicious and tender. I had forgotten to take a photo of it when we were finished cooking it. The photo above is what we had LEFT after dinner. Two adults and a 10 year old barely made a dent. I pulled off the rest of the meat and separated it into family sized portion freezer bags. We got 4 more meals out of this one bird. 5 meals for free. 

     We have sent several chickens to 'Freezer Camp' and I plan on sending more soon. If this is not your cup of tea, I understand. I used to be that girl remember? But it is now something I take pride in. My meat was raised by me. They were fed a healthy diet twice a day and also free range all day long. I know how they were treated, I know how they are processed. I know they were healthy and will provide a healthy meal for my family. Thank you for joining me on my journey.