Enter your email address:

Delivered by FeedBurner

Homeschooling The Well Prepared Child: seeds
Showing posts with label seeds. Show all posts

Tuesday, May 5, 2015

Starting The Garden

This post contains Affiliate Links.


     It is that time of year again! Spring is my favorite time of year. All of the new plants and flowers coming up. The birds are returning. Days become longer and warmer. Everything is just green and sunny and perfect! Time to start our garden seeds! 
     We started by going though our mess of a seed bag. All of our seeds we have been buying have been randomly thrown into a gallon size baggy and stored in the freezer. It was stuffed full of individual packets, (some new, some opened) and all of the random packs we created last fall when we harvested our own seeds. I did not realize how horrible this picture was until I tried to load it on here, but as you can see, we have many seeds. This is after we started to sort them. 
     Then we made a list of all the plants we wanted to grow this year. The whole family got involved and created the list. When planning a garden, I have found it is better to grow what your family will eat. AND in quantities that will be easily eaten or preserved. One year I had 10 zucchini plants. My husband will not eat it and the kids only in moderation. After a few weeks, kids were tired of it and I had no way to preserve it. Most of it was wasted, (thinking I could do something with it, but never getting around to figuring out what) or given away. Then, last year I only got a few tomato plants to grow. When we ran out of tomatoes, which was often, my amazingly awesome neighbor Bree kept us supplied with her juicy mators as much as she could. There was never enough.  Better to sit down as a family and decide what and how much needs to be grown. Okay, back on topic! Now that we had our list, Zoey and I selected the seeds we wanted from our sorted pile on our table. Then they sat there... till we got out of the hospital after my husband's accident
     Wouldn't you know it.. I forgot to get pictures of us starting our seeds! We mixed in some of our composted wood dirt with some of our garden dirt, potting soil we had left from last year, and the oven baked egg shells I make to feed back to our chickens. We placed the mixture into the 9 pack containers (kinda like THESE) some plants came in and I saved from a few years ago. Pickling cucumbers, regular cucumbers, watermelon, cantaloupe, jalapenos, and bell peppers were started in these trays. We already had started tomato plants, a new bucket of potatoes (white bucket), sugar snap peas, and onions. 
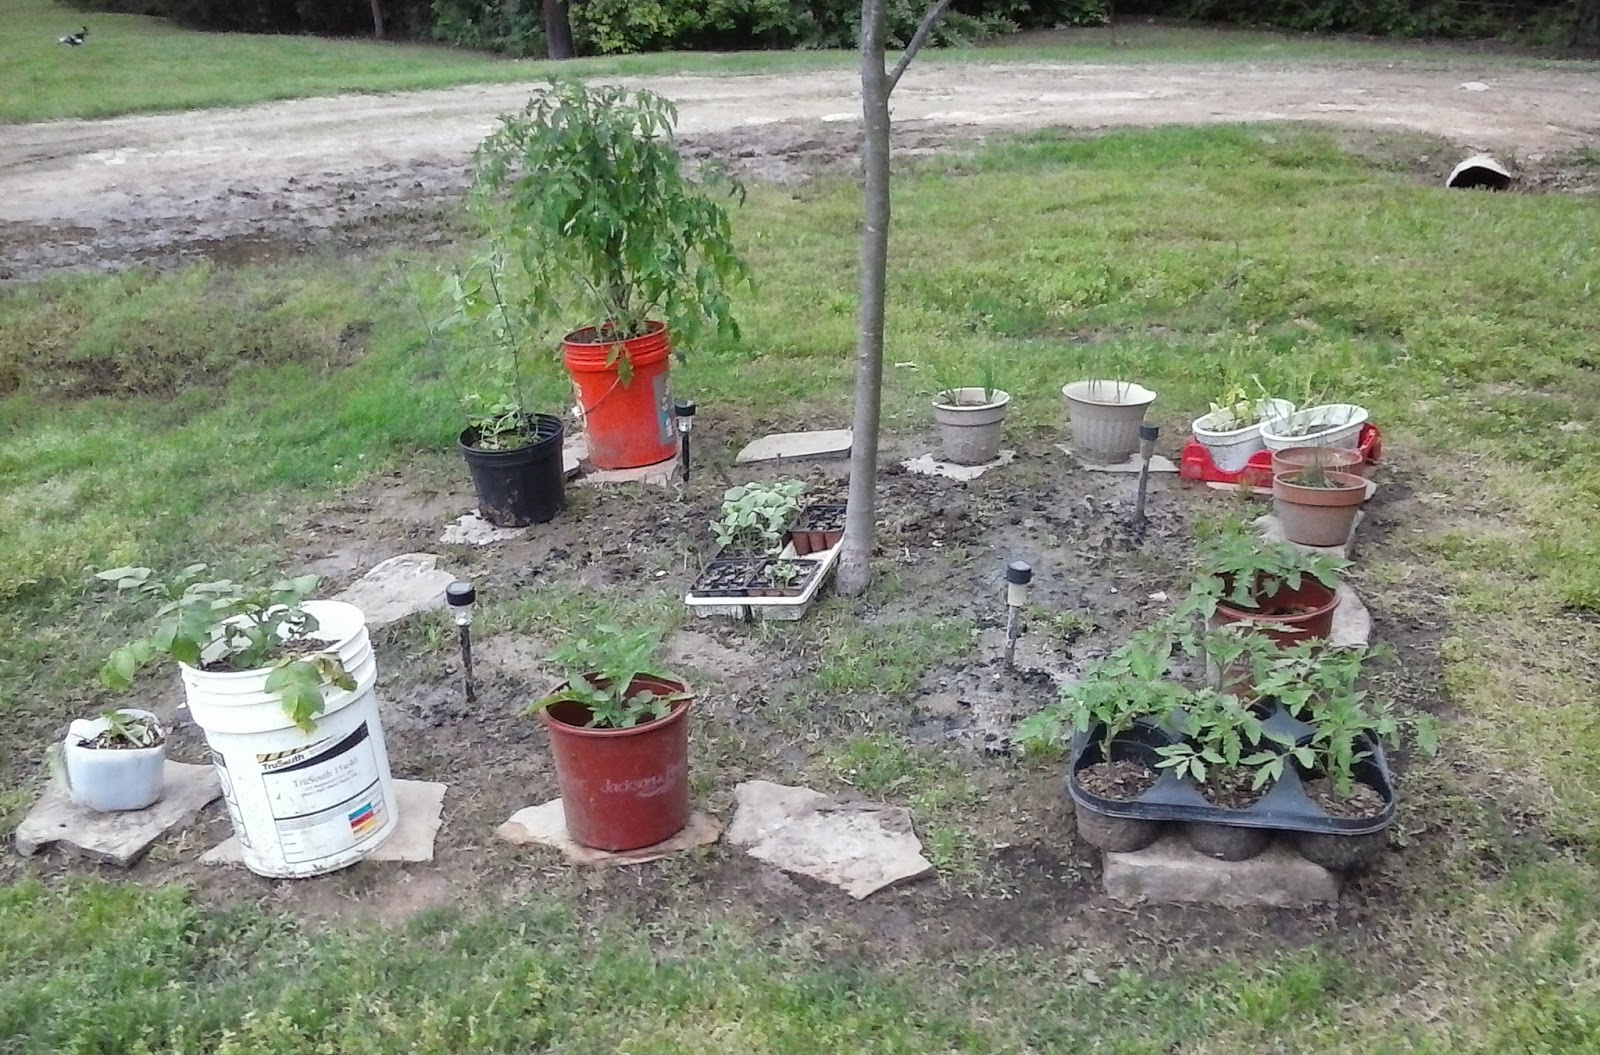
     
     Do you see the orange bucket with the big tomato plant in the back? That is my tomato plant I have been babying all winter! It grew but never produced any flowers until I got it out into the sun. I feel like I am WAY ahead of the curve on tomatoes! :D Only, guess what? It is not a regular tomato plant. It was a volunteer plant I got from my Amazingly Awesome Neighbor, Bree. It came up on the side of her grandma's house. She gave it to me, I grew it all winter.. and it is a CHERRY tomato plant. Kind of bummed about that. Thought we would be making salsa soon. On the bright side of things, at least my salads will be yummier soon. Just look at my cherry tomatoes already growing! 

     In the mean time, my son, Alex, tilled the garden. My husband did it last year, but since the accident, there was no way he could do it this year. My tiller is old and is a beast of a machine. I suppose if I had to run the machine myself, I could. But, with a big strong teenager around, why would I. ;) 
     
Have you started your garden this year?


Disclosure: I am Amazon Affiliate and may receive a small compensation for including links on my blog. Buying through my links is not necessary, just appreciated. Amazon does not charge extra for linked items recommended by their affiliates.  I only recommend products that I use and trust OR plan on using in the future. Please buy responsibly and do your own product research before buying anything online.

Saturday, November 29, 2014

Pumpkins, Knives, and Becoming Independent


     By the time I was 10, I was cooking and preparing all the meals for my whole family on a daily basis. On my own. Both of my parents worked full time jobs and I always felt cooking and cleaning was my way of helping out the family. That is how I learned to use a knife. The way I held the knife and cut things always scared my parents to death. They always thought it looked like I was going to cut myself. I slice things, cutting straight towards my hand. Always have, always will. Yes, I have sliced myself on occasion, but nothing terribly bad. I've never had stitches unless they were surgery related on something normal. You couldn't tell me my method was ever anything dangerous, because I've never felt any danger or severely hurt myself. I have learned to have great control over the knife, even if it was pointed straight towards my body. 
     Now you ask why I am telling you this... cause my daughter is 10. She has not been made to cook entire meals on her own, we do them together. I am over protective as a mother and at the same time, I try teach her to do everything on her own. Using a knife, I realized lately, is not one of those skills I have let her practice much on her own. I have always hovered over her, tell her what to do, what not to do. 'Don't hold it like that', 'Never cut straight towards your body.' Everything my parents have told me or told me not to do over the years, (and I ignored) has come out of my mouth. I need to let go of the control and just let her learn on her own. But, GOODNESS, it is scary! 
     Why wouldn't she do things like me? I am her model. Everything she knows, she has learned by watching me. We do not spend a lot of time apart. My little shadow, my mini me. I love this. I need to break this. Sometimes, I feel like she is not as independent as she should be. She does not venture out much on her own, preferring to have me close. I am very independent. My mini me, not so much. I need to break this by allowing and encouraging her to go out and do more on her own with out mommy hovering over her every step when she is completing what I feel is a dangerous task. 
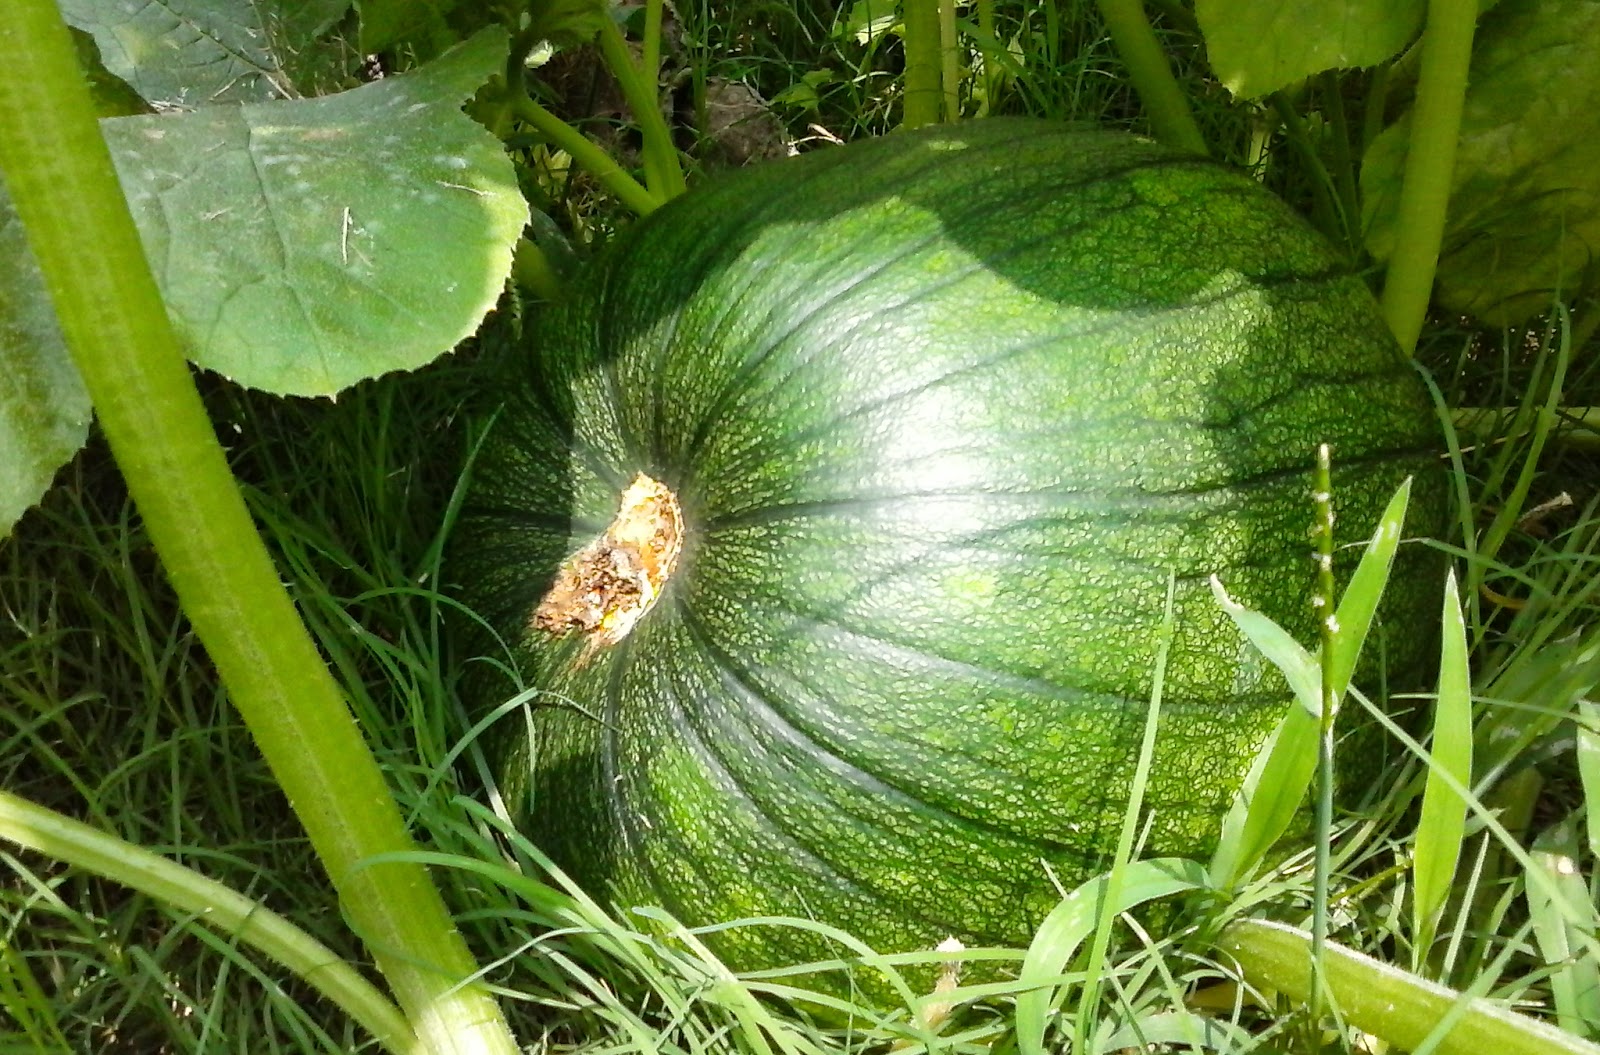
     So when she asked if she could cut a pumpkin we harvested yesterday to get the seeds out, I said yes. I sat back and took photos while she cut the top off of the pumpkin and TRIED not to tell her to 'do it like this' and 'don't do it like that.' She has watched me her whole life. She knows what she is doing, but GOODNESS, it is scary! My daughter has my technique... 


      I'll just pray she develops my control. At this point, I think I need to issue an apology to my parents for freaking them out all those years, and a thank you to them for allowing me to learn to become independent. Love you guys! 


Saturday, September 27, 2014

Save The Seeds!


"All the gardening knowledge in the world will be of no use, 
if you do not have seeds to sow." Kamay Flemens

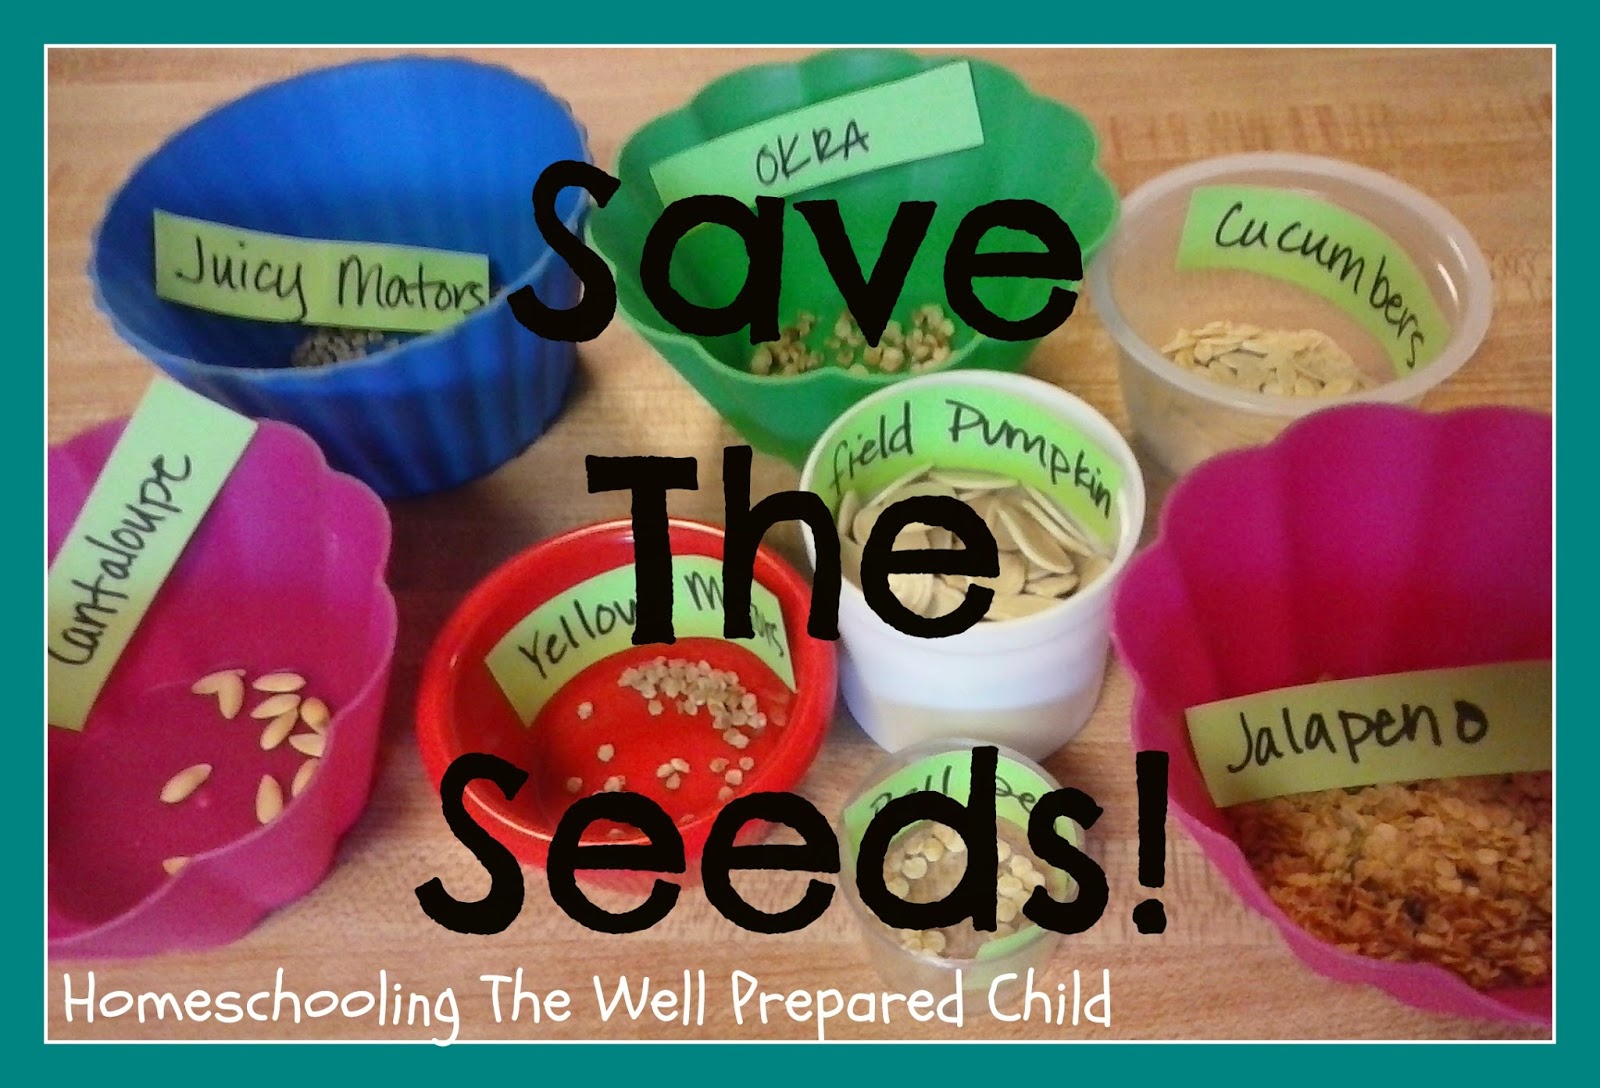
     For years we have saved seed packets from various stores. Just recently choosing to buy heirlooms to grow and save. Heirlooms are seeds that have been grown, harvested, and saved from generation to generation. However, seeds bought in packets, do not last forever. My endless thoughts of 'what if there were no stores' prompted me to get serious about saving our own seeds from the garden. Because I believe in teaching and learning as a family, we researched how to save seeds, picked the best fruits, and harvested them together. (Although, my daughter actually did most of the seed harvesting for us. I assisted and took photos. :) )
     I heard once, when saving seeds, to use the best of the best. Best plant, best producer, best tasting fruits and vegetables. We did not harvest seeds from our mini plants because we never want mini plants again! We still have plenty of the cherry tomato seed packets, so we did not save those either. We also choose plants we knew we would eat or be able to use for trade or barter. There is no point saving seeds from plant varieties your family turns their noses up to unless you have another use for them. 
     Here is a bit of what we saved. Not everything was photographed...


Okra- Carefully split the okra length wise, being careful not to cut the tiny seed balls. Use your thumb to gently pop the seeds out. When finished, make sure all green plant material is removed. Set aside for a week or two to insure full dryness. I am interested to see if this worked. They looked nothing like what I used from my store bought seed packet. 

 They dried all wrinkly and I don't remember the seeds in the packet looking quite like that. This photo is before they dried fully. 


Field Pumpkins- Carve open pumpkin top and remove all seeds. Rinse seeds in a strainer and make sure all pumpkin pulp is removed.  They sat in the strainer for a few hours so that most of the water dripped away. Then, we placed the seeds on a plastic plate and moved them around often to insure even dryness and to keep them from sticking together. 
Cucumbers- While making pickles, we had tons and tons of seeds left in the bowl from cutting the cucumbers. My daughter just collected them from the bottom of the bowl and took out all the seeds that had been cut in half. She used a strainer to wash them and make sure there were no pieces of flesh with them. Just like the pumpkins, we let them stay in the strainer for a few hours to make sure the excess water had time to drip off. 


Jalapenos- Although we do not eat these much except for in salsa and for spicy pickles, we saved the seeds from some jalapenos we used for a FAIL at cheddar poppers. While we cored them, we dropped the seeds into a bowl. They dried in the bowl for a couple of weeks.
 (When harvesting seeds from any spicy pepper, please use gloves! USE THEM! The seeds and the core are spicier than the green flesh. Even though I washed my hands thoroughly, and my hands did not burn, everywhere I touched on my body after that BURNED LIKE WILD FIRE! I just so happened to be suffering from allergies and had itchy eyes. It was brutal! If you do happen to get burned by the oils in the jalapenos, milk helps. I used a washcloth to scrub my hands and face with the milk. Raw milk from any source is better. Raw sources include cows, goats and even humans. Yes, booby juice works too, or so I hear.. no booby juice around my house anymore.)

Cantalupe- A friend of mine brought a cantaloupe to me from her father's garden. It had a lovely texture and was sweet and juicy. After digging out the seeds from the center, I placed them in the strainer and washed all the goo away from them. They drip dried and were placed on a plate to finish the drying process.  

Bell Peppers- They have been a test this year. They were not as big as a store bought bell pepper. I am not a big fan of them, but I wanted to use them in salsa. I never got the chance. We did not have the tomatoes we needed at the time to make salsa with them. When we had tomatoes, I had already cut up the bell peppers to save seeds or had given them away. We did test eat them raw. It is not something my family enjoyed. They will be good for trading and bartering if needed. 

Tomatoes- Now this one I will go into more depth on in another post. They are a huge staple in my household and I believe we could nearly live off of them. My whole family loves tomatoes. Before we got serious in seed preservation and looked up how to save tomato seeds, we tried a couple of ways to dry the seeds. First, we took the seed pulp from a tomato we cut and placed them on paper towels. The seeds stuck to the paper towel as it dried and they were not very nice looking. I tested one to see if it would germinate, and it did. Then we brainstormed ideas on how to do it so they would come out cleaner.. but that is all in THIS  post. :)

     Now at this point, can you imagine what my kitchen looked like? There were plates, cups, bowls, and paper towels all over the place. It drove me nuts! I don't have very much room in our house. There is no pantry, laundry room, spare room at all to store all of the drying seed containers we had at this point. I finally got smart and gathered every small container we have and put all of them in a casserole pan. Safe, secured, compact storage! It took a few weeks to actually feel they were all sufficiently dry enough to store away.  We used a variety of different small recycled packages to store our seeds in. A variety, because, we couldn't eat enough Tic Tacs fast enough. We are all about FREEcyle! :D 


     Have you tried seed preservation? 
Save The Seeds!
     
More great seed saving advice and FREE PRINTABLE SEED PACKETS at 104 Homestead

For a great definition of heirlooms, hybrids, organics and all the other seed lingo, check out Underwood Gardens post. 

Want to start your own vault of survival gardening seeds without preserving them yourself?  Survival-Seed-Vault-
     

This post contains my Amazon affiliate link to a survival seed vault. Although, I have not ordered from them, it is something I would like to purchase in the future. If you happen to buy one, let me know what you think of it!

Sunday, August 3, 2014

Update On Landscape Garden- The Mystery Plants


      Edible landscape is a gardening technique we tried out this year. In the front yard, I planted 3 little mystery plants that had fallen out of the egg container and away from their labels. 
     At the time, they were just little balls of dirt that had not seeded yet. I was not sure what they were, and decided to name them my 'Mystery Plants.' My choices they could be were watermelon, cantaloupe, squash, and cucumbers. Either way,  aesthetically, I love the lovely green plants and yellowy/orange blossoms of all of these plants. Win, win right?
     I planted them in our little front yard, around our flowering Bradford Pear tree, thinking the flower bed would resemble having elephant ears in a way, circling our tree. I imagined after they grew and produced fruit, we would just go out and pick what we needed. A beautiful landscape with the added benefit of harvesting it's production. Ahhh.. daydreams... 

     The reality of it, I no longer have a front yard. The pretty little setting above, quickly turned into the monster below...


     So what is this 'Mystery Plant?' Well, if you are an experienced gardener, you might have already figured it out. Maybe, I should have figured it out as well. However, every time it started to fruit, there would be wrinkly little yellowish balls on it that would quickly die out. Hmmm... maybe cantalope? I was really hoping for cantalope or maybe zucchini. I posted pictures of it in gardening groups asking, 'What is it?' No one had an answer for me. I was told to just wait and see.


      In the mean time, my 3 little plants started to take over the front yard. And while they were lovely, I was not expecting to have to pick up they 10ft vines so my son could mow around them either.

So what is this mystery plant? 


Pumpkins... Pumpkins? Are you serious? 

     Not that pumpkins are bad, just was not expecting these plants to be pumpkins. Yes, I seeded out pumpkins, but I thought they were part of the regular garden that died out after the freak end of May freeze. I am a little disappointed. We do not eat any pumpkin products except for the seeds. We LOVE pumpkin seeds, but I was wanting something I could feed my family with a little more. We eat pumpkin pie only once a year at Thanksgiving and we are not big 'pumpkin flavored' fans. 
     At first, only 6 pumpkins grew from the 3 plants. I guess that was okay. Then we got cooler weather and lots of rain. Now we have nearly 20 pumpkins growing. We have decided to keep a few and try selling the rest. 


     We harvested the first 6 this week. It took a hack saw to get them off the vine. We were told to leave them on but one started to rot. Never smelled something so foul in my life! We cut it in half to see if the seeds were salvageable. HUGE mistake! PEE YEW!

     So what will we do with the pumpkins we harvested? Storage is going to be an issue. I have no pantry, cellar, or any cool dark, dry place to store them. Right now they are on the living room floor. 
     My daughter could not wait for seeds and decided to cut one open so she could roast pumpkin seeds for a snack. Our pig also got a snack. He was very grateful. My neighbors were over while she was carving the pumpkin. While we sat on the porch watching her, my husband and our company talked about how much they love pumpkin pie. How wonderful it must taste fresh! Really? Okay, Google how to make homemade pumpkin puree and pie filling. Maybe I will be able to feed my family from this unexpected bountiful harvest after all! Maybe I will even try my hand at making pumpkin bread.... Maybe... 

So let's make a list of all I can do with my 'Mystery Edible Garden.'
  1. Pumpkin seeds to eat
  2. Pumpkin seeds to put back to grow for next year
  3. Feed the animals (natural dewormer in pigs)
  4. Less gas used mowing front yard
  5. Make pumpkin puree for baking pies and bread
  6. Sell extras for a little profit
  7. Halloween Jack O'Lanterns that will save me $10 this fall
Not bad! (Even with it taking over our yard!) 


Sunday, July 6, 2014

Parts Of A Plant: Seeds

This post contains Affiliate Links.

Parts of a Plant Lesson: Seeds


     We started with Nutrientsforlife.org's Video, Lesson 1: Plants Around You. See the video HERE.

  •    After watching the video, we went on a nature walk to gather seeds from plants around us. We were actually surprised at all the seeds we found. It was actually closer to winter time than fall. I just had her get a little from each plant we found.  


  • When we got home, she set all of the seeds together in a pile. I asked her if she could separate all the seeds into 2 piles. She separated them by round seeds and flat seeds. I asked her if she could separate them into 3 piles, and she decided it should be by size. 
  • Next activity was separating them back with their own seeds in a muffin tin. Some resembled each other so much, she got out her magnifying glass to tell them apart. 
  • I found a neat 'Seed Graph' for her to organize the data she collected on which plant did she gather the most seeds from. you can find it HERE (mpm school supplies actually has a lot of cool ideas and links to more cool ideas) She glued the different seeds to the bottom of the graph and then counted them up and filled in the correct number on the graph. The graph went into her Gardening Portfolio

  • She really liked checking out the seeds under the magnifying glass. From my seed stash, I got out lettuce seeds and let her make her own observations. She recorded her findings in her Science Notebook. Don't have a magnifying glass? I found ours at our local Dollar General in the school/stationary section. but you can also find one on Amazon HERE
  • While checking out a Time Lapse Video of a Seed Growing, my daughter said it would be cool to plant our own seed and watch it grow in normal time. Great Idea! I found an old square aquarium and we filled it with our seed starter mix. Then she placed 4 English Pea seeds against the the side of the aquarium. We watered it and watched the seeds grow. She recorded what she witnessed in her Science journal as well. 
  • It was not as easy to see as the video, but we enjoyed it just the same. you can use a variety of seeds for this experiment. Pinto beans and pumpkin seeds work great too! You can also use a small jar filled with moist paper towels with the seed up against the glass. 
  • The next activity we did involved fermenting pinto beans. We placed a few dried pinto beans into a shallow bowl of water and let it sit a few days, adding water as needed. I asked my daughter to predict what she thought was going to happen, she recorded this in her science journal. After the pinto showed signs of growth, we dissected them. She drew out what she found and labeled the parts of the bean. We did not get any photos of this lesson, but I borrowed a couple from a homeschooling friend of mine that inspired this lesson for us. Her children are a little older so they have labeled a lot more than we did, with more scientific terms. Just another example how you can use one lesson for many different levels of children. Thank you Mary and the Butler Children for allowing us to use your amazing photos. 

  •  If those words are too advanced for your kiddo, there is a simpler worksheet HERE
There are more activities and worksheets at 
Nutrients For Life

We hope you enjoyed Parts of a Plant: Seeds lessons. Other pages in the series, can be found here:


Disclosure: I am Amazon Affiliate and may receive a small compensation for including links on my blog. Buying through my links is not necessary, just appreciated. Amazon does not charge extra for linked items recommended by their affiliates.  I only recommend products that I use and trust OR plan on using in the future. Please buy responsibly and do your own product research before buying anything online.